
Losing important files from a USB drive can be stressful—whether it’s a presentation, family photos, or critical work documents. Accidental deletion, formatting errors, or virus attacks often lead to data loss. The good news is that in most cases, deleted files aren’t gone forever. With the right approach and tools, you can recover them successfully.
This comprehensive guide walks you through proven techniques for retrieving deleted files from a USB drive. You’ll learn how file deletion works, when recovery is possible, and what steps to take immediately after data loss to maximize your chances of success.
Understanding How File Deletion Works on USB Drives
When you delete a file from a USB drive, it doesn’t vanish instantly. Instead, the operating system marks the space occupied by the file as “available” for new data. The actual contents remain intact until overwritten. This behavior is similar to how hard drives and SSDs manage deleted data.
The key takeaway: time is critical. The longer you use the USB drive after deletion, the higher the chance that new files will overwrite the old ones, making recovery impossible.
“Data isn’t truly erased upon deletion—it’s just hidden. Recovery is feasible if no new data has overwritten the original sectors.” — Dr. Alan Reed, Digital Forensics Analyst
Unlike traditional hard drives, USB flash drives use NAND-based memory and wear-leveling algorithms, which can complicate recovery. However, consumer-grade recovery tools are designed to handle these nuances effectively.
Immediate Actions to Take After File Loss
The first few minutes after losing files are crucial. Taking the right steps now can mean the difference between full recovery and permanent loss.
- Do not save new files to the USB drive. Avoid copying, moving, or modifying any data.
- Eject safely if the drive is still connected, but don’t reformat or run disk checks automatically.
- Use a different computer for recovery tasks to avoid accidental writes to the affected drive.
- Check the Recycle Bin (Windows) or Trash (macOS), especially if the USB was used on a desktop recently.
- Scan for viruses before proceeding—malware may have caused the deletion.
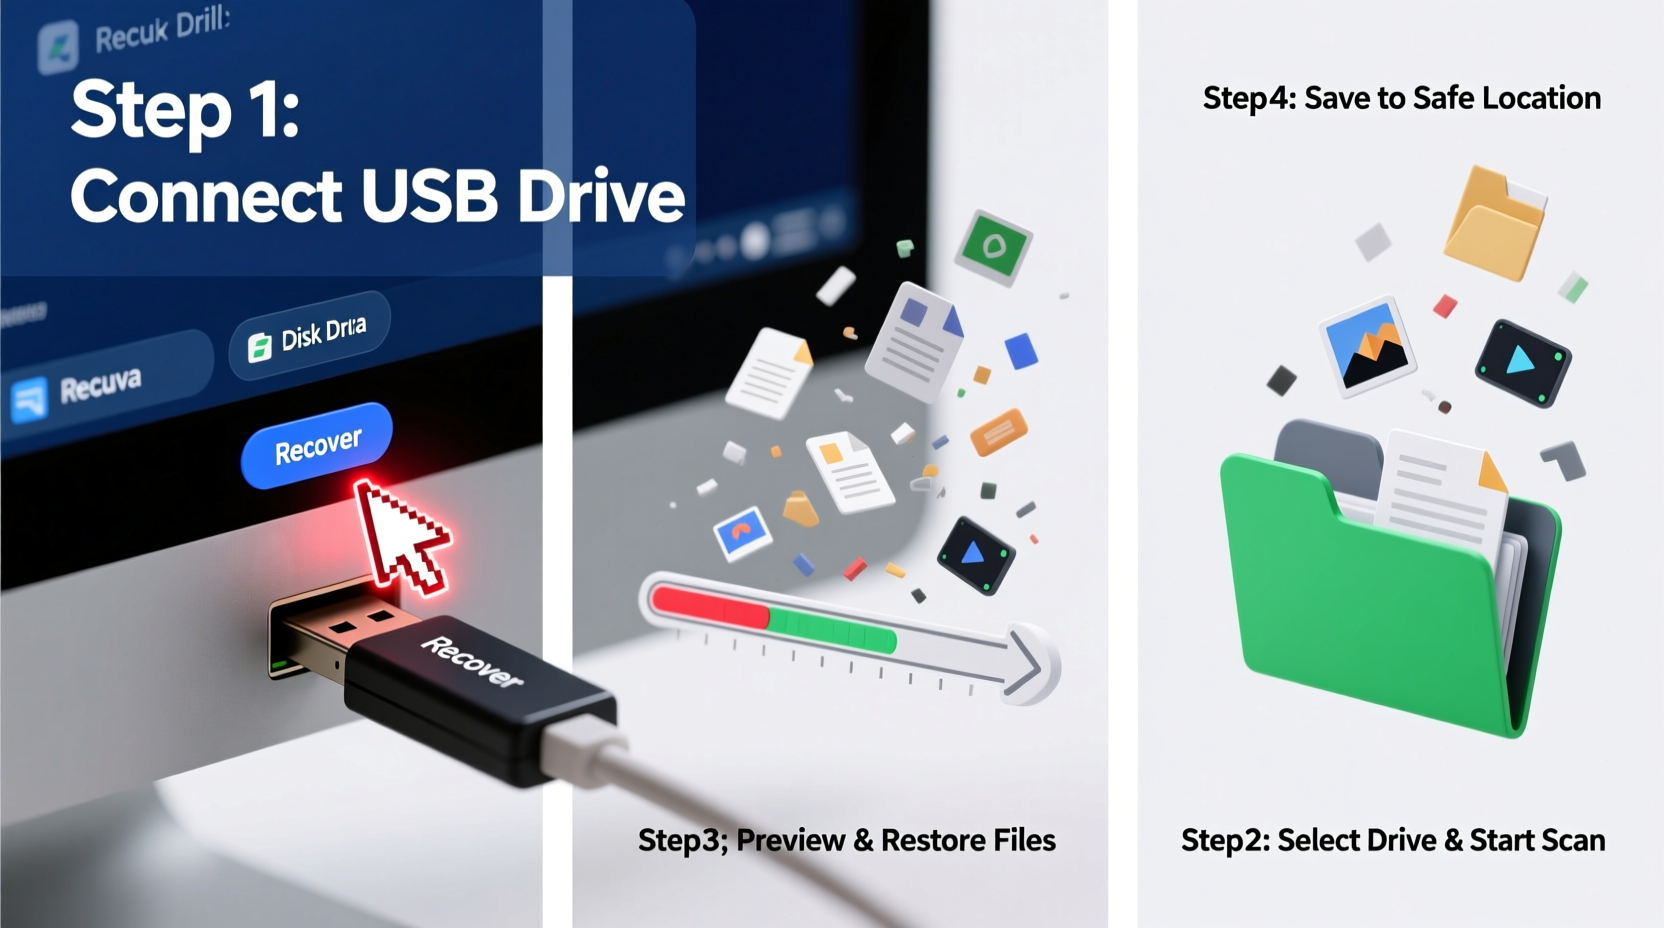
Step-by-Step Guide to Recover Deleted Files
Follow this structured process to retrieve your lost files efficiently and safely.
Step 1: Connect the USB Drive to a Trusted Computer
Plug the USB into a clean, secure machine. Preferably use a desktop or laptop you control, not a public terminal. Ensure the system is free of malware and unnecessary background processes that might auto-save files.
Step 2: Verify Drive Recognition
Open File Explorer (Windows) or Finder (macOS). Check if the USB appears under “This PC” or “Devices.” If it doesn’t show up, try another port or restart the computer. A non-detectable drive may indicate hardware failure, requiring professional help.
Step 3: Choose a Reliable Data Recovery Tool
Several software options exist, ranging from free utilities to premium suites. Below is a comparison of top tools:
| Tool | Platform | Free Version? | Best For | Recovery Success Rate* |
|---|---|---|---|---|
| Recuva | Windows | Yes | Beginners, quick scans | 85% |
| PhotoRec | Cross-platform | Yes | Advanced users, deep scans | 90% |
| Stellar Data Recovery | Windows, macOS | Limited | Formatted drives, multimedia | 92% |
| EaseUS Data Recovery Wizard | Windows, macOS | Limited | User-friendly interface | 88% |
| TestDisk | Cross-platform | Yes | Partition recovery | 80% |
*Estimated success rate based on independent testing across various deletion scenarios.
Step 4: Install and Run the Recovery Software
Download your chosen tool from the official website. Install it on your computer—not on the USB drive. Launch the program and select the USB drive from the list of available devices.
Most tools offer two scan types:
- Quick Scan: Searches for recently deleted files using file system metadata. Fast but less thorough.
- Deep Scan: Scans every sector of the drive for recoverable data. Takes longer but finds more files.
Start with a Quick Scan. If results are insufficient, proceed with a Deep Scan.
Step 5: Preview and Recover Files
After scanning, the software will display a list of recoverable files. Use filters (by type, date, size) to locate specific items. Most programs allow previewing text documents, images, and PDFs before recovery.
Select the files you want to restore and click “Recover.”
Step 6: Verify Recovered Data
Open each restored file to ensure integrity. Some files may be partially corrupted, especially if overwriting occurred. If critical files fail to open, attempt recovery with a second tool like PhotoRec, which uses raw data carving techniques.
Alternative Methods When Software Fails
If standard recovery tools yield poor results, consider these alternatives:
Command Line Recovery (Windows – Using Cipher)
While Windows doesn’t include built-in undelete commands, you can use third-party CLI tools like PhotoRec via command line. Example:
photorec /d /recovered_files/ usb_disk.img
This method is ideal for advanced users comfortable with terminal operations.
Professional Data Recovery Services
If the USB shows physical damage (broken connector, burn marks, unrecognized consistently), DIY methods won’t help. In such cases, consult a certified data recovery lab.
These services use cleanroom environments to extract chips directly and reconstruct data. Costs range from $200 to $1,200 depending on complexity, but they offer the highest success rates for physically damaged drives.
“Physical recovery isn’t magic—it’s precision engineering combined with forensic analysis. For valuable data, it’s often worth the investment.” — Lisa Nguyen, Senior Engineer at DataRescue Labs
Common Mistakes That Prevent Successful Recovery
Avoid these pitfalls to protect your chances of retrieving lost files:
| Mistake | Why It’s Harmful | What to Do Instead |
|---|---|---|
| Continuing to use the USB | New data overwrites deleted files | Stop all write operations immediately |
| Running CHKDSK automatically | May erase unreferenced clusters | Only run diagnostics after recovery attempts |
| Saving recovered files to the same drive | Risks overwriting the very data you’re trying to save | Always use a separate storage location |
| Using outdated or untrusted recovery tools | Potential malware or low success rates | Stick to reputable, updated software |
Real-World Example: Recovering a Lost Thesis
Sophia, a graduate student, accidentally formatted her 32GB USB while preparing her thesis defense. The drive contained months of research, citations, and draft chapters. Panicked, she unplugged the drive and avoided using it.
She downloaded EaseUS Data Recovery Wizard on her personal laptop and performed a deep scan. Within 45 minutes, the software located 95% of her files, including Word documents and reference PDFs. She saved everything to her desktop and verified each file.
Though some images were slightly corrupted, the core academic content was intact. Sophia submitted her thesis on time and later backed up her work to cloud storage and an external SSD.
This case highlights the importance of immediate action, proper tool selection, and avoiding further usage of the affected device.
Prevention: How to Avoid Future Data Loss
Recovery isn’t always guaranteed. Proactive measures reduce risk significantly.
- Enable Safe Ejection: Always use “Eject” before removing the USB.
- Use Write Protection (if available): Some USBs have a physical switch to prevent accidental changes.
- Regular Backups: Copy important files to multiple locations—cloud, external drive, or computer.
- Label Your Drives: Clearly mark USBs with purpose (e.g., “Work Only”) to prevent misuse.
- Install Antivirus Software: Protect against malware that deletes or encrypts files.
Frequently Asked Questions
Can I recover files after emptying the Recycle Bin?
Yes. Emptying the Recycle Bin only removes the shortcut to the file. As long as the data hasn’t been overwritten, recovery tools can still retrieve it from the USB drive.
Is it safe to use free recovery software?
Many free tools like Recuva and PhotoRec are safe and effective. However, download only from official websites to avoid bundled malware. Avoid “cracked” versions—they often contain spyware.
Why can’t I open some recovered files?
Partial corruption occurs when part of the file was overwritten. Try opening it with alternative software (e.g., LibreOffice for damaged Word files) or use file repair tools. If unsuccessful, the file may be unrecoverable.
Final Steps and Long-Term Data Security
Successfully recovering deleted files is a relief, but it should serve as a wake-up call. Relying solely on USB drives for critical data is risky due to their small size, portability, and susceptibility to damage.
Adopt a layered backup strategy: keep copies on your primary device, an external drive, and a trusted cloud service like Google Drive, Dropbox, or OneDrive. Automate backups where possible to eliminate human error.
Also, periodically check the health of your USB drives. S.M.A.R.T. tools aren’t typically available for flash drives, but frequent errors, slow transfers, or disconnections signal potential failure.
Take Action Today—Before It’s Too Late
Data loss happens in seconds, but preparation takes just minutes. Whether you’re recovering a cherished photo or a critical business document, the steps outlined here give you the best chance of success.
Apply these strategies now: install a trusted recovery tool, test it on a spare USB, and create a simple backup routine. Knowledge and readiness are your strongest defenses against digital loss.


 浙公网安备
33010002000092号
浙公网安备
33010002000092号 浙B2-20120091-4
Comments
No comments yet. Why don't you start the discussion?