
Car aroma diffusers have become a popular way to maintain a fresh, pleasant environment inside vehicles. Whether you use a vent clip, plug-in model, or a water-based ultrasonic unit, keeping the fragrance level optimal requires timely and correct refilling. However, improper refills can lead to leaks, diminished scent performance, or even damage to your car’s interior or electronics. This guide walks you through the safe and effective process of refilling any type of car aroma diffuser, ensuring longevity, consistent fragrance delivery, and safety for both your vehicle and passengers.
Understanding Your Diffuser Type
Before refilling, it's essential to identify your diffuser model. The method varies significantly depending on whether it uses liquid oil, gel, pads, or water-based essential oil blends. Common types include:
- Vent Clip Diffusers: Attach to air vents and release fragrance via absorbent pads or cartridges.
- Plug-In Electric Diffusers: Plug into the 12V socket and use heat or ultrasonic technology to disperse scent.
- Magnetic or Adhesive Units: Stick to surfaces and use replaceable scent capsules.
- Ultrasonic Water-Based Diffusers: Require a mix of water and essential oils, often with LED lighting.
Each has specific refill requirements. Always consult the manufacturer’s manual before proceeding. Using incompatible liquids or incorrect techniques can void warranties or cause malfunctions.
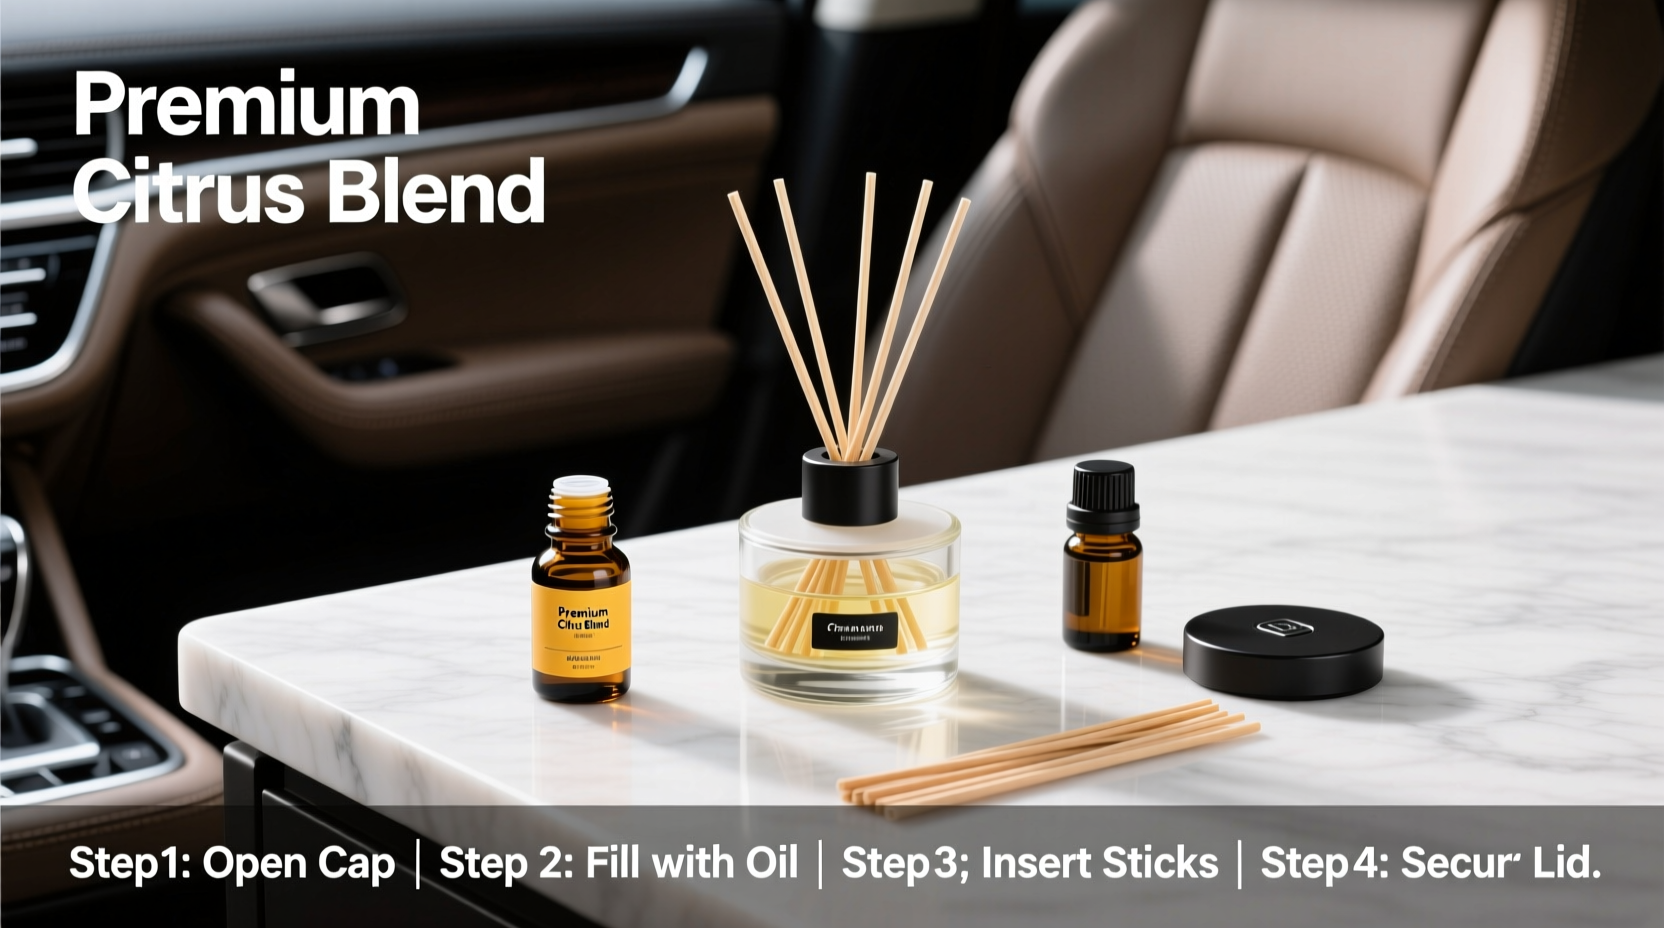
Step-by-Step Refill Process
Follow this universal sequence tailored for most liquid-based systems. Adjustments may be needed based on your model.
- Turn Off and Remove the Unit: For electric models, unplug from the power source. For vent clips, gently remove from the air vent to avoid bending fins.
- Check for Residual Scent Material: Inspect pads, sponges, or reservoirs. If saturated or discolored, replace them. Old material can clog mechanisms or create uneven scent dispersion.
- Clean the Interior (If Applicable): Use a cotton swab dipped in isopropyl alcohol to wipe down internal compartments. Avoid soaking electronic components. Let dry completely before refilling.
- Select the Correct Refill Solution: Only use fragrances recommended by the manufacturer. Some units are designed for specific viscosity or dilution levels. Never substitute with undiluted essential oils unless explicitly approved.
- Refill Carefully: Using a small funnel or dropper, slowly add the fragrance solution to the reservoir. Do not overfill—most units have a marked fill line. Overfilling increases the risk of leakage onto dashboards or electrical ports.
- Reassemble and Test: Secure all parts, reinsert pads or capsules, and return the unit to its position. Power on if applicable and verify consistent mist or scent output.
Safety Notes During Refill
- Work in a well-ventilated area to avoid inhaling concentrated fumes.
- Wear disposable gloves if handling strong essential oils to prevent skin irritation.
- Keep refills away from children and pets—many fragrance compounds are toxic if ingested.
Do’s and Don’ts of Car Diffuser Maintenance
| Do’s | Don’ts |
|---|---|
| Use manufacturer-approved refills | Use DIY oil mixes without compatibility verification |
| Clean the unit every 2–3 refills | Ignore signs of leakage or weak scent output |
| Store extra refills in a cool, dark place | Leave diffusers in direct sunlight (can degrade oils) |
| Check for firmware updates (smart models) | Overfill beyond the MAX line |
| Replace worn pads or filters regularly | Use alcohol-based cleaners on plastic housings (can cause cracking) |
Expert Insight on Long-Term Performance
“Consistent maintenance and using high-quality, compatible refills are key to avoiding residue buildup and preserving the integrity of both the diffuser and your car’s interior surfaces.” — Daniel Reeves, Automotive Wellness Product Engineer
According to industry experts, up to 60% of diffuser failures stem from improper refills or neglect. Regular cleaning prevents oil residue from hardening inside the mechanism, which can impair function over time. High temperatures inside parked cars accelerate chemical degradation, so choosing thermally stable fragrance formulations is equally important.
Real-World Example: A Preventable Mistake
Sarah, a rideshare driver in Phoenix, used her ultrasonic car diffuser daily to keep her vehicle smelling fresh. After three months, she noticed a sticky residue forming around the base and a faint burning smell when turning it on. She had been refilling it with a generic essential oil blend not designed for electronic diffusion. The thicker oil clogged the nebulizer and caused overheating. Replacing the unit cost her $45—money she could have saved by using the manufacturer-recommended solution. After switching to the correct refill and cleaning monthly, her new diffuser lasted over a year without issues.
Essential Refill Checklist
Use this checklist before each refill to ensure safety and effectiveness:
- ☑ Power off and disconnect the unit
- ☑ Confirm refill compatibility (check label or manual)
- ☑ Clean reservoir and replace pads/filters if needed
- ☑ Use a precision tool (dropper/funnel) for spill-free filling
- ☑ Fill only to the indicated level
- ☑ Allow 5 minutes for stabilization before reactivation
- ☑ Inspect for leaks after first use post-refill
Frequently Asked Questions
How often should I refill my car aroma diffuser?
Most vent clip models last 2–4 weeks depending on airflow and temperature. Electric and ultrasonic units vary—some last 30–50 hours of continuous use. Monitor scent strength and refill when noticeable fade occurs, typically every 3–4 weeks under average conditions.
Can I mix different scents when refilling?
Only if the manufacturer explicitly allows it. Mixing incompatible oils can alter viscosity, create sediment, or produce undesirable chemical reactions. For custom blends, use pre-mixed fragrance oils designed for automotive use.
Why does my diffuser stop working after refilling?
This often results from airlocks in pump systems, overfilling, or using non-compatible liquids that clog micro-nozzles. Ensure the unit is properly reassembled and free of bubbles. If issues persist, reset the device (if applicable) or contact customer support.
Maximizing Scent Life and Device Efficiency
To get the most out of each refill, consider environmental factors. Park in shaded areas when possible—extreme heat accelerates evaporation and degrades oils faster. Adjust output settings: many smart diffusers offer low/medium/high modes. Use lower intensity during short trips to conserve fragrance. Also, rotate scents seasonally; lighter citrus or mint notes work well in summer, while warm vanilla or sandalwood are ideal for winter.
For multi-car households, assign specific diffusers to each vehicle to track usage and maintenance schedules more efficiently.
Conclusion
Refilling your car aroma diffuser doesn’t have to be a guesswork process. With the right tools, compatible solutions, and a methodical approach, you can maintain a consistently pleasant driving environment while protecting your investment. Safety, precision, and adherence to manufacturer guidelines are the pillars of effective maintenance. A well-cared-for diffuser not only performs better but also lasts significantly longer—saving money and reducing waste.


 浙公网安备
33010002000092号
浙公网安备
33010002000092号 浙B2-20120091-4
Comments
No comments yet. Why don't you start the discussion?