
Replacing worn ball joints is a critical part of suspension maintenance that ensures steering precision, ride comfort, and safety. While many vehicle owners defer this task to professionals, a well-prepared DIYer can complete the job efficiently with the right tools, knowledge, and precautions. Done incorrectly, however, it can lead to dangerous driving conditions or damage to surrounding components. This comprehensive guide walks you through each phase—from preparation to final reassembly—with practical insights used by seasoned automotive technicians.
Understanding Ball Joints and Why They Fail
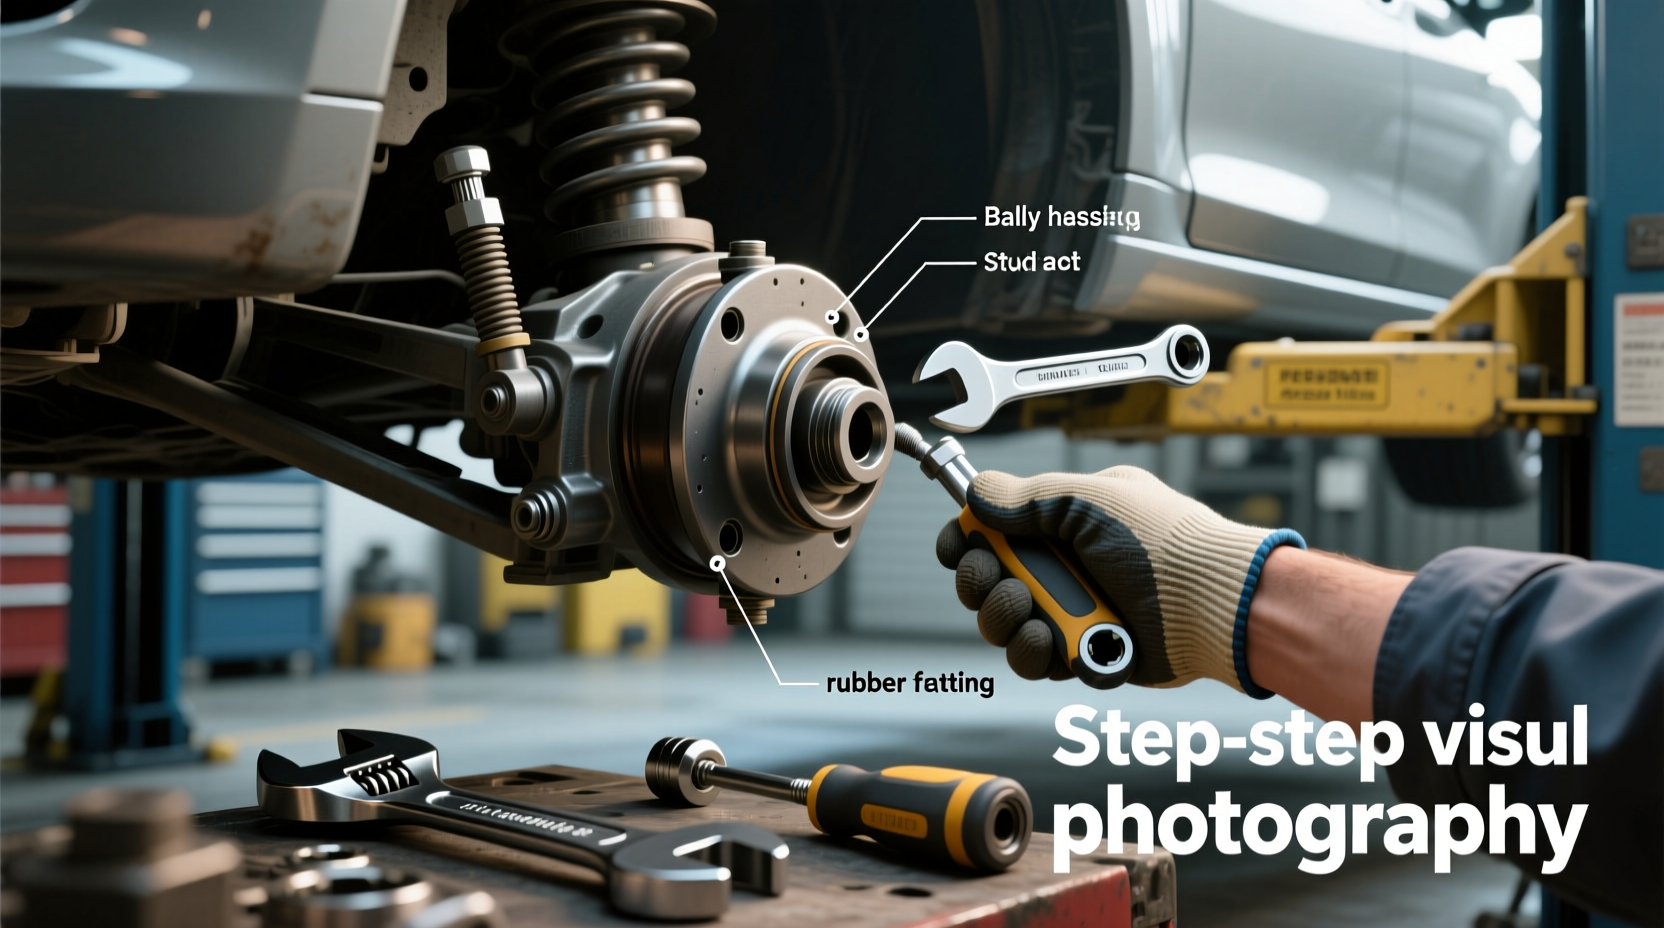
Ball joints are spherical bearings that connect the control arms to the steering knuckles, allowing smooth movement as your vehicle navigates bumps and turns. Most modern vehicles use either upper and lower ball joints or just a lower unit, depending on the suspension design. Over time, these joints wear due to exposure to road contaminants, moisture, and constant mechanical stress.
Symptoms of failing ball joints include clunking noises when driving over bumps, uneven tire wear, loose or wandering steering, and visible play in the front wheels. Ignoring these signs can result in joint separation—a rare but potentially catastrophic failure while driving.
“Over 30% of premature suspension wear stems from neglected ball joint inspection.” — Carlos Mendez, ASE Master Technician with 18 years in chassis systems
Essential Tools and Safety Precautions
Before beginning any work under the vehicle, prioritize safety. Working on suspension components involves high mechanical loads and compressed forces. A single mistake can lead to serious injury.
You’ll need the following tools:
- Hydraulic floor jack
- Two or more high-quality jack stands (rated for your vehicle’s weight)
- Socket wrench set (metric or standard, depending on make/model)
- Breaker bar or torque wrench
- Ball joint separator (also known as a “pickle fork”)
- Pickle fork removal tool or C-clamp press
- Hammer (preferably dead-blow)
- Penetrating oil (e.g., PB Blaster or WD-40 Specialist)
- Replacement ball joint(s) and hardware
- Protective gloves and safety glasses
Ensure all tools are in good condition. Using damaged sockets or worn extensions increases the risk of slipping and injury.
Step-by-Step Removal Process
Follow this logical sequence to remove a lower ball joint—the most commonly replaced type. The process for upper joints is similar but varies slightly based on suspension layout.
- Lift and Secure the Vehicle: Park on a flat surface, chock the rear wheels, and lift the front end using a floor jack placed at the manufacturer’s recommended lift point. Place jack stands under the frame rails or subframe and lower the vehicle onto them.
- Remove the Wheel: With the vehicle secured, loosen the lug nuts slightly before lifting. Once lifted, remove the wheel completely to expose the hub and suspension assembly.
- Support the Control Arm: Use a floor jack with a soft block (wood or rubber) under the lower control arm to prevent it from dropping once the ball joint is disconnected. This maintains tension and protects the bushings.
- Separate the Ball Joint from the Steering Knuckle: Spray penetrating oil around the stud where it passes through the knuckle. Wait 10–15 minutes. Then, insert a ball joint separator between the knuckle and control arm and tighten until the taper breaks free. Alternatively, use a hammer to strike the side of the knuckle near the stud—a technique known as “shock separation.”
- Unbolt the Ball Joint from the Control Arm: Depending on your vehicle, the joint may be bolted or pressed in. For bolt-on types, remove the mounting bolts using a socket and breaker bar. For press-fit units, skip to the next section.
- Extract Press-Fit Ball Joints (if applicable): If the ball joint is pressed into the control arm, use a C-clamp-style ball joint press or a specialized removal tool. Align the press correctly and apply steady pressure until the joint pops out. Avoid excessive hammering, which can distort the control arm.
- Inspect Surrounding Components: With the joint removed, check the control arm bushings, tie rod ends, and brake lines for wear or damage. Address any issues now to avoid repeat labor later.
Common Mistakes and How to Avoid Them
Even experienced DIYers make errors when working on suspension systems. Here’s a comparison of best practices versus common pitfalls.
| Do’s | Don’ts |
|---|---|
| Use penetrating oil early and liberally on stuck tapers | Never force separation with excessive hammering on the knuckle |
| Label fasteners and keep them organized | Don’t mix up left and right-side hardware |
| Torque all fasteners to manufacturer specs upon reassembly | Avoid guessing torque values—use a calibrated wrench |
| Support the control arm during disassembly | Don’t let the control arm hang freely after disconnecting |
Real-World Example: Replacing a Stuck Ball Joint on a 2012 Honda Accord
Mike, an amateur mechanic from Colorado, attempted his first ball joint replacement after noticing a rhythmic clunk during low-speed turns. He followed online tutorials but struggled when the taper refused to separate despite repeated hammering and a pickle fork. After spraying PB Blaster and letting it sit overnight, he returned with a heavy-duty separator tool borrowed from an auto parts store. One careful turn of the bolt broke the corrosion bond cleanly. He credited patience and proper tool selection for avoiding knuckle damage—a common outcome when forcing separation prematurely.
This case underscores the importance of time, lubrication, and using the correct tools rather than brute force.
Reinstallation and Final Checks
Once the old joint is removed, install the new one in reverse order. Ensure the replacement matches OEM specifications. For press-fit joints, use a proper installation sleeve and press evenly to avoid cocking the joint. Bolt-on types should be secured with new nuts and washers if specified.
After mounting the new joint:
- Reconnect the steering knuckle and tighten the castle nut to factory torque.
- Insert a cotter pin through the castle nut and spindle. Never substitute with a regular washer and nut unless designed for it.
- Reinstall the wheel, lower the vehicle, and torque lug nuts in a star pattern.
- Perform a visual alignment check and take the car for a short test drive at low speed before highway use.
Finally, schedule a professional alignment. Even minor changes in suspension geometry affect tire wear and handling.
Frequently Asked Questions
Can I drive with a worn ball joint?
No. While minor wear may allow limited driving, any noticeable looseness or noise indicates immediate attention is needed. Complete failure can result in loss of steering control.
Do I need special tools to remove ball joints?
For most vehicles, yes. A ball joint separator or press kit is essential, especially for press-fit models. Many auto parts stores offer loaner programs for these tools.
Should I replace both ball joints at the same time?
If one has failed and the other shows significant wear, it’s cost-effective and safer to replace both. Suspension components often age under similar conditions.
Final Checklist Before You Begin
- Preparation:
- ✔️ Review service manual for your vehicle
- ✔️ Gather all necessary tools and replacement parts
- ✔️ Work in a clean, well-lit area
- Safety:
- ✔️ Use jack stands and wheel chocks
- ✔️ Wear eye protection and gloves
- Execution:
- ✔️ Apply penetrating oil early
- ✔️ Support control arm before disconnection
- ✔️ Torque all fasteners to spec
- Post-Repair:
- ✔️ Inspect related suspension parts
- ✔️ Schedule a wheel alignment
Conclusion
Removing and replacing ball joints doesn’t require a mechanic’s license—just attention to detail, respect for safety, and the right approach. By following this methodical process, you gain confidence, save money, and ensure your vehicle handles safely for thousands of miles. Whether you're maintaining an older daily driver or prepping a project car, mastering ball joint replacement puts you one step closer to true mechanical independence.


 浙公网安备
33010002000092号
浙公网安备
33010002000092号 浙B2-20120091-4
Comments
No comments yet. Why don't you start the discussion?