
The Razer BlackWidow V4 is a premium mechanical gaming keyboard known for its durability, responsive keys, and customizable lighting. However, over time, users may want to upgrade or repair individual switches—whether to change the feel of key actuation, fix a sticky key, or personalize their typing experience. While replacing mechanical switches isn’t officially supported by Razer, it’s entirely possible with the right tools and technique. This comprehensive guide walks you through every phase of the process, ensuring you do it safely and effectively.
Understanding Your Keyboard's Switch Design
The Razer BlackWidow V4 uses hot-swappable mechanical switches, a significant improvement over older models that required soldering. Hot-swap sockets allow users to remove and insert new switches without applying heat or modifying circuit boards. The keyboard ships with Razer-branded optical switches (Red, Yellow, or Green variants), but third-party 3-pin or 5-pin MX-style switches can be used as long as they are compatible with the PCB layout and firmware.
Before beginning, confirm your model supports hot-swap functionality. Most BlackWidow V4 units do, but double-check the underside label or product documentation. If your unit lacks hot-swap sockets, attempting switch replacement could damage the board.
“Hot-swap technology has democratized keyboard customization. Enthusiasts no longer need advanced electronics skills to tailor their input devices.” — David Lin, Mechanical Keyboard Engineer at Input Labs
Essential Tools and Materials
Gathering the correct tools ensures a smooth, risk-free process. Using improper equipment can lead to bent pins, damaged sockets, or electrostatic discharge (ESD) harm.
- Switch puller – Specifically designed for removing mechanical switches. Avoid using tweezers or pliers.
- New compatible switches – Ensure they match pin configuration (typically 3 or 5-pin MX standard).
- Anti-static wrist strap – Prevents static electricity from damaging sensitive circuits.
- Small container – To store removed switches and prevent loss.
- Isopropyl alcohol (70% or higher) and lint-free cloth – For cleaning socket contacts if needed.
- Tweezers (optional) – Useful for reseating loose stabilizer clips.
Step-by-Step Guide to Replacing Switches
Follow this sequence carefully to avoid missteps. Work in a clean, well-lit area with minimal distractions.
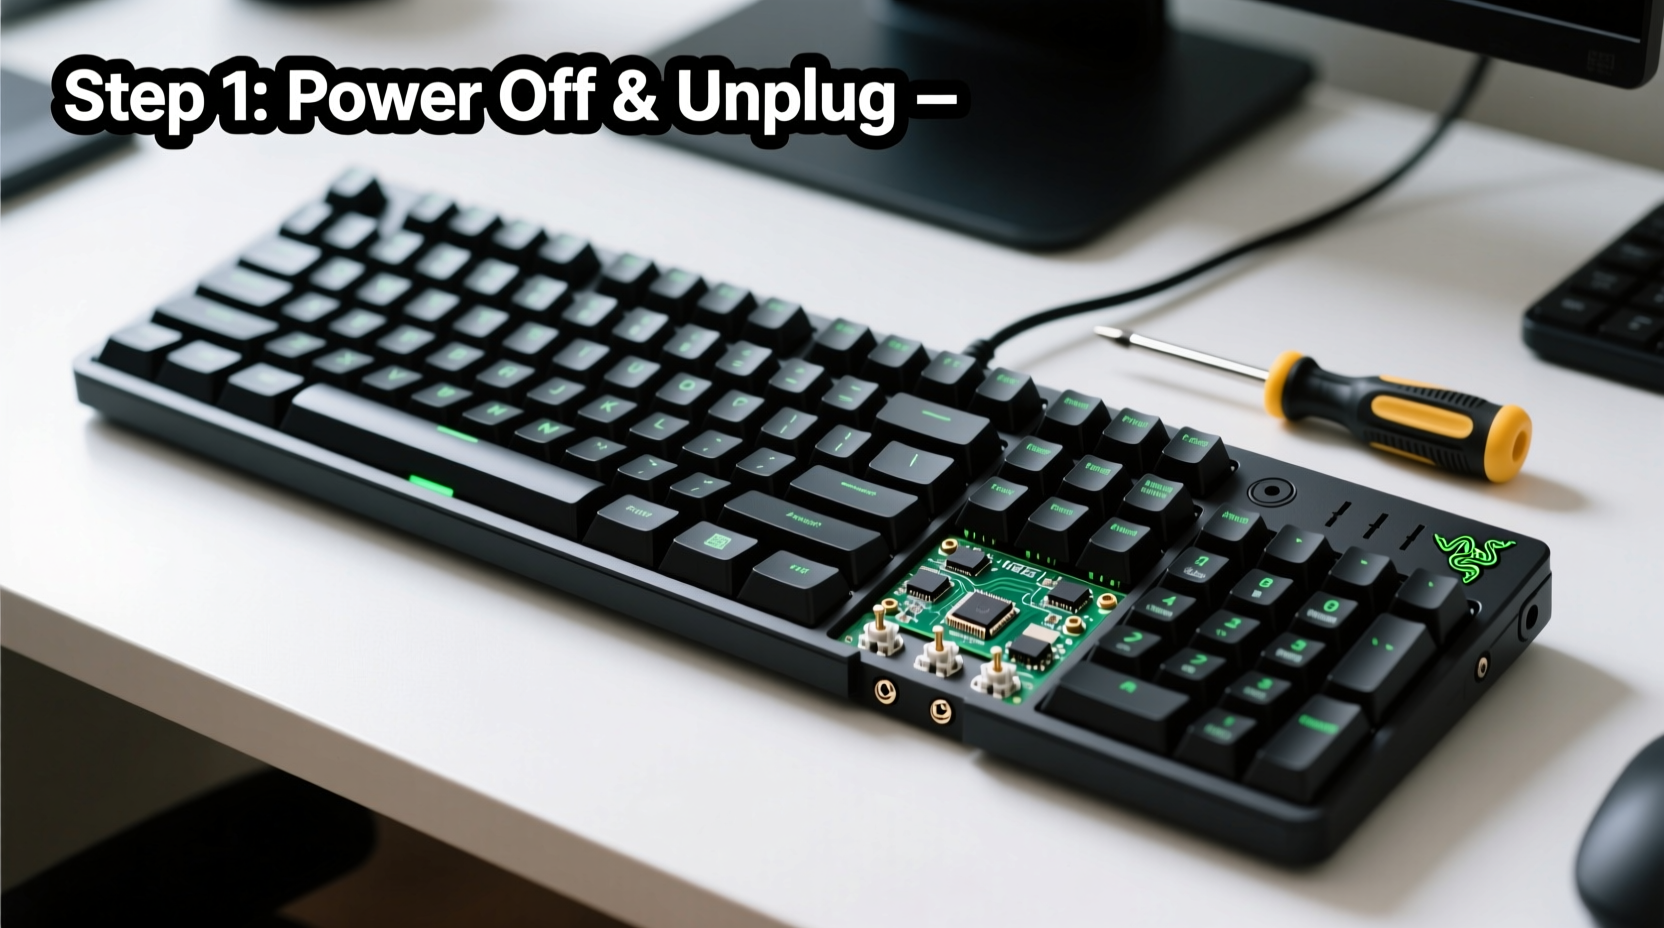
- Power down and disconnect: Unplug the keyboard from your computer. Do not attempt modifications while powered.
- Remove keycaps: Use a keycap puller to gently lift off the keycaps above the switches you plan to replace. Store them separately to avoid scratches.
- Inspect stabilizers: Larger keys (Enter, Shift, Spacebar) use stabilizer bars. Make sure these remain undisturbed unless you're replacing those switches.
- Insert switch puller: Place the switch puller under the switch housing, ensuring both hooks engage the bottom tabs.
- Lift evenly: Apply steady upward pressure until the switch pops out. Do not twist or tilt—this can damage socket contacts.
- Inspect the socket: Look for debris or bent pins. Clean with isopropyl alcohol and a cotton swab if necessary.
- Insert new switch: Align the pins with the holes in the socket. Press straight down with firm, even pressure until fully seated.
- Test function: Reattach the keycap and plug in the keyboard. Open a text editor and test the key for responsiveness and consistency.
| Action | Do | Don't |
|---|---|---|
| Removing switches | Use a proper switch puller; pull straight up | Use tweezers or pliers; yank at an angle |
| Installing new switches | Align pins correctly; press firmly and evenly | Force misaligned switches; use excessive force |
| Handling components | Wear ESD protection; work on non-conductive surface | Handle switches by pins; work on carpeted floors |
Real Example: Upgrading for Tactile Feedback
Consider Mark, a freelance writer who uses his BlackWidow V4 daily. Over time, he found the linear Razer Red optical switches too light and fatiguing for long typing sessions. He wanted more tactile feedback without the loud click of traditional blue switches. After research, he purchased a set of Gateron Brown switches—tactile, quiet, and compatible with MX-style sockets.
Following the steps above, Mark replaced the switches on his home row (ASDF and JKL;) first to test the feel. After confirming comfort and reliability, he gradually replaced all primary typing keys over two weekends. The result? A personalized keyboard that reduced finger strain and improved typing accuracy. His only regret was not doing it sooner.
Frequently Asked Questions
Can I mix different switch types on my BlackWidow V4?
Yes, as long as they are mechanically compatible (same pin layout). Some users combine linear switches for gaming keys and tactile ones for typing areas. Just ensure consistent height and stem type for smooth keycap fit.
Will replacing switches void my warranty?
Likely yes. Although the keyboard supports hot-swap, any modification—including switch replacement—is typically considered user tampering. Proceed knowing that Razer may deny service if future issues arise.
What should I do if a switch doesn’t register after installation?
First, unplug the keyboard and reseat the switch—ensure it’s fully pressed into the socket. Check for bent pins or debris. If the issue persists, try reinstalling the original switch to isolate whether the problem lies with the new unit or the PCB.
Best Practices and Long-Term Maintenance
Once your switches are replaced, maintain performance with regular care. Dust and debris can accumulate under keycaps and around sockets, affecting switch longevity. Clean your keyboard monthly using compressed air and a soft brush. Remove keycaps periodically and wipe the plate with a slightly damp cloth.
If you frequently swap switches, consider investing in a switch tester kit. These small boards let you try various switch types before committing to a full install, saving money and effort.
“User customization is the future of input devices. Knowing how to maintain and modify your gear empowers better ergonomics and personal satisfaction.” — Lena Park, Human Factors Researcher at TechInterface Lab
Final Checklist Before You Begin
- ✅ Confirm your BlackWidow V4 has hot-swap sockets
- ✅ Acquire a quality switch puller and compatible replacement switches
- ✅ Power off and unplug the keyboard
- ✅ Ground yourself to prevent static damage
- ✅ Work slowly and deliberately—rushing causes mistakes
- ✅ Test each new switch immediately after installation
Conclusion
Replacing switches on your Razer BlackWidow V4 is a straightforward process when approached with preparation and care. Whether you’re repairing a faulty key or tailoring your keyboard’s feel to match your typing rhythm, this upgrade enhances both performance and personal satisfaction. With the right tools and attention to detail, you can transform your keyboard into a truly custom device.


 浙公网安备
33010002000092号
浙公网安备
33010002000092号 浙B2-20120091-4
Comments
No comments yet. Why don't you start the discussion?