
Changing your Apple ID may seem like a simple task, but doing it incorrectly can lead to lost data, locked devices, or disrupted access to iCloud, App Store, and other Apple services. Whether you're switching to a new email address, recovering from a security issue, or consolidating accounts, the process must be handled with care. This comprehensive guide walks you through every stage of securely updating your Apple ID across iPhones, iPads, Macs, Apple Watches, and even Windows PCs—ensuring continuity, minimizing downtime, and protecting your digital identity.
Why Change Your Apple ID?
Your Apple ID is the backbone of your Apple ecosystem. It governs access to iCloud storage, iMessage, FaceTime, App Store purchases, Find My, and more. Common reasons for changing your Apple ID include:
- You’ve switched email providers and want a permanent address as your ID.
- You’re using a temporary or outdated email that no longer works.
- You’re merging multiple Apple IDs into one primary account.
- You suspect your current Apple ID has been compromised.
Apple allows you to change the email address associated with your Apple ID—provided it’s not an @icloud.com, @me.com, or @mac.com address (those are tied permanently). If your current Apple ID uses one of those domains, you’ll need to create a new Apple ID instead.
Preparation Checklist
Before initiating any changes, take time to prepare. Rushing this process risks data loss or service interruptions. Follow this checklist to ensure a smooth transition:
- Back up all devices to iCloud or a computer via Finder/iTunes.
- Verify ownership of both your current and new email addresses.
- Update payment methods linked to your Apple ID to avoid billing issues.
- Sign out of iCloud Keychain and save passwords locally if needed.
- Ensure two-factor authentication is enabled on your current Apple ID.
- Deauthorize any computers where you’ve used iTunes or media services.
“Proper preparation reduces the risk of lockout by over 90%. Always back up before modifying core account settings.” — Lisa Tran, Senior Apple Support Specialist
Step-by-Step Guide to Changing Your Apple ID
If your current Apple ID uses a third-party email (e.g., Gmail, Outlook), you can update it directly. If it’s an @icloud.com address, skip to the section on creating a new Apple ID.
Step 1: Sign in to Your Apple ID Account Page
Visit appleid.apple.com and sign in using your current credentials.
Step 2: Navigate to Email & Security
Under “Account,” click “Edit” next to your current email address. You’ll be prompted to verify your identity via two-factor authentication.
Step 3: Enter Your New Email Address
Type in the new email you wish to use. Apple will send a verification code to that address. Confirm it to finalize the change.
Step 4: Wait for Propagation
Changes may take up to 24 hours to fully sync across all services. Avoid signing in with the old email during this window.
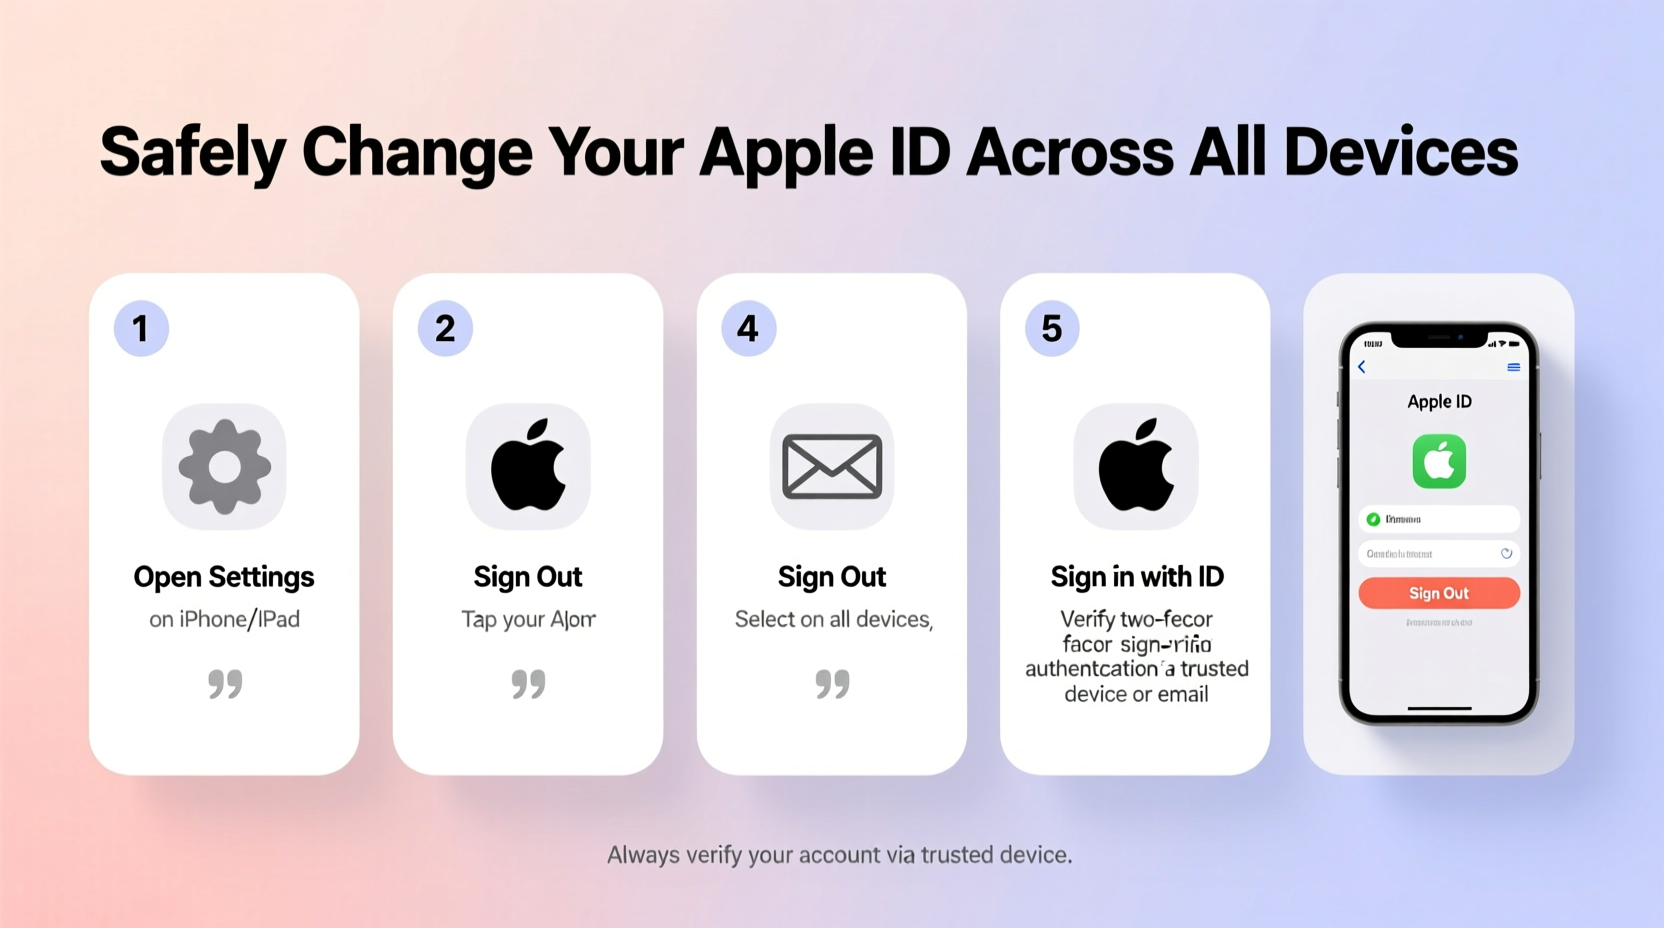
Step 5: Update Devices Individually
On each device, go to Settings (iOS) or System Settings (macOS) > [Your Name] > Media & Purchases > Use Different Apple ID. Sign in with your updated credentials.
Creating a New Apple ID When Migration Is Required
If your existing Apple ID uses an @icloud.com, @me.com, or @mac.com address, you cannot change it. Instead, you must create a new Apple ID and migrate your data.
Data Transfer Considerations
Note: Purchases, subscriptions, and Find My access cannot be transferred between Apple IDs. However, personal data like photos, contacts, and calendars can be moved with proper planning.
- Create the new Apple ID at appleid.apple.com.
- On your iPhone or iPad, go to Settings > [Your Name] > Media & Purchases > Use Different Apple ID, then sign in with the new ID.
- Repeat for iCloud: Settings > [Your Name] > Sign Out, then sign in with the new Apple ID and choose which data to merge (e.g., Contacts, Calendars).
- On Mac: Apple Menu > System Settings > [Your Name] > Sign Out, then sign in with the new ID.
- Transfer photos via shared albums or external backup, as they remain tied to the original iCloud account unless downloaded first.
| Data Type | Can Be Transferred? | Method |
|---|---|---|
| iCloud Photos | No (directly) | Download originals, upload to new account |
| Contacts, Calendars | Yes | Merge during iCloud sign-in |
| App Store Purchases | No | Keep old ID signed in for redownloads |
| iMessages | No | Messages stay on original account |
| Notes | Yes | Enable Notes sync under new ID |
Real-World Example: Migrating After a Domain Change
Sophia worked at a company that provided employee emails. When she left, her @company.com Apple ID became inaccessible. She followed these steps:
- Backed up her iPhone and MacBook using iCloud and Time Machine.
- Created a new Apple ID with her personal Gmail address.
- Transferred contacts and calendars by enabling iCloud sync on the new ID.
- Kept her old Apple ID signed in on her devices solely for downloading past apps and music.
- Updated her payment method and enabled two-factor authentication on the new account.
Within 48 hours, Sophia had full control of her new Apple ID while retaining access to legacy content. Her only limitation was not being able to move iMessages—she accepted this trade-off for greater long-term stability.
Frequently Asked Questions
Can I reuse my old Apple ID email after changing it?
No. Once changed, the previous email remains linked to your Apple ID history and cannot be reused for another Apple ID for at least one year.
Will I lose my app purchases if I switch Apple IDs?
You won’t lose them permanently. As long as you keep the old Apple ID signed in under “Media & Purchases,” you can still download and update apps purchased under that account.
What happens to my iCloud storage when I change Apple IDs?
Each Apple ID has its own iCloud storage plan. If you switch to a new ID, you’ll start with 5GB of free storage. Any paid plans on the old ID do not transfer.
Final Steps and Best Practices
After completing the Apple ID change, take these final actions:
- Remove the old Apple ID from all devices if no longer needed for purchases.
- Update recovery email and phone number on the new ID.
- Review trusted devices and remove any outdated ones.
- Test critical services: iMessage, FaceTime, iCloud Drive, and Find My.
“Think of your Apple ID as your digital passport. Changing it requires documentation, verification, and careful handover—not just a quick swap.” — Mark Delgado, Cybersecurity Consultant
Conclusion
Changing your Apple ID doesn’t have to be risky or complicated. With deliberate preparation, systematic execution, and awareness of what can and cannot be transferred, you can successfully migrate your digital life to a new, more secure identity. The key is patience—don’t rush the process. Verify each step, preserve access to legacy content, and prioritize data safety above convenience.


 浙公网安备
33010002000092号
浙公网安备
33010002000092号 浙B2-20120091-4
Comments
No comments yet. Why don't you start the discussion?