
Car neck pillows are essential for comfort during long drives or daily commutes, but they often go unnoticed when it comes to cleaning. Over time, sweat, skin oils, dust, and even food particles accumulate on the surface and inside the filling. Without proper care, these pillows can become breeding grounds for bacteria, develop unpleasant odors, and lose their supportive shape. Fortunately, most detachable car neck pillows are designed for easy maintenance—if you know the right method. This comprehensive guide walks you through a safe, effective process to clean and refresh your pillow without damaging its materials or structure.
Why Regular Cleaning Matters
A car neck pillow may seem like a minor accessory, but it’s in constant contact with your skin and hair. Unlike home cushions, it sits in a closed environment—your vehicle—where heat and humidity amplify bacterial growth and odor retention. Regular cleaning not only improves hygiene but also extends the life of the pillow. Dust mites, mold spores, and allergens can embed themselves in the fabric and foam, potentially triggering respiratory discomfort over time.
“Many people overlook the importance of cleaning travel accessories. A simple monthly refresh can prevent long-term damage and maintain optimal support.” — Dr. Lena Patel, Automotive Ergonomics Consultant
Cleaning isn’t just about appearance; it preserves the structural integrity of memory foam or polyester fillings, which degrade faster when exposed to moisture and contaminants without proper drying.
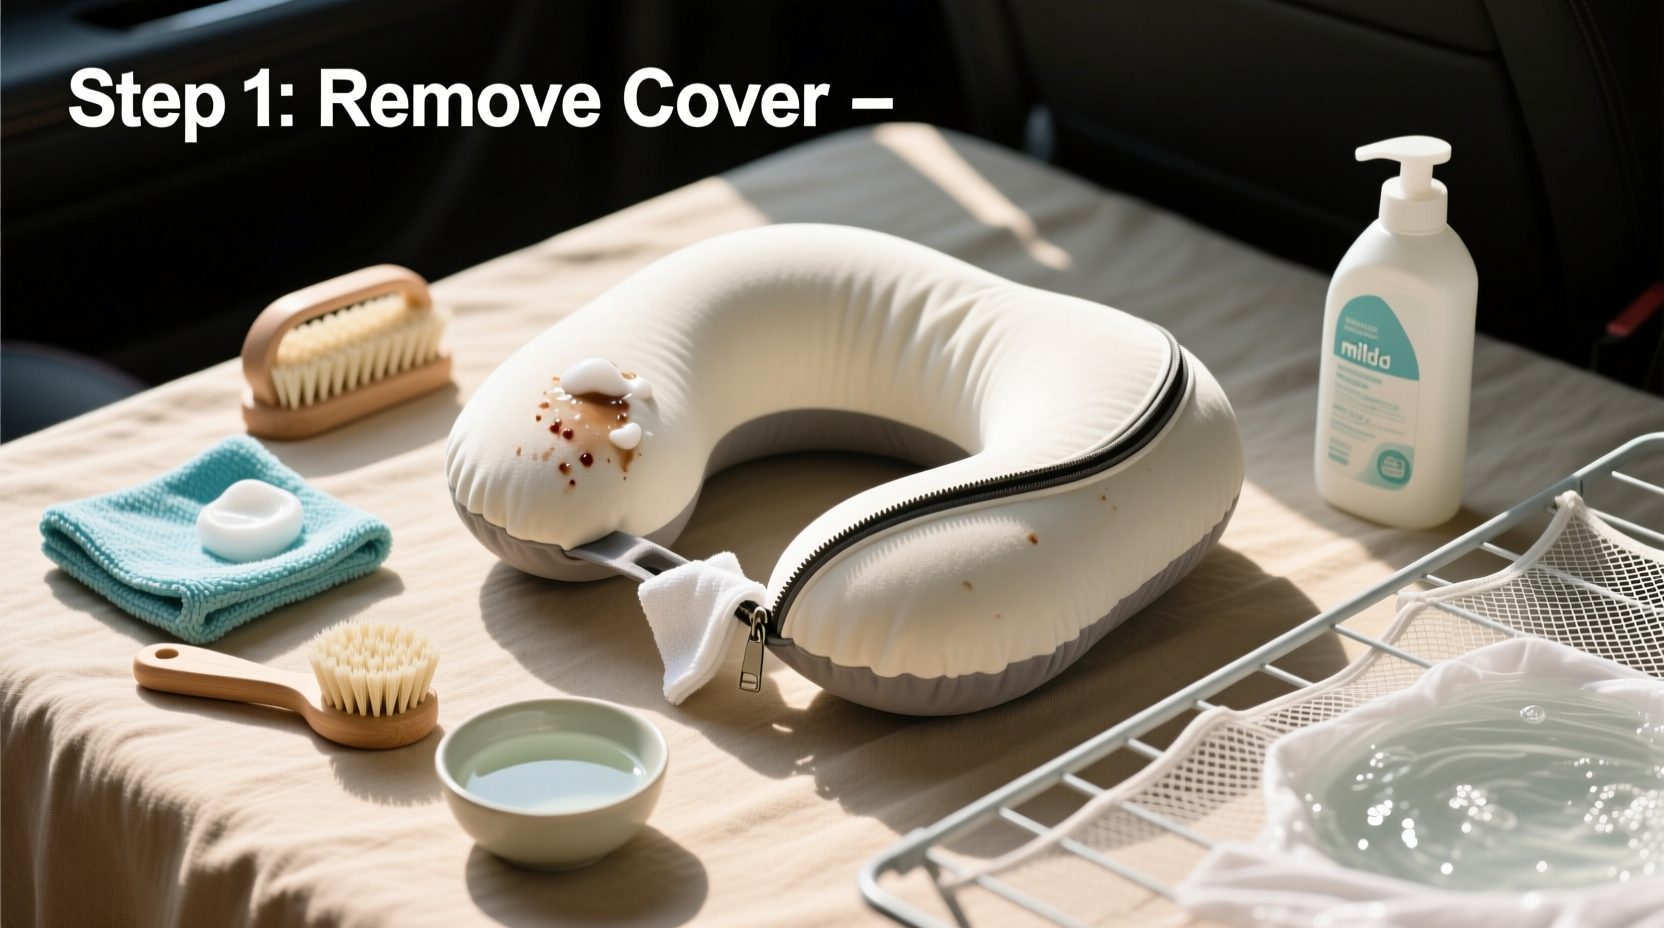
Step-by-Step Guide to Cleaning Your Detachable Car Neck Pillow
Follow this detailed sequence to ensure thorough yet gentle cleaning. The process varies slightly depending on whether your pillow has a removable cover or is fully sealed, but the principles remain consistent.
- Check the Care Label
Before doing anything, inspect the manufacturer’s label. Look for washing symbols indicating whether the cover is machine washable, hand-wash only, or dry-clean recommended. If there’s no label, assume delicate handling unless the material appears rugged (e.g., polyester or nylon). - Detach the Pillow from the Seat
Unclip or unstrap the pillow carefully. Avoid pulling on straps if they’re tangled—this prevents seam stress. Set aside any metal or plastic clips for separate wiping. - Vacuum Surface Debris
Use a handheld vacuum with a brush attachment to remove loose dirt, hair, and crumbs from both sides of the pillow. Pay special attention to seams and crevices where debris collects. - Treat Stains Immediately
If visible stains exist (coffee, makeup, sweat), apply a small amount of mild detergent mixed with water using a soft cloth. Gently dab the area—do not scrub, as this can spread the stain or damage fibers. For protein-based stains like sweat, a solution of one part white vinegar to two parts water works effectively. - Remove the Cover (If Applicable)
Most modern neck pillows feature zip-off covers. Unzip carefully and set the inner insert aside. Wash the cover separately according to its care instructions. - Wash the Cover Safely
For machine-washable covers: use cold water on a gentle cycle with mild, fragrance-free detergent. Avoid bleach or fabric softeners—they break down elastic fibers and leave chemical residues. For hand washing: soak in lukewarm water with a teaspoon of detergent for 10–15 minutes, then rinse thoroughly. - Clean the Inner Insert
Never submerge memory foam or fiberfill inserts. Instead, spot-clean with a damp cloth and mild soap. Wring the cloth well to avoid excess moisture. Let the insert air-dry completely before reassembly—this may take 24 hours depending on humidity. - Deodorize Naturally
To eliminate lingering smells, sprinkle baking soda lightly over the insert and let it sit for 30 minutes before vacuuming. Alternatively, place the dry insert in indirect sunlight for 2–3 hours—UV rays help kill bacteria and neutralize odors. - Reassemble and Inspect
Once all components are dry, reattach the clean cover. Check that zippers function smoothly and stitching remains intact. Reinstall the pillow into your car only when fully dry to prevent mold growth.
Do’s and Don’ts: Maintenance Table
| Do | Don’t |
|---|---|
| Use mild, pH-balanced detergents | Use bleach or strong solvents |
| Air dry in a well-ventilated space | Place foam inserts in direct sunlight for more than 3 hours |
| Vacuum monthly to reduce dust buildup | Submerge non-waterproof inserts |
| Spot clean spills within 24 hours | Store damp pillows in enclosed spaces |
| Rotate or flip the pillow weekly for even wear | Ignore fraying seams or broken straps |
Real-Life Example: How One Driver Prevented Allergy Flare-Ups
Mark, a delivery driver from Ohio, began experiencing frequent sneezing and itchy eyes during his shifts. After ruling out pollen and air conditioning issues, he suspected his car seat accessories. He hadn’t cleaned his neck pillow in over a year. Upon removing it, he noticed a faint musty smell and visible grime along the edges. Following a careful cleaning process—vacuuming, spot-cleaning with vinegar, and sun-drying the insert—he replaced the cover and reinstalled the refreshed pillow. Within days, his symptoms improved significantly. A follow-up with his allergist confirmed dust mite exposure was likely the culprit. Mark now cleans his pillow every six weeks and keeps spare covers in his glove compartment for rotation.
Essential Checklist for Safe Cleaning
- ☐ Confirm whether the pillow has a removable cover
- ☐ Locate and review care instructions
- ☐ Detach the pillow from the headrest or seat
- ☐ Vacuum surface debris thoroughly
- ☐ Identify and pre-treat stains gently
- ☐ Remove and wash the cover (if applicable)
- ☐ Spot-clean the inner insert—no soaking
- ☐ Deodorize with baking soda or sunlight
- ☐ Allow full air-drying (minimum 12–24 hours)
- ☐ Reassemble and reinstall only when completely dry
Frequently Asked Questions
How often should I clean my car neck pillow?
For regular use (daily or weekly driving), aim to deep clean every 4–6 weeks. Light vacuuming and spot checks should be done monthly. If you eat in the car, sweat heavily, or have pets riding with you, increase frequency to every 3–4 weeks.
Can I machine-wash a memory foam insert?
No. Submerging memory foam damages its cellular structure, causing it to break down and lose support. Always spot-clean foam with a damp cloth and allow ample time to dry. Never wring or twist it.
What if my pillow doesn’t have a removable cover?
Use a microfiber cloth dampened with soapy water to wipe down the entire surface. Focus on areas contacting your neck and shoulders. Follow with a clean, damp cloth to rinse residue, then air dry completely. Consider using a protective slipcover to minimize future soiling.
Final Thoughts: Make Cleanliness Part of Your Routine
Your car neck pillow supports more than just your spine—it supports your health and driving comfort. Treating it with regular care ensures it continues performing at its best. By integrating simple cleaning habits into your vehicle maintenance routine, you protect your investment and enhance your daily commute. Whether you're a rideshare driver, road tripper, or daily commuter, a fresh, clean pillow makes every journey more enjoyable.


 浙公网安备
33010002000092号
浙公网安备
33010002000092号 浙B2-20120091-4
Comments
No comments yet. Why don't you start the discussion?