
Many people inherit or purchase beautiful clip-on earrings only to discover they can't wear them comfortably for long periods. The pressure on the earlobe, limited style options, and discomfort make them impractical for daily use—especially if you already have pierced ears. Fortunately, it’s possible to convert clip-on earrings into pierced-style posts with basic tools and careful execution. This guide walks you through the process safely, preserving both the integrity of your jewelry and your comfort.
Whether you're reviving a vintage heirloom or updating an old favorite, this conversion opens up new ways to enjoy timeless designs without sacrificing modern convenience.
Why Convert Clip-On Earrings?
Clip-on earrings were once the standard for those without pierced ears, but today, most adults opt for piercings early in life. As a result, many find themselves owning elegant or sentimental clip-ons that go unworn. Converting them allows you to:
- Wear beloved pieces more comfortably
- Reduce ear fatigue caused by clamping mechanisms
- Update outdated styles into wearable, everyday accessories
- Avoid buying duplicate designs in pierced form
This transformation is especially valuable for vintage or handmade earrings where replacement parts are unavailable. With care, you can preserve the original craftsmanship while making the piece functional again.
Tools and Materials You’ll Need
The success of your conversion depends heavily on having the right supplies. Most items are accessible from craft or hardware stores, though precision tools yield better results.
| Tool/Material | Purpose | Recommended Type |
|---|---|---|
| Earring Posts | To replace the clip mechanism | Sterling silver or surgical steel (size: 4mm–6mm) |
| Soldering Iron & Low-Temp Solder | To attach the post securely | 15-watt iron with lead-free silver solder |
| Jeweler’s Flux & Pick | Prepares metal surface and removes oxidation | Acid-free flux for precious metals |
| Needle-Nose Pliers & Wire Cutters | For handling small components | Fine-tipped, non-marring jaws |
| Heat Sink Clamp or Tweezers | Protects stones and settings during heating | Metal tweezers or alligator clip |
| Safety Gear | Protects eyes and lungs | Goggles, mask, well-ventilated workspace |
“Converting clip-ons requires patience and respect for heat-sensitive materials. Never rush the soldering step.” — Lena Torres, Master Jewelry Artisan
Step-by-Step Conversion Process
Follow these steps carefully to ensure a secure, professional-looking result. Rushing or skipping preparation increases the risk of damaging delicate settings or weakening the earring back.
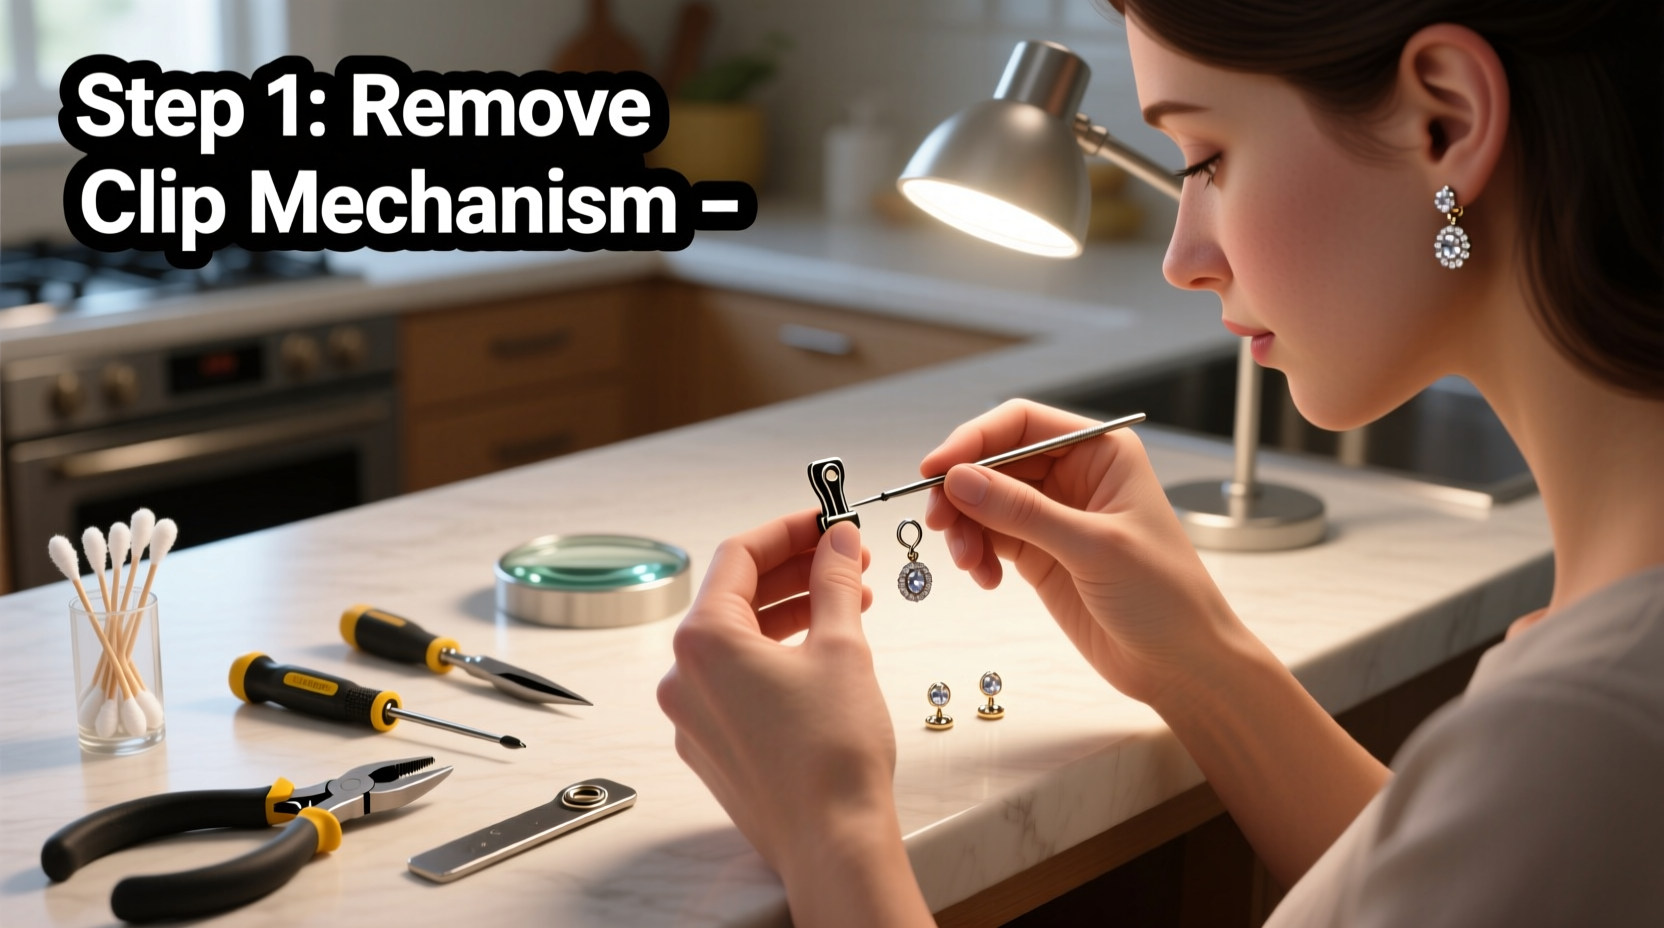
- Remove the Clip Mechanism
Use pliers to gently detach the clip backing. If it's riveted, file down the rivet head and push it out with a pin. Avoid twisting forcefully, which could warp the earring base. - Clean the Back Plate Thoroughly
Wipe away oils, tarnish, or residue with rubbing alcohol and a soft cloth. A clean surface ensures better adhesion during soldering. - Position the Earring Post
Place the post centered on the back of the earring. Mark contact points lightly with a scribe or fine marker. Ensure the post sits flush and upright. - Apply Flux to Attachment Area
Brush a small amount of flux onto the base where the post will be joined. This prevents oxidation and helps the solder flow evenly. - Secure the Post Temporarily
Use a dab of temporary adhesive (like jeweler’s wax) or hold it in place with tweezers during soldering. Do not use glue that leaves residue. - Solder the Post in Place
Heat the joint evenly with the soldering iron. Touch the solder to the heated metal—not the iron tip—to allow capillary action to draw it into the seam. Use minimal solder to avoid overflow. - Cool and Clean the Joint
Let the earring cool naturally. Quenching in water can cause thermal shock. Once cooled, clean off excess flux with warm soapy water and a soft brush. - Inspect for Strength and Alignment
Check that the post is straight and firmly attached. Gently wiggle it; there should be no movement. File down any sharp solder bumps.
Common Mistakes to Avoid
Even experienced DIYers can damage delicate earrings when converting clips. Awareness of pitfalls leads to better outcomes.
- Using excessive heat – Can melt gemstone settings or discolor gold plating.
- Skipping the heat sink – Without protection, nearby stones may crack due to thermal stress.
- Attaching posts off-center – Leads to uneven hanging and discomfort when worn.
- Over-soldering – Creates bulky joints that look unprofessional and may irritate the skin.
- Ignoring metal compatibility – Mixing base metals with sterling posts can cause galvanic corrosion over time.
Real Example: Restoring Heirloom Earrings
Sarah inherited a pair of 1940s jade-and-gold clip-ons from her grandmother. Though beautiful, the clips left red marks after just 20 minutes of wear. She decided to convert them into pierced studs to honor their legacy while making them wearable.
After researching techniques, she purchased two 5mm sterling silver posts and used a 20-watt temperature-controlled soldering iron. She applied a heat sink to the jade cabochon and worked slowly, applying flux precisely. The entire process took about 90 minutes, including cooling and cleanup.
The result? A perfectly balanced pair of studs that now appear regularly at family events—worn proudly and comfortably.
FAQ
Can I convert earrings with gemstones?
Yes, but extra caution is required. Use a heat sink on the stone and work quickly to minimize exposure. Avoid high-heat methods like torch soldering. Stones like opals, emeralds, or pearls should not be exposed to direct heat and may require professional help.
Is it safe to do this at home without prior experience?
With proper tools and attention to safety, beginners can succeed—especially with sturdy metal earrings. Start with less valuable pairs to practice. If the earring has sentimental or high monetary value, consider consulting a local jeweler instead.
What if my earring doesn’t have a solid back?
If the earring lacks a flat surface (e.g., open filigree), you may need to solder a small metal disc first as a base, then attach the post to that. Use matching metal to prevent corrosion and ensure durability.
Final Checklist Before You Begin
📋 **Conversion Readiness Checklist**- ✅ Earrings are made of solderable metal (gold, silver, brass)
- ✅ No heat-sensitive stones (or they can be protected)
- ✅ You have a stable work surface and good lighting
- ✅ Ventilation is available (open window or fan)
- ✅ Safety goggles and gloves are ready
- ✅ Matching earring posts are purchased
- ✅ One test earring is available for practice (optional but recommended)
Conclusion
Transforming clip-on earrings into pierced ones breathes new life into forgotten treasures. With steady hands and the right approach, you can preserve emotional keepsakes and expand your wearable collection. The process respects both tradition and modern comfort, blending past elegance with present-day practicality.


 浙公网安备
33010002000092号
浙公网安备
33010002000092号 浙B2-20120091-4
Comments
No comments yet. Why don't you start the discussion?