
Disassembling a detailed building block model—especially one as intricate as the Walking Dead RV set—can feel like reverse engineering a masterpiece. Whether you're relocating, reorganizing, or preparing for an upgrade, taking it apart requires patience, precision, and planning. Done incorrectly, you risk breaking fragile pieces, losing small components, or mixing up sections that should stay together. This comprehensive guide walks you through each phase of disassembly with clear instructions, practical tips, and expert-backed methods to ensure every brick survives the process intact.
Why Proper Disassembly Matters
Many collectors assume that once a model is built, its lifecycle ends there. But models often need to be moved, repaired, or stored. The Walking Dead RV set includes delicate elements like sliding doors, removable roof panels, and character minifigures with accessories. Without careful handling, these features can snap, warp, or get misplaced. A structured disassembly isn't just about preservation—it's about maintaining value, functionality, and emotional connection to the build.
“Treating disassembly with the same care as assembly ensures your model remains rebuildable and display-worthy for years.” — Daniel Park, Modular Model Preservation Specialist
Preparation: Tools and Workspace Setup
Before touching a single brick, gather the right tools and prepare your environment. Rushing this stage increases the risk of damage.
Essential Tools Checklist
- Plastic pry tool (brick separator)
- Fine-tipped tweezers
- Small containers or compartmentalized trays
- Label maker or sticky notes
- Bright, adjustable task lighting
- Camera or smartphone for documentation
Clear a flat workspace large enough to accommodate multiple stages of deconstruction. Ideally, choose a low-traffic area where the model won’t be disturbed. Natural light helps identify part numbers and colors, but supplement with LED lighting if needed.
Step-by-Step Disassembly Process
Follow this timeline-based sequence to systematically dismantle your RV model while minimizing stress on components.
- Document the current state: Take high-resolution photos from all angles—front, back, sides, top, and interior. Include close-ups of complex joints and modular connections. These serve as visual references during future reassembly.
- Remove loose accessories: Start with non-connected items such as minifigures, weapons, crates, and signage. Place them in labeled containers (e.g., “Characters,” “Props”).
- Detach removable modules: Identify major sub-assemblies like the awning, ladder, rooftop shelter, and fuel cans. These are typically secured with minimal connection points. Gently twist or lift using a brick separator to avoid cracking support beams.
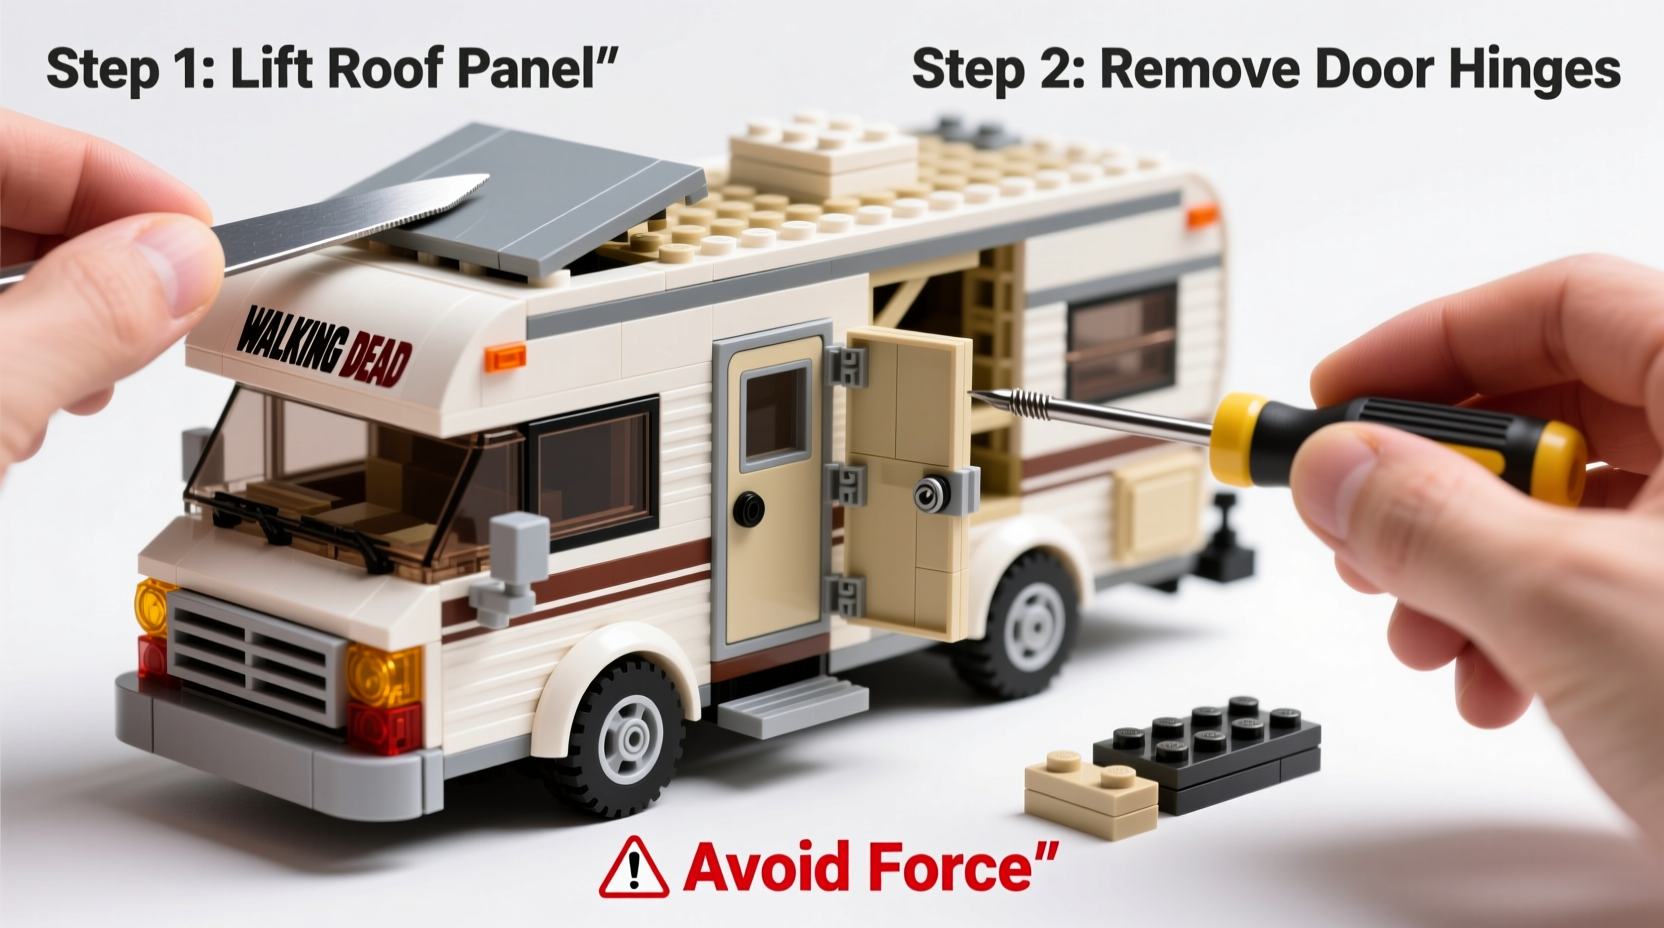
- Disassemble upper levels: Begin at the roof and work downward. Remove solar panels, satellite dishes, and ventilation units first. Then carefully detach wall sections connected via clips or pins. Store panels flat to prevent warping.
- Break down side walls and windows: Use the brick separator to release window frames and decorative siding. Avoid pulling directly; instead, apply even pressure on both ends of connecting bricks. Keep glass-like transparent parts separate and face-up in padded trays.
- Dismantle the chassis and wheels: Support the frame with one hand while detaching axles. Note whether wheel types differ (e.g., front vs. rear). Wrap rubber tires in tissue paper to prevent grease transfer onto other pieces.
- Sort interior components: Extract furniture, dashboard elements, and storage bins. Group items by room: kitchen, sleeping area, control panel. If adhesive stickers were used, photograph their original placement before removal.
- Bag and label all groups: Use ziplock bags or stackable containers. Label each with a description and step number (e.g., “Roof Panel – Step 4”). Consider adding a QR code linked to your photo archive for digital tracking.
Do’s and Don’ts During Disassembly
| Do’s | Don’ts |
|---|---|
| Work slowly and methodically | Rush the process under time pressure |
| Use plastic tools designed for LEGO®-style bricks | Use metal screwdrivers or sharp knives |
| Photograph each layer before removing it | Assume you’ll remember how parts fit together |
| Clean hands before handling light-colored pieces | Touch white or translucent bricks with dirty fingers |
| Store bags away from direct sunlight and heat | Leave sorted pieces near radiators or windows |
Real Example: Recovering a Damaged Build
Mark T., a collector from Portland, had to relocate his Walking Dead RV after a home renovation. He began disassembling without labeling or photos. When he attempted reassembly six months later, he couldn’t recall how the barricade system attached to the driver’s side. Two critical hinge pieces were missing, likely lost during cleanup. After consulting online forums and comparing user-posted builds, he eventually reconstructed the section—but admitted it took three times longer than necessary.
He now follows a strict protocol: color-coded bins, dated photo logs, and inventory lists. “I learned the hard way,” he said. “Now I treat disassembly like archiving a museum piece.”
Storage Solutions After Disassembly
Proper storage preserves structural integrity and prevents long-term degradation. Temperature fluctuations and humidity are silent killers of ABS plastic, leading to brittleness over time.
Use stackable, lidded bins with dividers. For rare or fragile pieces (like molded zombie figures or damaged body panels), consider individual foam-lined cases. Store everything off the floor and away from exterior walls to minimize exposure to dampness.
If you plan to rebuild within a few weeks, keep related sections together. For long-term storage, group by part type (plates, tiles, slopes) rather than model location—this makes future projects easier.
Frequently Asked Questions
Can I wash the pieces before storing them?
Yes, but only if necessary. Hand-wash in lukewarm water (below 40°C / 104°F) with mild dish soap. Rinse thoroughly and air-dry on a clean towel—never use a dryer or direct heat. Avoid soaking stickers or printed elements.
What if a piece breaks during disassembly?
Stop immediately and assess the damage. Small cracks may be repairable with plastic-safe glue (e.g., cyanoacrylate). For cosmetic breaks, consider replacing the piece through official spare parts services or reputable resellers. Never force broken connectors back into place.
How long can I store the pieces before reassembly?
With proper conditions—cool, dry, dark storage—building blocks can remain viable for decades. However, rubber seals and elastic bands degrade faster. Inspect these every 12–18 months and replace if stiff or cracked.
Final Steps and Long-Term Care
Once disassembled and stored, update your inventory log. Include total part count, notable variations (e.g., alternate head molds), and any replacements made. This record becomes invaluable for insurance purposes or resale.
If you’re not rebuilding soon, schedule a biannual checkup: open containers, inspect for pests or condensation, and rotate boxes to prevent static pressure on lower layers.
“Preservation starts the moment construction ends. How you take it apart defines how well it comes back together.” — Lena Cho, Architectural Model Conservator
Take Action Today
Your Walking Dead RV is more than a toy—it’s a narrative in plastic, a tribute to survival, and a testament to craftsmanship. By following this guide, you protect not just the physical structure but the memories embedded in every joint and windowpane. Whether you're moving homes, making space, or simply reimagining your display, approach disassembly with respect and care. Your future self—and your next build—will thank you.


 浙公网安备
33010002000092号
浙公网安备
33010002000092号 浙B2-20120091-4
Comments
No comments yet. Why don't you start the discussion?