
Inserting a corkscrew nose stud may seem simple, but doing it incorrectly can lead to discomfort, irritation, or even injury. Whether you're replacing jewelry after a fresh piercing or switching styles on a healed one, the process requires precision, cleanliness, and the right technique. Many people assume it's as easy as twisting in a screw, but the delicate tissue of the nasal septum or nostril demands care. This guide walks you through every stage—preparation, insertion, and aftercare—with actionable steps to ensure safety, minimize pain, and protect your piercing.
Understanding Your Nose Stud: Why Design Matters
Corkscrew nose studs are popular for their secure fit and subtle elegance. Unlike straight posts or L-shaped pins, they feature a spiral tip that gently threads into the piercing channel. This design reduces the risk of accidental ejection but requires careful handling during insertion. The twist must align with the natural path of the piercing; forcing it can tear tissue or misalign the jewelry.
The most common materials include surgical-grade stainless steel, titanium, and 14k gold—all hypoallergenic options ideal for sensitive skin. Always verify your jewelry is implant-grade before insertion, especially if your piercing is still healing.
“Many complications arise not from poor hygiene, but from mismatched jewelry and improper insertion angles.” — Dr. Lena Reyes, Dermatologist & Body Art Consultant
Essential Tools and Preparation Checklist
Before attempting insertion, gather all necessary supplies. Rushing this step increases the risk of contamination or fumbling, which can cause trauma to the piercing site.
Checklist: What You’ll Need
- Clean corkscrew nose stud (new or sterilized)
- Saline solution or wound wash
- Piercing aftercare spray (optional)
- Small mirror (preferably magnifying)
- Latex or nitrile gloves (recommended)
- Cotton swabs or gauze pads
- Antibacterial hand soap
If reinserting after removal, clean the stud first. Soak it in saline solution for 5–10 minutes or wipe gently with a sterile alcohol pad (only if the stud is metal and non-coated). Avoid boiling plastic-backed studs or those with gemstones.
Step-by-Step Guide to Pain-Free Insertion
Follow these steps carefully to insert your corkscrew nose stud safely. Work slowly and avoid rushing—even minor misalignment can cause pinching or resistance.
- Wash and dry your hands using antibacterial soap. Dry with a clean towel or paper towel to prevent lint or bacteria transfer.
- Clean the piercing site with a cotton swab dipped in saline solution. Gently remove any crust or buildup around the hole.
- Inspect the jewelry. Ensure the corkscrew end is smooth and free of burrs. Hold it under light to check for imperfections.
- Position yourself in front of a well-lit mirror. Use a handheld mirror if needed to see the angle clearly.
- Hold the stud with clean fingers or tweezers. Grip near the base, not the spiral tip, to maintain control.
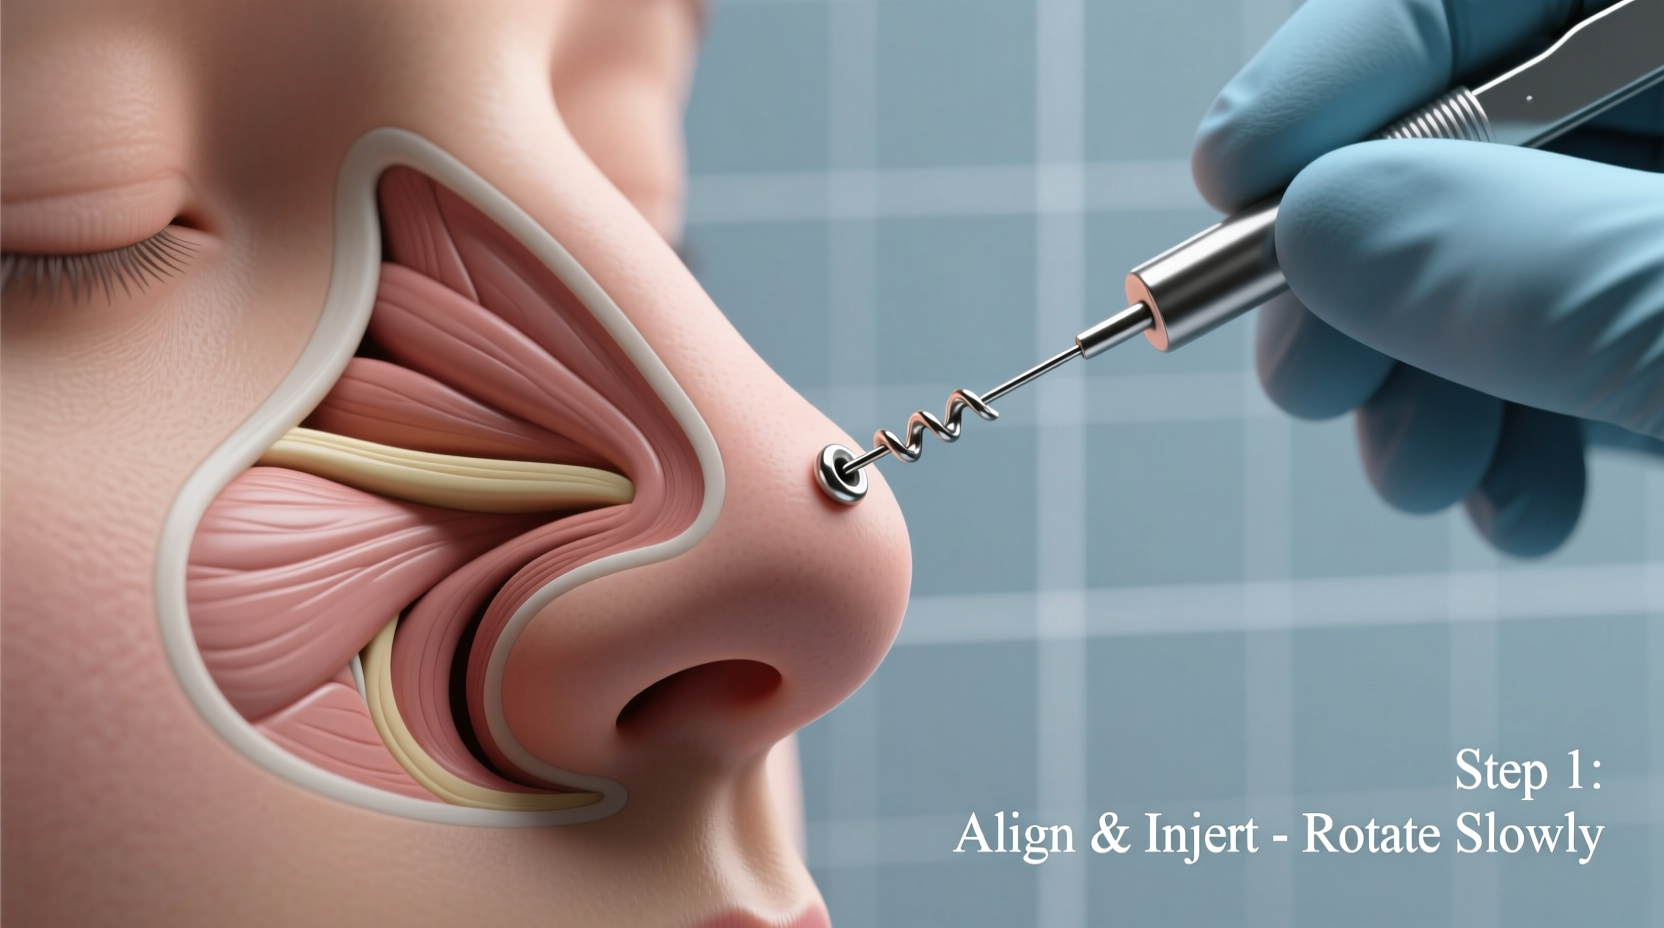
- Align the corkscrew with the piercing channel. Do not force it. The curve should naturally follow the original path created by your piercer.
- Begin gentle rotation. Using a slow, clockwise motion, twist the stud into place. Let the spiral do the work—do not push.
- Stop if you feel resistance. Back off slightly and reposition. Forcing can tear internal tissue or create a false passage.
- Once fully seated, clean around the area again and apply a thin layer of aftercare spray if recommended.
Common Mistakes and How to Avoid Them
Even experienced wearers make errors when changing nose jewelry. Below is a comparison of best practices versus frequent missteps.
| Do’s | Don’ts |
|---|---|
| Use saline to lubricate the stud tip | Apply petroleum jelly or ointments (can trap bacteria) |
| Twist gently in the direction of the screw | Force the stud if it resists |
| Check alignment by looking straight ahead in the mirror | Insert while lying down or at an awkward angle |
| Wait until piercing is fully healed before changing jewelry | Swap studs too early (nostril piercings take 6–8 weeks, septums 8–12 weeks) |
| Sterilize used jewelry before reinsertion | Reuse dirty or improperly stored studs |
Real-Life Example: A Smooth Transition After Healing
Jamie had a nostril piercing done professionally eight weeks prior. Confident it was healed, she decided to switch from her initial curved barbell to a delicate corkscrew stud. She washed her hands, cleaned the piercing with saline, and laid out her tools. Using a magnifying mirror, she aligned the stud’s spiral with the entry point. At first, there was slight resistance. Instead of pushing, she dampened the tip with saline and rotated slowly. Within seconds, the stud slipped in smoothly. By following proper protocol, Jamie avoided pain and prevented irritation that could delay full healing.
Frequently Asked Questions
Can I insert a corkscrew nose stud immediately after getting pierced?
No. Most piercers use a curved barbell initially because it accommodates swelling and provides easier access for cleaning. Wait until your piercing is fully healed—typically 6 to 12 weeks—before switching to a corkscrew style unless your piercer specifically recommends it.
What if the stud won’t go in?
Do not force it. Resistance often means misalignment, scabbing, or incomplete healing. Clean the area with saline, try again with moisture on the tip, and ensure you’re rotating in the correct direction. If it still won’t go in, consult your piercer—there may be internal scar tissue or migration.
How do I know if my piercing is healed enough?
A fully healed piercing has no tenderness, discharge, or redness. It should feel comfortable to touch, and you can rotate jewelry without pain. If in doubt, wait another week or get professional confirmation.
Final Tips for Long-Term Comfort and Safety
Once inserted, monitor the area for signs of irritation over the next 24–48 hours. Mild sensitivity is normal, but persistent redness, swelling, or pain suggests a problem. Keep the site clean and avoid touching it unnecessarily.
When removing or changing your corkscrew stud in the future, reverse the process: grip the base, rotate counterclockwise, and pull straight out. Never yank or twist abruptly.
Conclusion: Confidence Through Care
Inserting a corkscrew nose stud doesn’t have to be painful or stressful. With the right preparation, tools, and technique, you can change your jewelry safely and comfortably. Respect the healing process, prioritize cleanliness, and listen to your body’s signals. Every successful insertion builds confidence—and protects the integrity of your piercing.


 浙公网安备
33010002000092号
浙公网安备
33010002000092号 浙B2-20120091-4
Comments
No comments yet. Why don't you start the discussion?