
Installing a microwave oven above your stove—commonly known as an over-the-range (OTR) microwave—can save counter space, improve kitchen workflow, and enhance ventilation. However, improper installation can lead to fire hazards, poor performance, or even injury. Done correctly, it becomes a functional and safe centerpiece of your cooking area. This comprehensive guide walks you through every phase of the process with precision, safety standards, and real-world considerations in mind.
Understanding Over-the-Range Microwaves
Unlike countertop models, OTR microwaves are mounted directly above a cooktop or range. They typically include built-in exhaust fans that vent smoke, steam, and odors either outside (through ducted systems) or back into the room (via recirculating ductless filters). Their design integrates seamlessly into cabinetry, but their weight and electrical demands require careful planning.
Most OTR units weigh between 50 and 75 pounds and must be secured to wall studs or reinforced mounting brackets. The National Kitchen and Bath Association (NKBA) recommends at least 66 inches from the floor to the bottom of the microwave, ensuring clearance for adults while allowing visibility over the unit when in use.
Pre-Installation Checklist
Before lifting a tool, verify that your kitchen supports an OTR microwave. Not all spaces are structurally or electrically suitable. Use this checklist to confirm readiness:
- ✅ Verify available vertical clearance (minimum 30 inches between cooktop and microwave bottom)
- ✅ Locate wall studs behind the mounting area using a stud finder
- ✅ Confirm access to a dedicated 120-volt, 15-amp electrical circuit
- ✅ Check manufacturer’s specifications for required cutout dimensions
- ✅ Ensure existing ductwork aligns with new unit’s venting requirements
- ✅ Gather necessary tools: drill, level, screwdriver, stud finder, measuring tape, wire stripper
“Improper support is the leading cause of microwave falls. Always anchor into solid wood studs—not drywall anchors alone.” — James Ralston, Certified Appliance Installer & HVAC Technician
Step-by-Step Installation Process
Follow these steps methodically to ensure a secure and code-compliant installation.
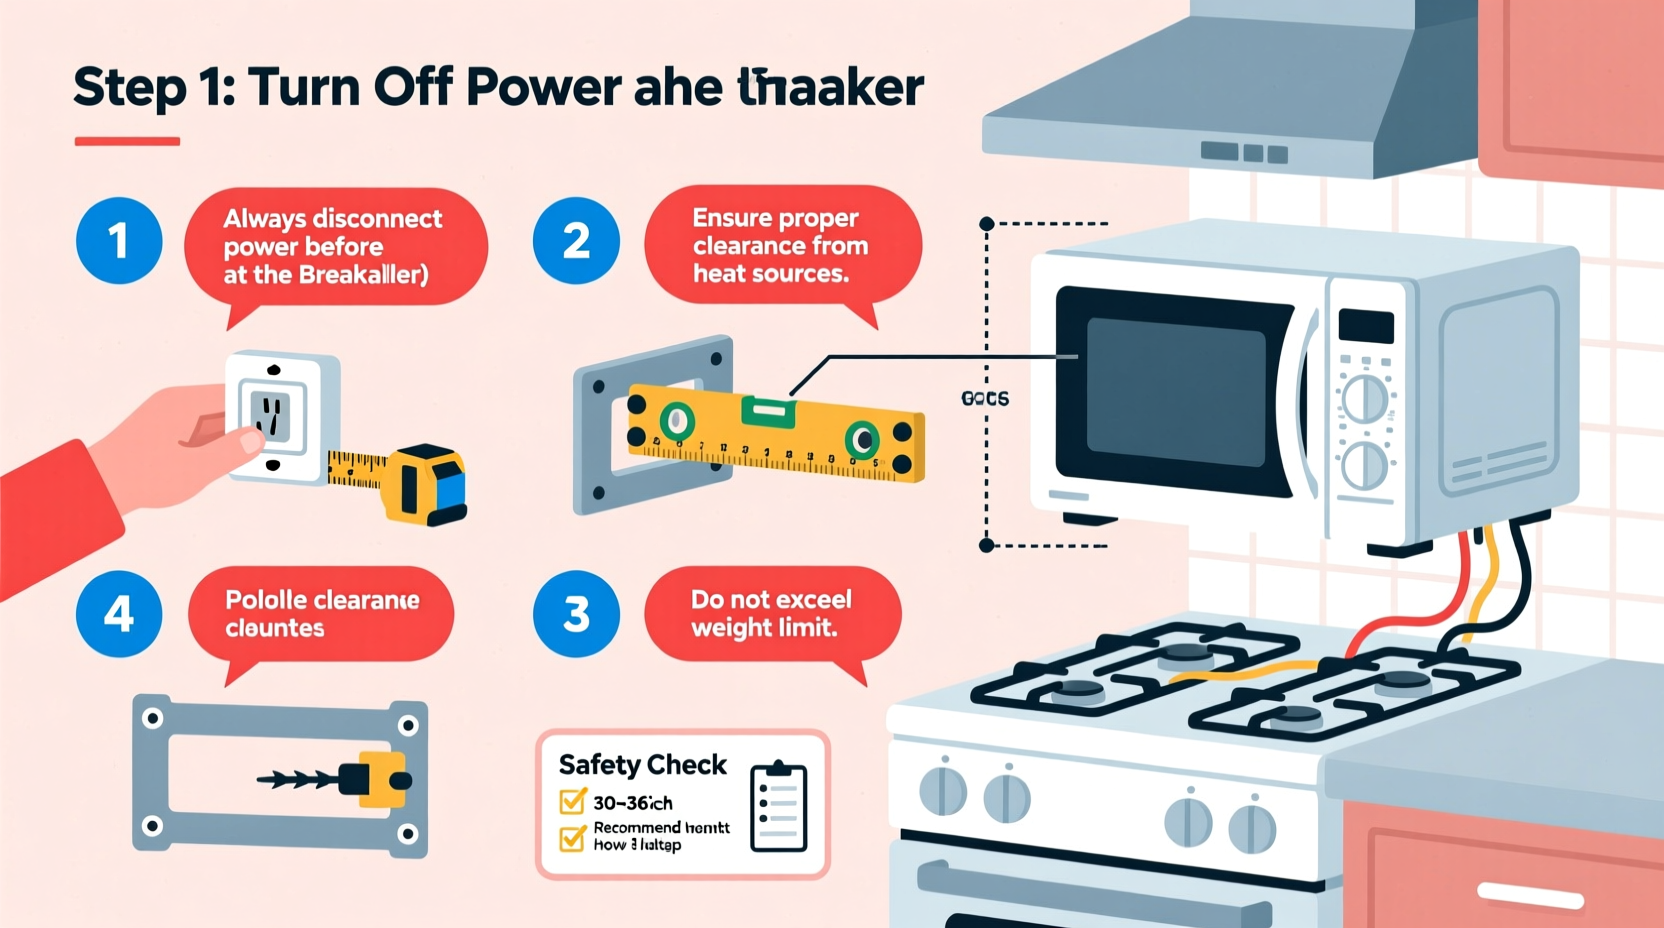
- Turn off power at the breaker box. Locate the correct circuit and switch it off. Confirm no electricity is flowing using a voltage tester.
- Remove any existing microwave or cover plate. Disconnect wiring carefully and cap exposed wires with wire nuts.
- Locate and mark wall studs. Use a stud finder to identify two adjacent studs, typically 16 inches apart. Mark their centers clearly.
- Hold the mounting bracket in place and level it. Align the bracket with the studs and mark screw holes. Drill pilot holes for stability.
- Secure the mounting bracket. Attach it firmly to the studs using lag screws (usually provided in the kit).
- Prepare the microwave for hanging. Remove the rear cover panel if needed and attach the hanging hook or support tab on the unit’s back to the bracket.
- Lift and engage the microwave. With help, lift the unit so the top slots into the bracket. Secure the bottom with mounting screws through the front into the cabinet above.
- Connect the electrical wiring. Feed the power cord through the cabinet hole and connect black (hot), white (neutral), and green/bare (ground) wires using wire nuts. Tuck wires neatly inside.
- Attach the venting system. Connect ductwork to the rear of the unit if venting externally. For recirculating mode, install charcoal filters as per manual instructions.
- Seal gaps and finish. Apply heat-resistant caulk around edges where the unit meets the wall or cabinet to prevent air leaks.
Clearance and Safety Standards Table
| Requirement | Standard Measurement | Notes |
|---|---|---|
| Minimum distance from cooktop to microwave bottom | 30 inches | NFPA and UL requirement; some local codes may require more |
| Electrical circuit | 120V, 15-amp dedicated | No shared appliances allowed on same circuit |
| Mounting height from floor | 66–72 inches | Based on NKBA ergonomic guidelines |
| Duct size for external venting | 3¼” x 10” rectangular or 6” round | Shorter runs perform better; avoid sharp bends |
| Microwave weight support | Attached to two wall studs | Drywall anchors alone are insufficient |
Real Installation Scenario: A Cautionary Example
When Sarah upgraded her 15-year-old kitchen, she decided to replace her aging OTR microwave herself. She skipped locating studs, relying instead on toggle bolts in drywall. The microwave functioned normally for three months until one evening, after placing a large pot on the turntable, the entire unit detached and crashed onto the stove below. Fortunately, no one was injured, but the microwave was destroyed and the gas line dented.
An inspection revealed that the toggle bolts pulled out under stress. The fix? Reinstallation using a proper metal bracket anchored into two 2x4 studs. This case underscores why cutting corners—even slightly—can lead to dangerous outcomes.
Common Mistakes to Avoid
- Ignoring stud placement: Drywall cannot support long-term weight. Always fasten into wood or metal framing.
- Mixing venting modes incorrectly: If converting from ducted to ductless, remember to install charcoal filters and seal the exterior duct flap.
- Overlooking electrical load: Plugging into an overloaded circuit can trip breakers or create fire risks.
- Failing to level the unit: An uneven microwave may vibrate excessively or have door alignment issues.
- Forgetting filter maintenance: Grease filters need monthly cleaning; charcoal filters should be replaced every 6–12 months.
Frequently Asked Questions
Can I install an over-the-range microwave without external venting?
Yes. Most OTR microwaves support both ducted (vented outside) and ductless (recirculating) configurations. In ductless mode, air passes through charcoal and grease filters before returning to the kitchen. While less effective than external venting, it's acceptable in apartments or homes without duct access.
Is it safe to plug an OTR microwave into a power strip?
No. Over-the-range microwaves require a direct connection to a grounded, dedicated wall outlet. Power strips or extension cords can overheat due to high wattage draw (typically 1,000–1,500 watts) and violate electrical codes.
How do I know if my microwave is installed securely?
After installation, gently tug downward on the front edge. There should be zero movement. Also, check that all mounting screws are tight and that the unit remains level during operation. If there’s vibration or noise, recheck anchoring and leveling.
Final Recommendations and Next Steps
Safety, precision, and adherence to building codes form the foundation of a successful microwave installation. Even experienced DIYers benefit from double-checking measurements, confirming structural support, and verifying electrical compatibility. When in doubt—especially with wiring or vent modifications—consult a licensed electrician or HVAC technician.
A properly installed over-the-range microwave enhances both functionality and aesthetics. It removes cooking fumes efficiently, frees up valuable counter space, and streamlines meal prep. By following this guide, you ensure not only performance but peace of mind.


 浙公网安备
33010002000092号
浙公网安备
33010002000092号 浙B2-20120091-4
Comments
No comments yet. Why don't you start the discussion?