
Adjusting the size of a metal watch band is often necessary for comfort and fit, especially after purchasing a new timepiece or when sharing watches among family members. While many turn to jewelers for this service, it's entirely possible—and often more convenient—to remove excess links from your watch band at home. With the right tools, attention to detail, and a steady hand, you can achieve professional-level results without spending extra money. This guide walks you through every phase of the process, ensuring safety, precision, and confidence with each step.
Why Adjust Your Watch Band at Home?
A properly fitted watch should sit snugly on your wrist without sliding around or pinching the skin. Factory-standard bands usually come with extra links to accommodate various wrist sizes, but they rarely fit perfectly out of the box. Rather than scheduling an appointment or paying for minor adjustments, learning how to remove links yourself empowers you to maintain your accessories efficiently. Over time, this skill also helps preserve the integrity of your watch, as frequent trips to service centers increase handling risks.
Tools You’ll Need
Before beginning, gather the following tools. Most are affordable and reusable across multiple watches:
- Precision screwdriver set – useful for bands with screws instead of pins
- Push pin tool or small nail punch – used to drive out spring bars and link pins
- Small hammer (nylon or plastic-tipped) – applies force without damaging metal
- Tweezers or needle-nose pliers – helpful for retrieving tiny parts
- Magnifying glass or illuminated loupe – improves visibility of small mechanisms
- Soft cloth or padded surface – protects the watch face and finish during work
- Container for small parts – keeps screws and pins from getting lost
“Home adjustments can be just as precise as professional ones—if you take your time and respect the mechanics.” — Daniel Reyes, Watchmaker & Restoration Specialist
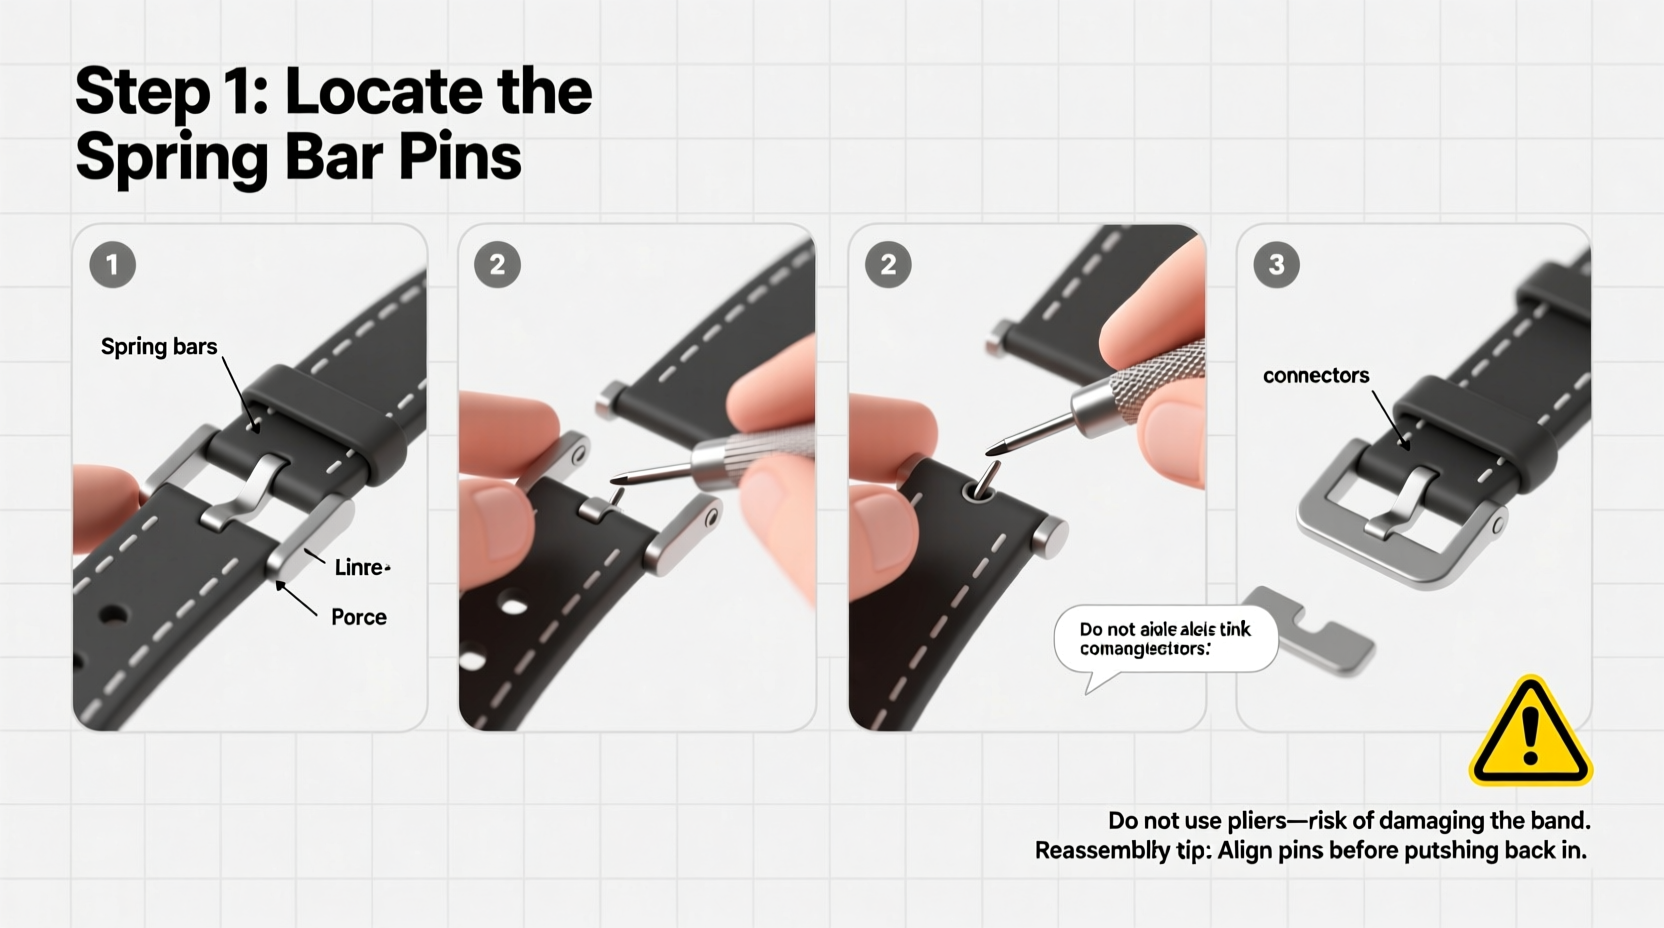
Step-by-Step Guide to Removing Links
Follow this detailed sequence to ensure safe and accurate removal of links from a standard metal watch bracelet:
- Prepare your workspace: Choose a clean, well-lit area free of clutter. Lay down a soft cloth to protect the watch. Keep all tools within reach.
- Determine how many links to remove: Fasten the watch around your wrist and count how many links overlap. Most manufacturers recommend removing equal numbers from both sides for balanced appearance.
- Lay the watch flat, dial-side up: Turn the clasp open and gently spread the band so you can clearly see the side where pins are inserted.
- Identify removable links: Look closely at the inner side of the band. Arrows stamped between links indicate the direction in which pins should be pushed out. Only remove links marked for adjustment.
- Use the push pin tool to extract pins: Align the tool with the pin hole. Tap gently with the hammer until the pin begins to slide out. Stop once enough of the pin protrudes to grip with pliers.
- Remove the pin completely: Using tweezers or pliers, carefully pull the pin the rest of the way out. Place it in a secure container—some pins may be reused if resizing later.
- Detach the selected links: Once both pins securing a link are removed, gently separate the pieces. Repeat for all necessary links.
- Reconnect the remaining band: Reinsert the pins into the shortened band. Ensure alignment is straight and smooth. Use the hammer and punch to tap them back in securely.
- Test the fit: Close the clasp and wear the watch. It should feel secure without excessive pressure or looseness.
- Clean and inspect: Wipe down the band and check that all pins are flush and no links wobble.
Special Considerations for Screwed Bands
Some luxury or sport models use micro-screws instead of friction pins. These require a precision Phillips or hex driver. Unscrew each fastener slowly, keeping track of their positions. After resizing, reapply a tiny drop of thread locker (e.g., Loctite 222) to prevent loosening from vibration.
Do’s and Don’ts When Adjusting Your Watch Band
| Do’s | Don’ts |
|---|---|
| Work on a soft, non-abrasive surface | Place the watch directly on hard countertops |
| Count and record how many links are removed from each side | Assume symmetry—always verify balance visually |
| Use a magnifier to inspect pin alignment | Tap pins with excessive force |
| Store removed pins and screws safely | Discard extra hardware—even “spare” pins may be needed later |
| Check manufacturer instructions online if unsure | Guess the removal direction based on appearance alone |
Real Example: Resizing a Stainless Steel Sports Watch
Sarah purchased a new dive-style stainless steel watch online. Upon arrival, she found the band was too large, slipping with every movement. Instead of visiting a retailer, she followed the steps outlined here. Using a $15 pin removal kit bought online, she identified two overlapping links on each side. After confirming the arrow markings pointed outward, she tapped out four pins with light hammer strikes. She removed two links per side, then rejoined the band. The entire process took under 20 minutes. The result? A secure, custom-like fit that matched her active lifestyle—without waiting days for a service appointment.
Frequently Asked Questions
Can I damage my watch band by removing links myself?
Yes, if improper tools or excessive force are used. However, following correct procedures minimizes risk significantly. Most modern bands are designed for user adjustment. The key is patience and precision—not power.
What if I remove too many links?
Keep all removed components in a labeled bag. Most links can be reattached if the fit becomes too tight. As long as pins or screws are intact, restoration is usually straightforward.
Are all watch bands adjustable?
No. Leather, nylon, and rubber straps typically aren’t resized by link removal. Even among metal bands, some integrated designs (common in high-end fashion watches) require specialized tools or factory service. Always confirm adjustability before starting.
Final Checklist Before You Begin
- Preparation
- ☐ Measure wrist size accurately
- ☐ Confirm band type supports link removal
- ☐ Gather all necessary tools
- During Adjustment
- ☐ Work slowly and deliberately
- ☐ Follow pin direction indicators
- ☐ Keep track of removed hardware
- After Completion
- ☐ Test fit and comfort
- ☐ Inspect for loose pins or misalignment
- ☐ Store spare links and pins safely
Conclusion: Take Control of Your Watch Fit
Removing links from your watch band at home isn’t just cost-effective—it’s empowering. With basic tools and careful execution, anyone can achieve a perfect fit tailored to their wrist. Whether you're adjusting a gift, maintaining a family heirloom, or simply upgrading your daily wear, mastering this simple skill enhances both comfort and longevity of your timepieces. Don’t let a loose band distract from the precision and craftsmanship of your watch. Apply these steps today, and enjoy a seamless blend of form and function on your wrist.


 浙公网安备
33010002000092号
浙公网安备
33010002000092号 浙B2-20120091-4
Comments
No comments yet. Why don't you start the discussion?