
Moving from Windows 10 to Windows 11 doesn’t have to mean starting over. With careful planning and the right approach, you can upgrade your operating system while keeping all your personal files, installed applications, and system preferences intact. Millions of users have made the transition successfully, but skipping key steps can lead to data loss or boot failures. This comprehensive guide walks you through each phase—assessment, backup, preparation, execution, and post-upgrade optimization—to ensure a smooth, risk-free migration.
Check System Compatibility Before Proceeding
Windows 11 introduces stricter hardware requirements than its predecessor. Before initiating any changes, confirm that your device meets Microsoft’s minimum specifications. Attempting an upgrade on incompatible hardware may result in failed installation or poor performance.
| Component | Windows 10 Minimum | Windows 11 Minimum |
|---|---|---|
| CPU | 1 GHz or faster (64-bit) | 1 GHz+, 2 cores, 64-bit, compatible with TPM 2.0 |
| RAM | 1 GB (32-bit), 2 GB (64-bit) | 4 GB |
| Storage | 16 GB (32-bit), 20 GB (64-bit) | 64 GB or larger UEFI-bootable drive |
| TPM | Not required | Trusted Platform Module (TPM) version 2.0 |
| Secure Boot | Optional | Required |
| Graphics Card | DX9-compatible | DirectX 12-compatible with WDDM 2.0 driver |
| Display | 800x600 | 720p, 9”+ diagonally |
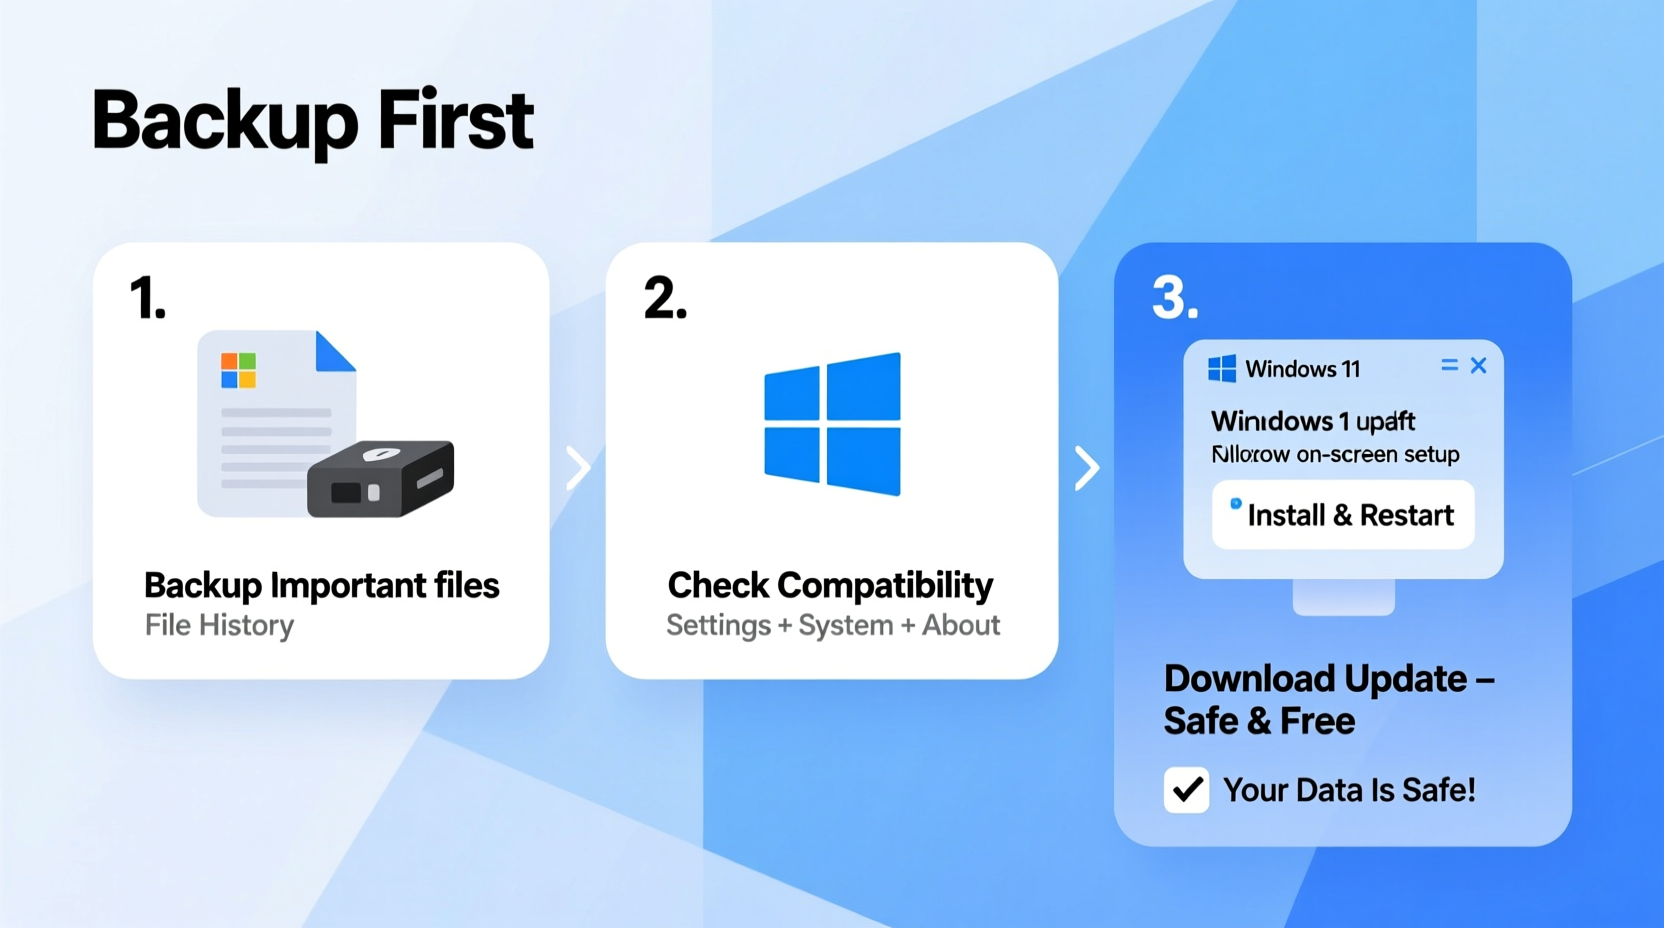
Create a Full Backup: Your Safety Net
No matter how confident you are in the upgrade process, never skip backing up your data. A corrupted update or unexpected power failure could render your drive inaccessible. The goal is not just file preservation—it’s peace of mind.
- Select a reliable backup method: Use external drives, cloud storage (OneDrive, Google Drive), or built-in tools like File History.
- Back up personal folders: Documents, Pictures, Videos, Desktop, Downloads, and Music should be prioritized.
- Include application data: Some programs store settings locally. Export browser bookmarks, email profiles, and configuration files where possible.
- Verify the backup: Open a few random files from the backup location to confirm readability.
“An upgrade isn’t truly safe until your last known good state is preserved externally.” — David Lin, Senior Systems Engineer at TechGuard Solutions
Prepare Your System for Migration
Cleaning up your current environment improves the success rate of the upgrade. Cluttered disks and outdated drivers increase the likelihood of errors during installation.
- Run Disk Cleanup to remove temporary files and system caches.
- Uninstall unused software to reduce conflicts.
- Update all device drivers—especially chipset, graphics, and network adapters—through Device Manager or the manufacturer’s website.
- Ensure Windows 10 is fully updated via Settings > Update & Security > Windows Update.
- Temporarily disable third-party antivirus software that might interfere with the installer.
Execute the Upgrade Using Windows Installation Assistant
The safest and most user-friendly method for upgrading is through Microsoft’s official tool—the Windows 11 Installation Assistant. It handles compatibility checks, downloads necessary files, and manages the reboot sequence automatically.
Step-by-Step Timeline
- Download the Installation Assistant: Visit Microsoft’s Windows 11 download page and get the assistant tool.
- Run the executable: Accept the license terms and let the tool scan your system.
- Begin download: If compatible, it will fetch the latest Windows 11 image directly from Microsoft servers.
- Start installation: Choose “Install now” when prompted. Save open work and close all apps.
- Wait through reboots: The process typically takes 20–45 minutes depending on hardware speed. Do not interrupt power or force shutdown.
- Complete setup: After final reboot, follow the on-screen prompts to sign in, configure privacy settings, and reconnect to Wi-Fi.
Upon completion, you’ll notice redesigned UI elements such as centered Start Menu, new Taskbar, improved Snap Layouts, and enhanced touch gestures—all while retaining your existing user profile and data.
Post-Upgrade Verification and Optimization
After logging into Windows 11, don’t assume everything is functioning perfectly. Validate critical components and fine-tune the experience.
Essential Post-Upgrade Checklist
- ✅ Confirm all personal files are present in their original locations.
- ✅ Reinstall any missing drivers (especially audio, GPU, or Wi-Fi).
- ✅ Restore third-party security software.
- ✅ Run Windows Update again to install post-install patches.
- ✅ Reconnect to OneDrive and sync cloud-stored documents.
- ✅ Test peripheral functionality (printer, webcam, external monitor).
- ✅ Review privacy settings—Windows 11 enables more telemetry by default.
If certain legacy applications fail to run, right-click the shortcut, select Properties > Compatibility, and try running in Windows 10 mode. Most modern software works natively, but older utilities may require updates from the vendor.
Real-World Example: Sarah’s Smooth Transition
Sarah, a freelance graphic designer using a Dell XPS 15 (2020 model), needed Windows 11 for Adobe Creative Cloud optimizations and better touchpad gesture support. She followed this exact process: first verifying compatibility using PC Health Check, then backing up 300GB of client projects to an encrypted external SSD. After preparing her system and disabling her antivirus temporarily, she used the Installation Assistant. The upgrade took 38 minutes with three automatic reboots. Upon restart, Photoshop, Illustrator, and her custom color profiles were intact. Within two hours, she was back to editing—now enjoying smoother multitasking thanks to Windows 11’s improved window management.
Frequently Asked Questions
Will my programs still work after upgrading?
Most desktop applications designed for Windows 10 will continue working on Windows 11. However, some older or specialized software may need patches. Always check with the developer’s website for compatibility notes.
Can I go back to Windows 10 after upgrading?
Yes—but only within 10 days. During this period, go to Settings > System > Recovery > Go back to Windows 10. After that window expires, a rollback requires a clean reinstall using installation media.
Do I need to activate Windows 11 separately?
No. If your Windows 10 license is genuine and digitally linked to your Microsoft account, activation happens automatically. OEM licenses tied to compatible hardware also transfer seamlessly.
Final Steps: Embrace the New Experience
Upgrading from Windows 10 to Windows 11 doesn’t have to be stressful. By methodically checking compatibility, securing your data, and following a proven path, you maintain continuity while gaining access to modern features like Widgets, improved virtual desktops, and enhanced security architecture. Take time to explore the new interface, customize your taskbar, and enable productivity tools like Focus Assist and Voice Access.


 浙公网安备
33010002000092号
浙公网安备
33010002000092号 浙B2-20120091-4
Comments
No comments yet. Why don't you start the discussion?