
Glitter phone cases add sparkle and personality to your iPhone, but improper installation can lead to scratches, misalignment, or even damage to ports and buttons. Whether you’ve just purchased a new shimmering case or are upgrading from an old one, the process matters. A secure fit ensures protection, full access to features, and long-term durability. This comprehensive guide walks you through every stage of installing a glitter case on iPhone models 11 through 14—models that share similar dimensions within their respective size categories (e.g., mini, standard, Pro, Max). Follow these steps carefully to enjoy both aesthetic appeal and functional safety.
Understanding Your Glitter Case Design
Before installation, it’s essential to understand what makes glitter cases unique. Most are made from flexible TPU (thermoplastic polyurethane) or hybrid materials with a rigid back panel embedded with glitter particles suspended in resin or gel. Some cases have raised edges for screen protection, while others focus purely on decorative flair. The glitter layer may be delicate, so rough handling during installation can cause micro-cracks or cloudiness.
iPhone 11 through 14 models vary slightly in camera cutout placement and overall thickness, especially between Pro and non-Pro variants. Always confirm your case is designed specifically for your model. Using a case labeled only “for iPhone 12” on an iPhone 14 Pro Max, for example, will result in poor fit and compromised protection.
Essential Tools and Preparation Steps
Successful installation begins before you touch the case. Gather everything you need to avoid interruptions mid-process. A clean environment prevents dust from getting trapped between the phone and case, which could scratch the finish over time.
- Clean microfiber cloth
- Isopropyl alcohol (70%) or screen-safe cleaner
- Soft-bristled brush (like a clean toothbrush)
- Well-lit, flat surface
- Your iPhone (remove any existing case)
- The new glitter case
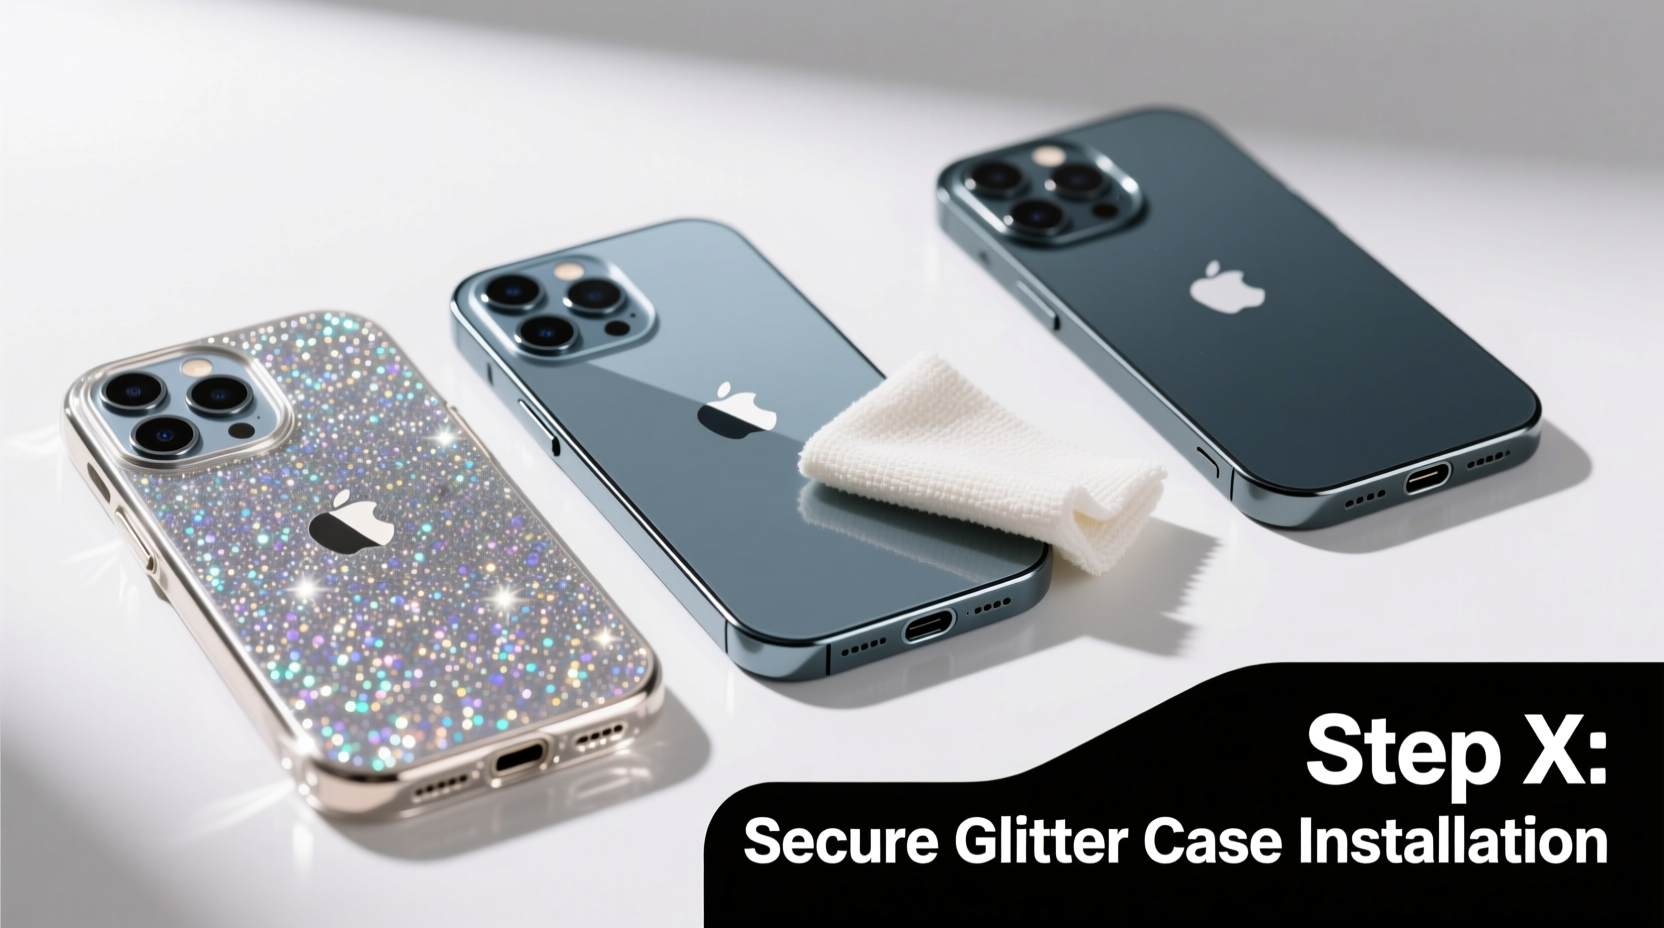
Power down your iPhone before starting. While not always necessary, this eliminates risks related to accidental input during installation. Wipe down the entire phone surface with the microfiber cloth. For stubborn smudges, lightly dampen the cloth with isopropyl alcohol—never spray directly onto the device. Pay special attention to edges, speaker grilles, and charging port openings. Use the soft brush to dislodge lint or debris from ports.
“Even microscopic particles can create pressure points under the case, leading to discoloration or stress fractures over time.” — Jordan Lee, Mobile Device Protection Specialist
Step-by-Step Installation Process
Follow this precise sequence to ensure a secure, bubble-free, and aligned fit:
- Align the bottom edge first: Hold the case so the charging port cutout matches your iPhone’s Lightning or USB-C port. Gently insert the bottom edge of the phone into the corresponding slot of the case. Do not force it.
- Secure the top edge next: Once the bottom is seated, slowly press the top of the phone—near the front-facing camera and sensors—into place. Avoid pushing on the screen side.
- Press along the sides: Starting at the bottom corners, apply firm but gentle pressure along both long edges. You should hear subtle clicks as the case snaps into place, especially if it has a semi-rigid frame.
- Check button alignment: Test volume up/down and power buttons. They should move freely without sticking. If resistance occurs, partially remove the case and reseat it.
- Inspect camera cutout: Ensure the triple or dual lens array fits perfectly within the opening. No part of the lenses should be obstructed.
- Verify port access: Plug in your charging cable to confirm full insertion without interference from the case rim.
If the case resists snapping on, do not use excessive force. Remove it completely and repeat cleaning steps—often, unseen dust or moisture creates friction.
Do’s and Don’ts When Installing Glitter Cases
| Do’s | Don’ts |
|---|---|
| ✓ Clean both phone and case interior before installation | ✗ Use sharp tools to pry or adjust the case |
| ✓ Install in a dust-free environment | ✗ Stretch or twist the case beyond its natural flexibility |
| ✓ Double-check model compatibility | ✗ Expose the case to high heat during or after installation |
| ✓ Test all buttons and ports post-installation | ✗ Leave fingerprints or residue trapped under the case |
| ✓ Handle the glitter surface gently to prevent clouding | ✗ Apply adhesive cleaners or solvents directly on glitter finish |
Real-World Example: A Close Call with a Misaligned Case
Sophia, a graphic designer in Portland, recently bought a rose-gold glitter case for her iPhone 13. Excited to show it off, she installed it quickly at her desk without cleaning the phone. Later that evening, she noticed the volume button felt stiff. Upon removal, she found a tiny speck of dried glue (from an old screen protector) wedged between the case and phone edge. After cleaning thoroughly and reinstalling, the issue resolved—but the experience taught her the value of patience. “I almost cracked the case trying to force it,” she said. “Now I treat every new case like a precision task, not just a quick swap.”
Maintenance Tips After Installation
Once your glitter case is securely in place, maintain its look and function with regular care. Wipe the exterior weekly with a dry microfiber cloth to preserve shine. Avoid storing your phone in direct sunlight, as UV exposure can degrade the adhesive layer holding the glitter particles, causing yellowing or flaking. If the case becomes loose over time, inspect for wear around the corners—this often indicates internal stretching due to frequent removal.
Never use household cleaners, acetone, or abrasive cloths on glitter surfaces. These can strip protective coatings. Instead, lightly dampen a cloth with water and mild soap for deeper cleaning, then dry immediately.
Frequently Asked Questions
Can I install a glitter case on an iPhone with a screen protector?
Yes, most modern glitter cases are designed to accommodate phones with thin film or tempered glass screen protectors. However, ultra-thick or poorly applied protectors may interfere with the case’s front lip. If you notice gaps or difficulty closing the case, consider trimming excess edges or switching to a lower-profile protector.
Why does my new glitter case feel sticky?
Some glitter cases have a soft-touch coating that can feel tacky when new. This usually resolves within a few days of normal handling. To speed up the process, wipe the case gently with a dry microfiber cloth several times a day. Avoid applying oils or powders, as they can dull the glitter effect.
Will the glitter fade over time?
Prolonged exposure to sunlight, sweat, and certain lotions can cause fading or clumping of glitter particles. To minimize this, keep your phone out of direct sun and wash your hands before handling it frequently. High-quality cases use sealed glitter layers that resist degradation better than budget alternatives.
Final Checklist Before You Finish
- ✅ Phone is powered off and cleaned thoroughly
- ✅ Case is confirmed compatible with your iPhone model
- ✅ All ports and buttons are fully accessible
- ✅ No visible gaps or warping along the edges
- ✅ Glitter surface is free of smudges or trapped debris
- ✅ Camera lenses are unobstructed
Conclusion
Installing a glitter phone case might seem simple, but doing it correctly protects your investment and enhances your daily experience. With the right preparation, technique, and attention to detail, you can achieve a flawless fit that combines beauty with reliable defense against drops and scratches. Take your time, respect the materials, and treat the process with care—your iPhone deserves nothing less.


 浙公网安备
33010002000092号
浙公网安备
33010002000092号 浙B2-20120091-4
Comments
No comments yet. Why don't you start the discussion?