
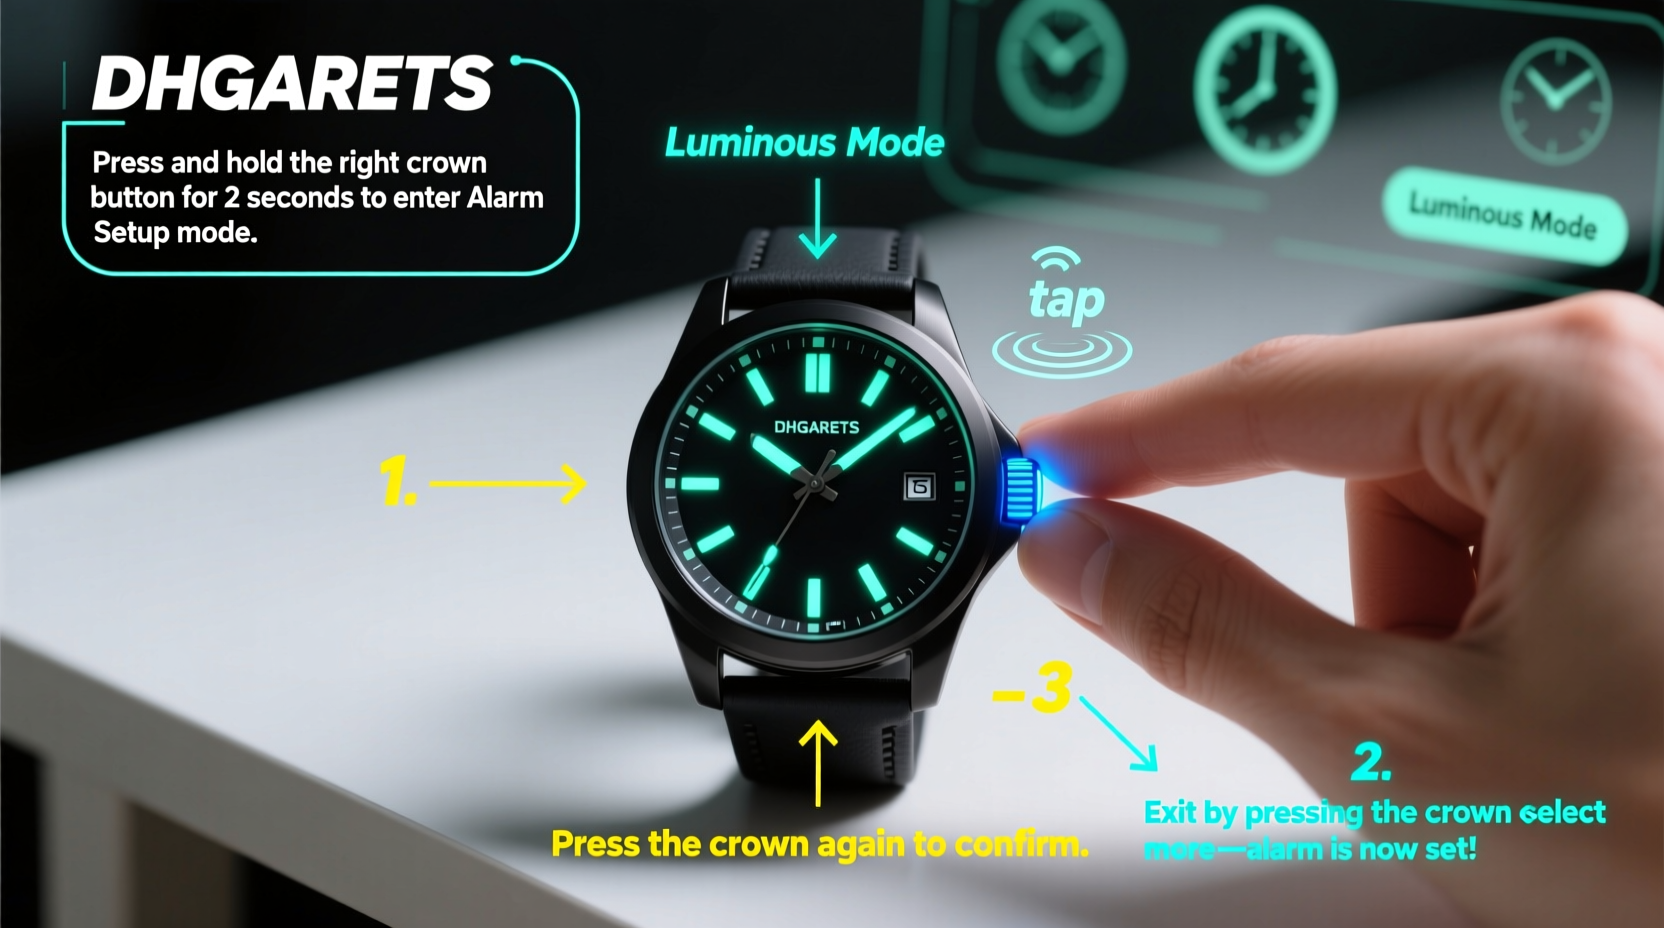
The DHGargets luminous watch combines sleek design with practical functionality, making it a favorite among users who value both style and utility. One of its most useful features is the built-in alarm function, which can help you stay on schedule whether you're waking up early, timing workouts, or remembering important tasks. However, if you’ve never used it before, navigating the buttons and display might feel confusing at first. This guide breaks down the entire process into simple, actionable steps so you can set your alarm confidently and accurately—no guesswork required.
Understanding Your DHGargets Luminous Watch Interface
Before setting the alarm, it’s essential to understand the basic components of your watch. Most DHGargets luminous models feature a digital display with four primary buttons: Mode, Adjust, Start/Stop, and Reset (or Lap). These are typically labeled as follows:
- Mode: Cycles through different functions (Time, Alarm, Stopwatch, Timer).
- Adjust: Used to set values once in configuration mode.
- Start/Stop: Begins or pauses timers; also confirms selections in some modes.
- Reset/Lap: Resets stopwatch or increments numbers during setup.
The display shows time in a 12-hour or 24-hour format, depending on your initial settings, and includes indicators for AM/PM, alarm status (often an icon like “AL” or a bell), and illumination.
Step-by-Step Guide to Setting the Alarm
Follow this precise sequence to set your alarm correctly. These steps assume your watch is currently displaying the regular time screen.
- Enter Alarm Mode: Press the Mode button repeatedly until the display changes from showing the current time to \"AL\" or \"Alarm,\" followed by a blinking hour value.
- Select Hour: Use the Reset/Lap button to increase the hour. Each press adds one hour. Hold the button to scroll faster. If your model supports 12-hour format, AM/PM will toggle automatically after 12.
- Confirm and Move to Minutes: Once the correct hour is displayed, press the Start/Stop button. The minute digits will now blink.
- Set Minutes: Again, use the Reset/Lap button to adjust minutes upward. There's no need to worry about overshooting—just keep pressing until you reach the desired time.
- Save Settings: After setting the minutes, press Start/Stop again to confirm. The display should stop blinking and return to normal time mode, with the alarm icon visible.
- Activate the Alarm: Press the Adjust button briefly while still in Alarm mode (before exiting) to turn the alarm on. A small bell icon should appear on the screen.
To double-check that the alarm is active, return to the main time screen and look for the alarm indicator. It may be a bell symbol, \"ALM,\" or similar notation.
Tips for Reliable Alarm Performance
Even with proper setup, alarms may fail due to overlooked settings or user error. Consider these best practices to ensure consistent performance.
- Battery Level: A low battery can disable non-essential functions, including alarms. Replace the CR2032 battery every 1–2 years or when the display dims.
- Silent Mode: Some models have a silent mode activated accidentally. Ensure sound is enabled via the settings menu if available.
- Multiple Alarms: Not all DHGargets models support multiple alarms. Check your user manual—if only one alarm slot exists, new settings will overwrite old ones.
- Luminous Feature Interference: Using the light function excessively drains power and may shorten alarm duration. Use sparingly in low-light conditions.
“Many users think their alarm isn’t working when in fact they forgot to toggle it on after setting the time.” — Carlos Mendez, Wearable Tech Support Specialist
Common Issues and Troubleshooting Table
| Issue | Possible Cause | Solution |
|---|---|---|
| Alarm doesn't go off | Alarm not turned on | Re-enter alarm mode and press Adjust to enable |
| No sound, but vibration occurs | Sound disabled or speaker blocked | Clean speaker grille gently; check settings |
| Wrong time set | Mistaken AM/PM or 24-hour confusion | Recheck time format and reset accordingly |
| Display freezes during setup | Button stuck or moisture damage | Power cycle by removing battery briefly |
| Alarm rings at random times | Incorrect time zone or daylight saving error | Verify system time and sync manually |
Real-Life Example: Maria’s Morning Routine Fix
Maria, a freelance designer, bought her DHGargets luminous watch to help manage her irregular work hours. She relied on the alarm to wake up for client calls but found it wasn’t ringing. Frustrated, she almost returned the product—until she discovered she had set the correct time but never pressed the Adjust button to activate the alarm. Once she toggled it on, the alert worked perfectly. Now, she sets two daily reminders: one for lunch breaks and another for ending her workday. Her productivity improved significantly simply because she learned how to use one feature correctly.
Frequently Asked Questions
Can I set a recurring daily alarm?
Yes, most DHGargets luminous watches automatically repeat the alarm each day unless manually disabled. You don’t need to reprogram it nightly.
How loud is the alarm?
The alarm emits a moderate beep lasting 15–30 seconds. It’s audible in quiet rooms but may be missed in noisy environments. For heavier sleepers, consider placing the watch closer to the pillow or using it with vibration mode if supported.
Does the alarm work when the watch is in stopwatch mode?
Absolutely. The alarm operates independently of other functions. Even if you're timing a run or measuring intervals, the alarm will trigger at the scheduled time.
Final Checklist Before You Go
Use this quick checklist every time you set or verify your alarm:
- ✅ Entered Alarm mode using the Mode button
- ✅ Set correct hour and minutes using Reset/Lap
- ✅ Confirmed settings with Start/Stop
- ✅ Activated alarm using Adjust button
- ✅ Verified alarm icon appears on main screen
- ✅ Tested alarm by simulating the alert time
Conclusion
Setting the alarm on your DHGargets luminous watch doesn’t require technical expertise—just attention to detail and familiarity with the controls. By following the steps outlined here, you can make full use of a feature designed to simplify your daily routine. Whether you’re rising early, tracking appointments, or reminding yourself to take breaks, a properly configured alarm enhances both efficiency and peace of mind. Take a few moments today to test and optimize your settings. Once mastered, this small tool can have a big impact on your day-to-day life.


 浙公网安备
33010002000092号
浙公网安备
33010002000092号 浙B2-20120091-4
Comments
No comments yet. Why don't you start the discussion?