
Digital Guess watches combine sleek design with practical functionality, making them a favorite among fashion-conscious individuals who also value precision. While these timepieces are stylish and durable, their digital interfaces can sometimes confuse users when it comes to adjusting the time. Unlike analog models, digital watches rely on button sequences and mode toggles, which may not be immediately intuitive.
Whether you’ve just purchased a new digital Guess watch, replaced the battery, or traveled across time zones, knowing how to set the time correctly ensures accuracy and enhances usability. This comprehensive guide walks you through every step clearly and efficiently, helping you master your watch’s functions in minutes—no manual required.
Understanding Your Digital Guess Watch Interface
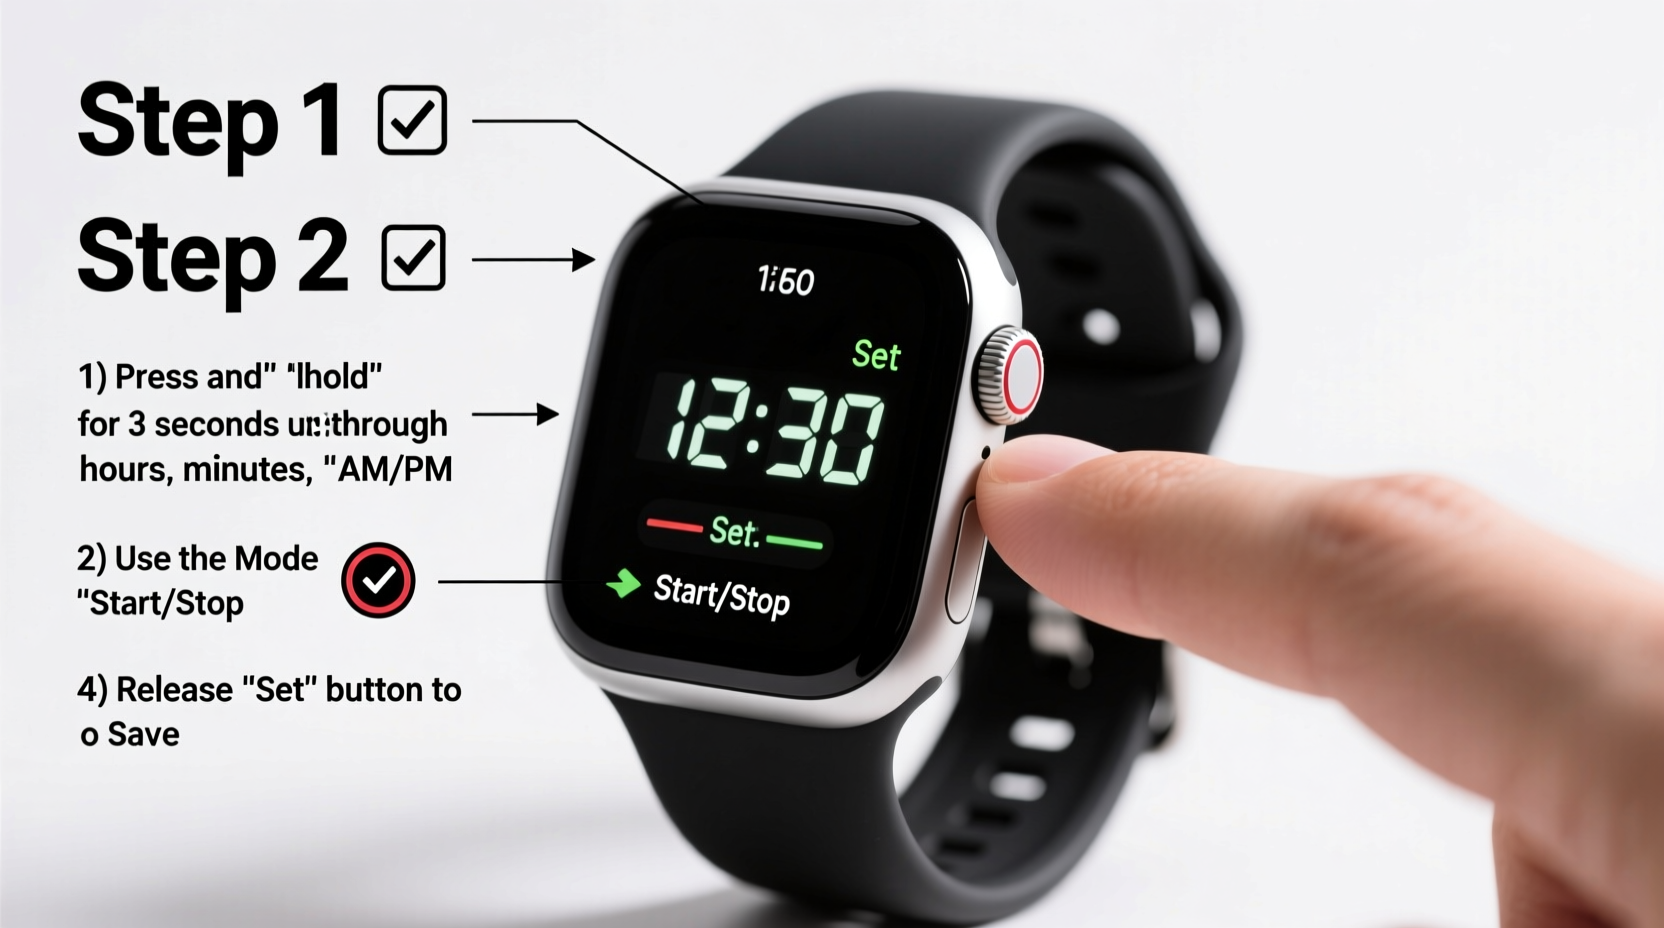
Before diving into the time-setting process, it's important to familiarize yourself with the basic components of your digital Guess watch. Most models feature four primary buttons arranged around the watch face:
- Upper-left (A): Mode – cycles through different display modes (time, alarm, stopwatch, etc.)
- Upper-right (B): Light – activates the backlight; often doubles as a reset or confirm function
- Lower-left (C): Adjust – used to scroll or change values during setup
- Lower-right (D): Start/Stop or Set – confirms selections or starts timing functions
The exact labeling may vary slightly depending on model year and design, but the layout remains consistent across most digital variants. Becoming comfortable with these controls is the first step toward confidently adjusting your watch settings.
Step-by-Step Guide to Setting the Time
Follow this clear, sequential process to adjust the time on your digital Guess watch. These steps apply to the majority of current and recent digital models unless otherwise specified by the manufacturer.
- Enter Time-Setting Mode
Press and hold the Mode button (A) until the display changes from the standard time screen to a blinking hour field. You’ll typically see the hour digits flashing, indicating that the watch is ready for input. - Select Hours
Use the Adjust button (C) to increase the hour value. Each press advances the number by one. If your watch supports AM/PM format, ensure the correct period is displayed. For 24-hour format users, the cycle will go from 00 to 23. - Confirm Hour Setting
Once the correct hour is shown, press the Set button (D) to lock it in. The minute digits will now begin to blink. - Adjust Minutes
Use the Adjust button (C) again to increment the minutes. Continue until the correct minute is displayed. There’s no need to wait—it updates instantly with each press. - Finalize Minute Setting
Press Set (D) once more. The seconds will now flash briefly (if adjustable), followed by the date display starting to blink. - Set Date (Optional)
If your model allows date adjustment, use Adjust (C) to change the day and month. Confirm each using Set (D). Some models auto-sync the date based on time progression and don’t allow manual override. - Exit Setup Mode
After completing all adjustments, press Mode (A) repeatedly until the normal time display returns. Alternatively, wait 10–15 seconds—the watch will automatically exit setup mode if no buttons are pressed.
This entire process should take less than two minutes once you’re familiar with the flow.
Tips for Accuracy and Long-Term Use
Getting the time right is only part of the equation. Maintaining your watch’s performance over time requires consistent care and awareness of its features.
Consider enabling the 24-hour format if you frequently travel or work in international environments. It reduces confusion between AM and PM and aligns better with global time standards.
If your watch includes additional functions like alarms or chronographs, avoid pressing random combinations while adjusting the time. Stick strictly to the sequence outlined above to prevent unintended changes.
“Many customers return watches thinking they’re faulty, when in reality, they simply needed a proper time reset after battery replacement.” — Carlos Mendez, Authorized Guess Service Technician
Common Issues and Troubleshooting Table
| Issue | Possible Cause | Solution |
|---|---|---|
| Time doesn’t change when pressing buttons | Battery is dead or low | Replace the battery at an authorized service center |
| Display blinks continuously | Watch stuck in setup mode | Press Mode until normal display resumes or let it timeout |
| Date resets incorrectly | Time not set past midnight | Set time beyond 12:00 AM to trigger correct date rollover |
| Buttons feel unresponsive | Dirt buildup or water damage | Clean around buttons gently; avoid submerging unless waterproof rated |
Real Example: Traveler Resets Watch After International Flight
Samantha, a marketing consultant based in Chicago, recently returned from a business trip to London. Upon landing, she noticed her digital Guess watch still showed Central Time, causing scheduling confusion for her morning meetings. Using the method described in this guide, she entered setup mode during her taxi ride home. Within 90 seconds, she adjusted the time to local CST, corrected the date, and resumed her day without missing a beat. She later noted that understanding the button layout made reconfiguration stress-free—even on a bumpy ride.
Quick Checklist Before You Begin
- ✅ Ensure the battery is charged or newly installed
- ✅ Identify the four main buttons (Mode, Light, Adjust, Set)
- ✅ Decide whether to use 12-hour or 24-hour format
- ✅ Have a reference clock nearby (phone or computer) for accuracy
- ✅ Work in a well-lit area to clearly see the display
Frequently Asked Questions
Can I set seconds manually on my digital Guess watch?
Most digital Guess watches do not allow manual second adjustment. The seconds reset automatically when you confirm the minute setting. High-end chronograph models may offer fine-tuning via synchronization features, but general consumer models rely on automatic calibration.
Why does the date change at noon instead of midnight?
This usually means the watch is set to the wrong half-day cycle (AM/PM). To fix it, advance the time forward by 12 hours so that the date rolls over at midnight rather than midday. For example, if the date changes at 12:00 PM, add 12 hours to shift the rollover to 12:00 AM.
Is my digital Guess watch waterproof while setting the time?
While many digital Guess watches have water resistance ratings (e.g., 30m, 50m), it’s best to avoid pressing buttons underwater. Doing so can force water past seals, leading to internal damage. Always perform time adjustments in dry conditions, even if the watch is labeled as splash-resistant.
Master Your Watch, Master Your Time
Setting the time on your digital Guess watch doesn’t require technical expertise—just a few focused moments and the right guidance. With the steps outlined here, you can confidently manage your watch’s settings anytime, whether after a battery swap, daylight saving adjustments, or international travel. Precision matters, and a correctly set watch reflects both attention to detail and personal reliability.


 浙公网安备
33010002000092号
浙公网安备
33010002000092号 浙B2-20120091-4
Comments
No comments yet. Why don't you start the discussion?