
Slow internet in the basement. Dead zones in the home office. Buffering during movie night. If these sound familiar, your current router might be working harder than it should. Traditional routers often struggle to cover large homes or multi-floor layouts, leaving frustrating gaps in connectivity. Mesh WiFi systems solve this problem by distributing signal through multiple nodes, ensuring strong, reliable coverage from room to room.
The good news? Setting up a mesh system doesn’t require a degree in computer science. With clear instructions and a little patience, anyone can do it—even if you’ve never touched a network cable before. This guide walks you through every stage, from unboxing to optimization, so you can enjoy seamless internet across your entire home without frustration or confusion.
Why Mesh WiFi Beats Traditional Routers
Standard routers broadcast WiFi from a single point. The farther you move from that point, the weaker the signal becomes. Walls, appliances, and building materials like concrete or metal further degrade performance. Range extenders can help, but they often create a second network and may reduce speed.
Mesh WiFi replaces the single-router model with a network of interconnected devices—usually one main unit connected to your modem and satellite units placed throughout your home. These units communicate seamlessly, creating a unified network that follows you as you move. There’s no need to manually switch networks; your phone or laptop automatically connects to the strongest node.
“Mesh systems are designed for simplicity and reliability. They adapt to your home’s layout and handle traffic intelligently.” — David Lin, Network Infrastructure Engineer at NetHome Labs
Modern mesh kits also come with user-friendly apps that simplify setup, monitoring, and troubleshooting. Many support advanced features like parental controls, guest networks, and automatic firmware updates—all managed from your smartphone.
Your Setup Checklist: What You’ll Need Before You Begin
Before touching any hardware, gather the following items and confirm your environment is ready:
- A mesh WiFi system kit (typically includes 2–3 nodes)
- Your existing modem (or gateway device from your ISP)
- An Ethernet cable (usually included with the kit)
- A smartphone or tablet with iOS or Android
- The manufacturer’s app downloaded (e.g., Google Home, eero, TP-Link Deco, Netgear Orbi)
- Power outlets near your modem and in key areas of your home
- A stable internet connection (test it before starting)
Ensure your modem is already active and providing internet. If you recently switched providers or had service interruptions, contact your ISP to confirm connectivity before proceeding.
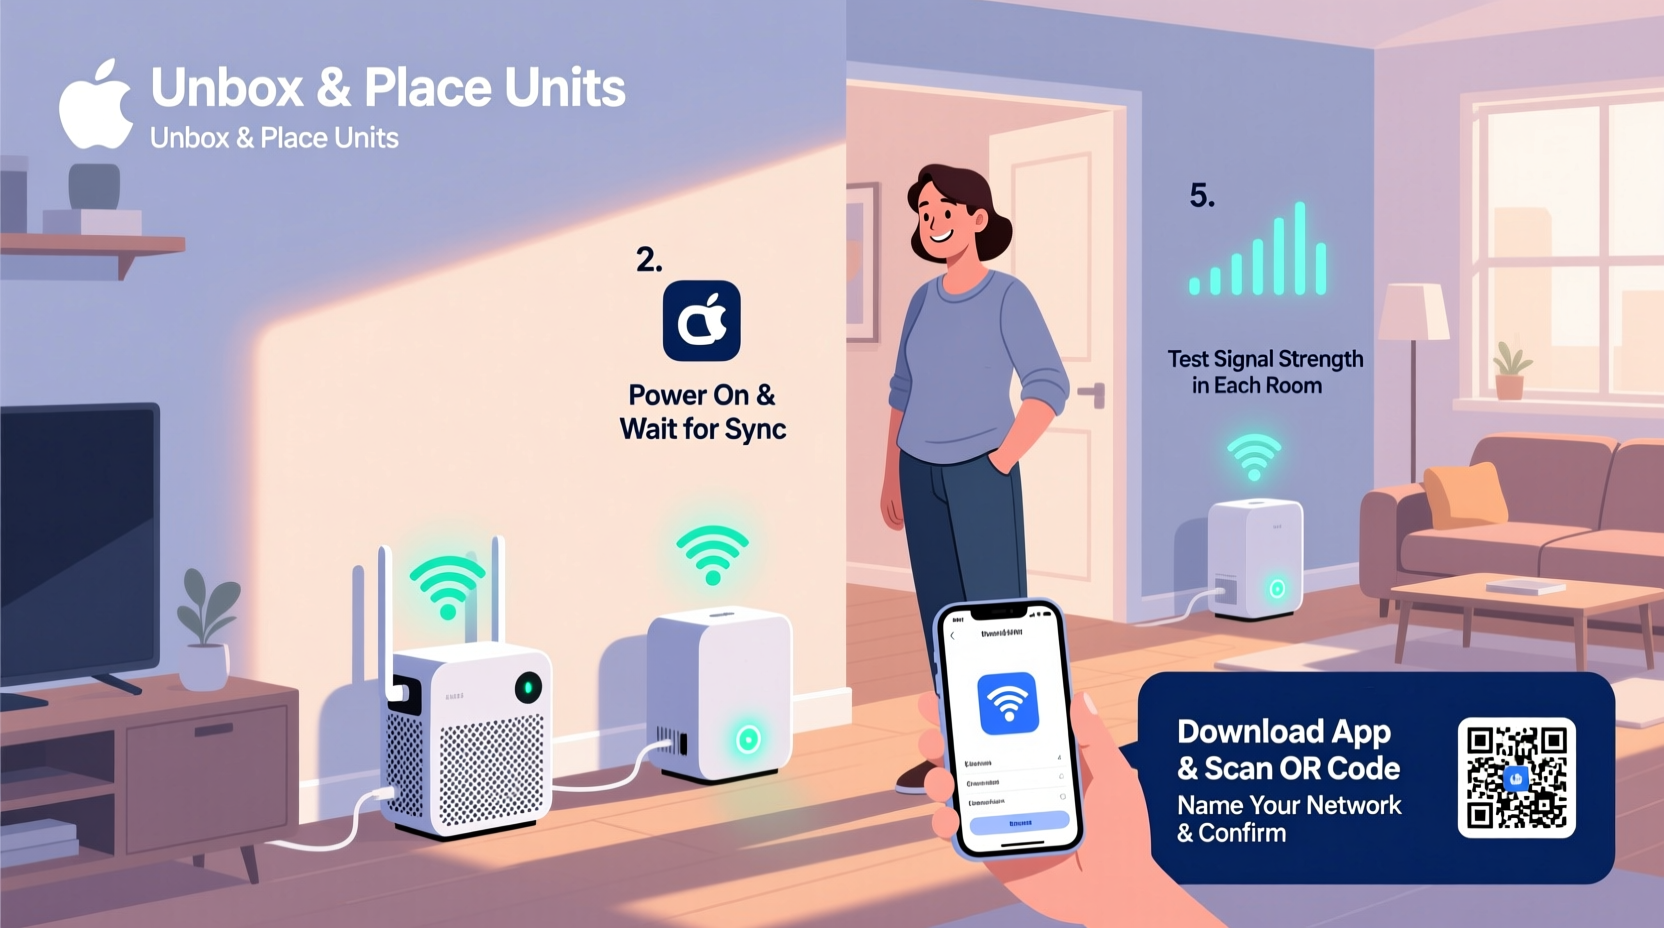
Step-by-Step: Installing Your Mesh System in 7 Simple Stages
Follow this timeline-based process to install your mesh WiFi system confidently and correctly. Most setups take under 30 minutes.
- Unbox and identify components. Lay out all parts. Most kits include a primary router node, one or more satellites, power adapters, and an Ethernet cable. Refer to the manual to confirm what belongs where.
- Position the main node. Plug the primary unit into a power outlet next to your modem. It should be centrally located if possible, with space around it for airflow and signal dispersion. Avoid placing it inside cabinets or behind TVs.
- Connect to the modem. Use the Ethernet cable to link the main node’s WAN port to the modem’s LAN port. Wait 60 seconds for lights to stabilize. A solid white or blue light typically indicates a good connection.
- Download and open the companion app. Search for the brand name (e.g., “eero,” “Asus,” “Google Nest”) in your device’s app store. Install it, then launch and create an account if prompted.
- Follow in-app setup prompts. The app will detect the new device. Tap “Add Device” or similar, then scan the QR code on the bottom of the main node. The app guides you through naming your network, setting a password, and connecting to Wi-Fi.
- Place and connect satellite nodes. Once the main unit is online, plug in each satellite one at a time. Place them halfway between the main node and dead zones—never too close, never too far. The app will show signal strength and prompt when placement is optimal.
- Finalize and test. After all nodes are connected, the app finalizes configuration. Reboot if instructed. Then, walk through your home testing speed on your phone or laptop. Use a free tool like Speedtest.net to compare results before and after.
Common Pitfalls and How to Avoid Them
Even simple setups can go wrong. Here are frequent mistakes and how to prevent them:
| Mistake | Consequence | Solution |
|---|---|---|
| Placing nodes too close together | Wasted coverage, inefficient handoff | Space nodes at least 15–20 feet apart |
| Putting nodes in basements or closets | Poor signal due to obstructions | Elevate nodes on shelves, away from walls |
| Using outdated firmware | Security risks, instability | Enable auto-updates in the app settings |
| Skipping app registration | No remote management or updates | Always complete account setup |
| Connecting via Wi-Fi instead of Ethernet during setup | Setup failure or weak initial sync | Use Ethernet for main node-to-modem connection |
One of the most overlooked steps is verifying internet access *before* starting. If your modem isn’t working, the mesh system won’t fix it. Always check that another device can browse the web using the same connection.
Real-World Example: Fixing a Family Home’s Coverage Gaps
The Thompson family lives in a 2,200-square-foot colonial with three bedrooms and a finished basement. Their old router sat in the living room, giving great speed downstairs but almost no signal upstairs or in the backyard office shed.
They purchased a three-pack mesh system (main unit + two satellites). Following the app instructions, they placed the primary node beside the modem in the living room. One satellite went halfway up the stairs, mounted on a hallway shelf. The second was placed in the basement rec room, covering both lower-level rooms and extending into the backyard.
Within 20 minutes, the app confirmed full synchronization. Testing showed speeds over 80 Mbps in every tested location, compared to previous drops below 10 Mbps upstairs. Video calls stopped freezing, and their smart home devices stayed consistently connected.
“I expected it to be complicated,” said Sarah Thompson. “But the app walked me through everything. My kids set up their own devices without asking for help.”
Optimizing Performance After Installation
Once your system is live, a few quick optimizations ensure long-term reliability:
- Assign meaningful names to devices. In the app, label devices like “Living Room TV” or “Kids’ Tablets” for easier monitoring.
- Set up a guest network. Keeps visitors off your main network while offering them convenient access.
- Enable Quality of Service (QoS). Prioritizes bandwidth for video calls, gaming, or streaming when multiple devices are active.
- Review usage reports weekly. Some apps show data consumption trends, helping spot unusual activity.
- Reboot nodes monthly. A simple restart clears memory and refreshes connections.
Frequently Asked Questions
Can I keep my current internet provider with a mesh system?
Yes. Mesh WiFi systems work with any internet service provider. They replace your router but still connect to your existing modem. If your ISP provides a combined modem-router unit, you can disable its routing function (bridge mode) and use only the modem.
Do I need to reset my devices after switching to mesh WiFi?
Only once. When you set up the new network, your devices will disconnect from the old one. You’ll need to reconnect them to the new SSID (network name) and password. After that, they remember the network permanently.
What happens if one node fails?
The rest of the system continues operating. Other nodes reroute traffic automatically. You’ll lose coverage in the area served by the failed node, but overall functionality remains. Most manufacturers offer warranty replacements for defective units.
Conclusion: Enjoy Seamless Internet Without the Headache
Setting up a mesh WiFi system shouldn’t feel like solving a puzzle. With the right approach, it’s a straightforward process that transforms your home’s connectivity. No more crouching near the router to stream a show or restarting devices constantly. Instead, you get consistent, high-speed internet wherever you need it.
You don’t need technical expertise—just attention to placement, a working app, and a few spare minutes. Whether you're upgrading from an aging router or expanding coverage for remote work and learning, a well-installed mesh network makes modern life smoother.


 浙公网安备
33010002000092号
浙公网安备
33010002000092号 浙B2-20120091-4
Comments
No comments yet. Why don't you start the discussion?