
Transforming your living space into a responsive, automated environment no longer requires technical expertise or days of setup. With the right tools and a clear plan, you can install a fully functional smart home hub with voice control in under 60 minutes. Whether you're automating lights, thermostats, locks, or entertainment systems, this guide walks you through each essential phase—selection, installation, integration, and optimization—with precision and ease.
Selecting the Right Smart Home Hub
A smart home hub acts as the central nervous system of your connected devices. It communicates across different protocols (like Wi-Fi, Zigbee, or Z-Wave) and allows unified control via apps or voice assistants. Choosing the correct hub is critical for compatibility, reliability, and future scalability.
Popular options include:
- Amazon Echo (4th Gen or later): Built-in Zigbee hub and Alexa voice control; ideal if you're invested in Amazon's ecosystem.
- Apple HomePod Mini: Seamlessly integrates with Apple devices and supports Thread and HomeKit for secure automation.
- Samsung SmartThings Hub: Supports Zigbee, Z-Wave, and Wi-Fi; excellent for mixed-brand environments.
- Google Nest Hub (with Google Assistant): Strong Google ecosystem integration, but limited native support for Z-Wave unless paired with a separate hub.
Ensure your chosen hub supports the communication standards used by your existing or planned smart devices. For example, many smart locks and sensors use Z-Wave, while Philips Hue bulbs rely on Zigbee. A hub with multiple protocol support reduces reliance on individual device bridges.
Preparation Checklist Before Setup
Before powering on any device, prepare your environment and gather necessary components. Skipping this stage often leads to delays or configuration errors.
💡 Smart Home Setup Checklist- ✔ Choose a central location with strong Wi-Fi coverage
- ✔ Plug in your smart hub near a router (initially)
- ✔ Download the companion app (e.g., Alexa, Google Home, SmartThings, Apple Home)
- ✔ Ensure your smartphone is connected to 2.4 GHz Wi-Fi (most hubs don’t support 5 GHz during setup)
- ✔ Power on all smart devices you plan to connect
- ✔ Have account credentials ready for any third-party services (e.g., Ring, Nest, Ecobee)
“Proper planning cuts setup time in half. Knowing which devices you own and their connectivity needs prevents mid-process troubleshooting.” — Jordan Lee, IoT Systems Architect
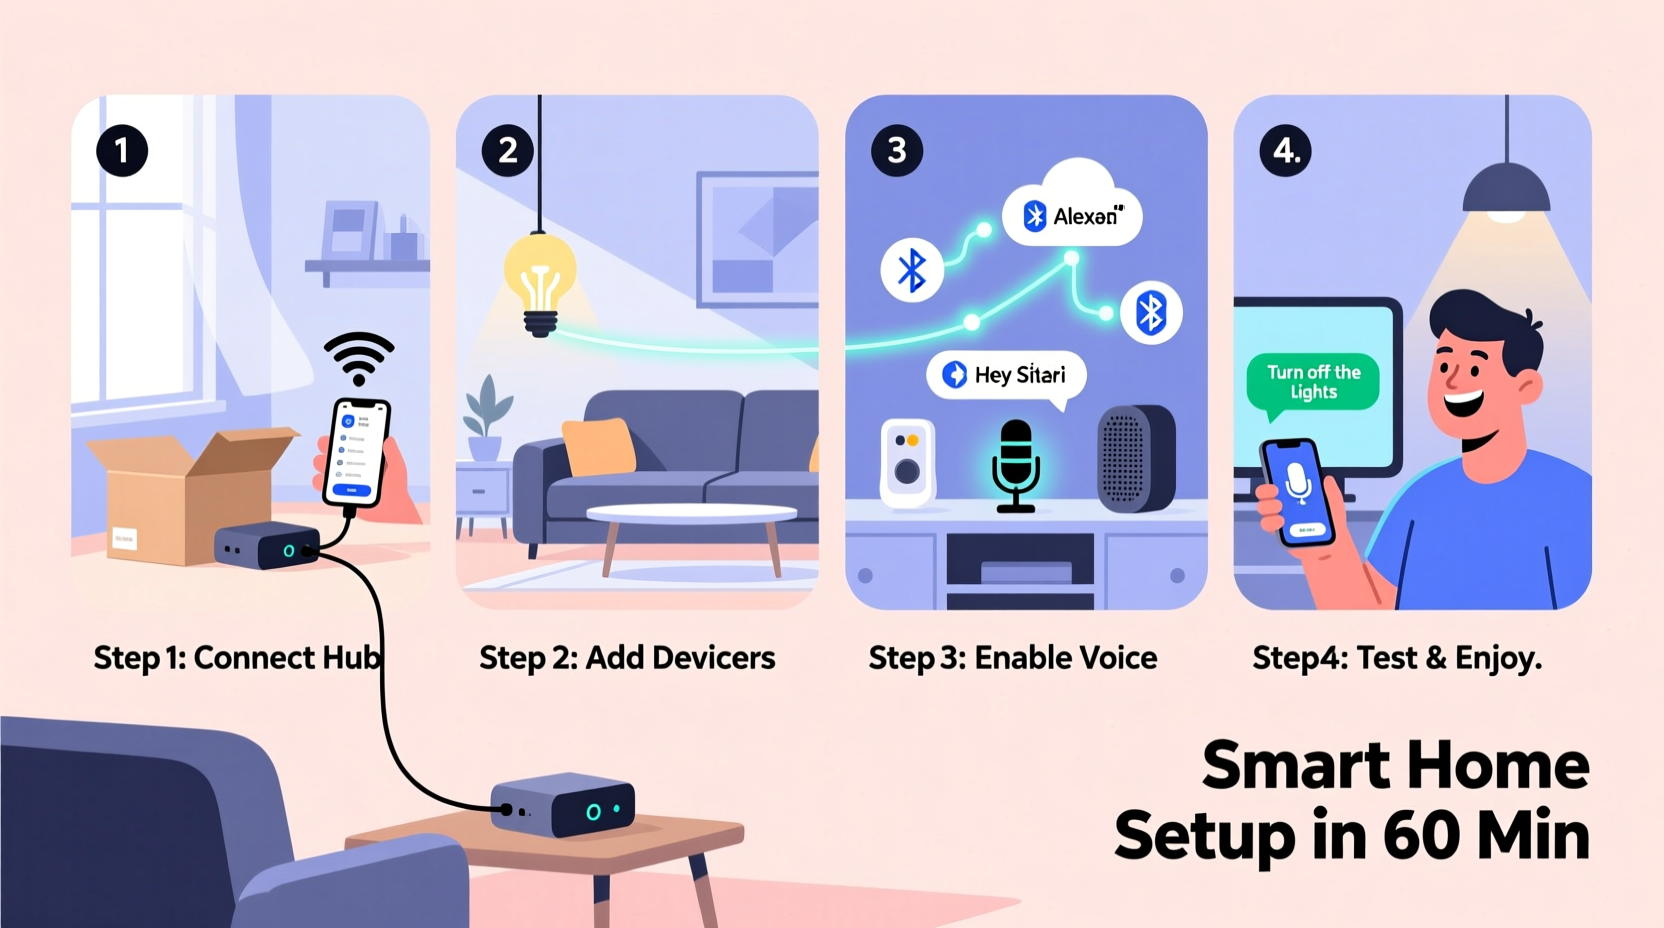
Step-by-Step Installation Process
Follow this structured timeline to complete your smart home hub setup efficiently. Each step is designed to take between 5–12 minutes, keeping the entire process under one hour.
- Power and Connect the Hub (5 min)
Plug your smart hub into a power source. If it connects via Ethernet, link it directly to your router for faster initial setup. Most modern hubs also support Wi-Fi pairing through Bluetooth or QR code scanning in the app.
- Install and Open the Companion App (5 min)
Download the official app from your phone’s app store. Launch it and sign in with your account. For new users, create an account linked to your email and set up two-factor authentication for security.
- Add the Hub to the App (7 min)
Navigate to “Add Device” or “Set Up New Device.” Select your hub model from the list. The app will search for the hub via Bluetooth or network discovery. Follow on-screen prompts to confirm pairing—this may involve pressing a physical button on the hub.
- Connect Hub to Wi-Fi (8 min)
When prompted, select your 2.4 GHz Wi-Fi network and enter the password. Avoid using guest networks or hidden SSIDs. Wait for confirmation that the hub has internet access. This is crucial for cloud-based voice commands and remote control.
- Update Firmware (10 min – runs automatically)
Most hubs check for firmware updates upon first connection. Allow time for downloads and reboots. Do not unplug the hub during this phase. Updated firmware ensures stability, security, and feature compatibility.
- Add Smart Devices (15 min)
Use the app’s “Add Device” function again to begin integrating lights, plugs, sensors, or thermostats. Put each device into pairing mode (refer to its manual—often involves holding a button). The app will detect and configure them automatically. Group devices by room (e.g., “Living Room,” “Bedroom”) for easier management.
- Enable Voice Assistant Integration (5 min)
If using Alexa or Google Assistant, ensure your account is linked to the respective service. Say “Alexa, discover my devices” or “Hey Google, sync my devices” to initiate voice recognition. Test by asking to turn on a light or adjust brightness.
Optimizing Performance and Security
Once your hub and devices are online, fine-tune settings to enhance responsiveness, privacy, and long-term reliability.
| Setting | Action | Benefit |
|---|---|---|
| Room Assignment | Assign devices to specific rooms in the app | Voice commands become context-aware (“Turn off bedroom lights”) |
| Automations | Create routines (e.g., “Good Morning” turns on lights and adjusts thermostat) | Reduces manual interaction; increases convenience |
| Guest Access | Invite family members via app sharing | Allows multi-user control without sharing passwords |
| Privacy Controls | Disable microphone when not needed (on Echo/Nest devices) | Enhances personal data protection |
| Network Segmentation | Place smart devices on a separate Wi-Fi VLAN if supported | Isolates IoT traffic from primary devices for improved security |
For advanced users, consider enabling local control features. Hubs like SmartThings or HomePod allow certain automations to run without internet access, ensuring functionality during outages. Check device compatibility for “works locally” status in the app settings.
Real-World Example: Sarah’s First Smart Home Setup
Sarah, a busy professional living in a two-bedroom apartment, wanted hands-free control over her lighting and climate. She purchased an Amazon Echo Dot (5th Gen), two smart LED bulbs, and a smart plug for her coffee maker. Following this guide, she placed the Echo in her living room, connected it via the Alexa app, and added her devices—all within 48 minutes. She created a morning routine named “Wake Up” that gradually brightens the lights at 7:00 AM and powers on the coffee maker. By evening, saying “Alexa, good night” turns off all lights and sets the thermostat to sleep mode. Within a week, Sarah reported saving nearly 30 minutes weekly on manual tasks and noticed reduced energy bills due to scheduled shut-offs.
Troubleshooting Common Issues
Even with careful planning, minor hiccups may occur. Address these quickly to maintain momentum.
- Device Not Detected: Ensure the device is in pairing mode and within range (within 10–15 feet of the hub during setup).
- Wi-Fi Connection Fails: Confirm you’re using a 2.4 GHz band. Restart your router if the hub fails to obtain an IP address.
- Voice Commands Ignored: Run a device discovery command. Also, verify that your wake word (e.g., “Alexa”) is spoken clearly and isn’t drowned out by background noise.
- Firmware Update Stuck: Unplug the hub for 10 seconds and retry. If persistent, consult manufacturer support.
Frequently Asked Questions
Can I use multiple hubs in one home?
Yes. Multiple hubs improve coverage and redundancy. For example, placing an Echo in the basement and another in the master bedroom ensures voice command pickup throughout the house. Just make sure they’re linked to the same account to avoid conflicts.
Do I need a hub for every smart device?
No. Some Wi-Fi-only devices (like certain smart bulbs or plugs) connect directly to your network and don’t require a central hub. However, a hub enhances reliability, enables local processing, supports non-Wi-Fi devices (Zigbee/Z-Wave), and simplifies voice control across brands.
Is voice control secure?
Major platforms (Alexa, Google Assistant, Siri) use end-to-end encryption and allow granular privacy controls. You can review voice history, delete recordings, disable microphones, and opt out of data sharing. For maximum security, enable two-factor authentication and use strong, unique passwords.
Final Steps and Long-Term Success
Your smart home hub is now live, voice-enabled, and ready to simplify daily life. Take a moment to test each device with both app controls and voice commands. Refine room labels, tweak automation timing, and explore advanced features like geofencing (e.g., lights turn on when your phone approaches home).
Maintain system health by checking for updates monthly and replacing aging batteries in sensors or locks. As you grow more comfortable, expand your ecosystem with doorbells, cameras, or blinds—all controllable through the same interface.
“The most effective smart homes aren’t the most complex—they’re the ones designed around real human behavior.” — Dr. Lena Patel, Human-Computer Interaction Researcher
Start Smarter Today
You’ve just completed a full smart home hub setup in less than an hour—proof that intelligent automation is accessible, efficient, and immediately rewarding. From adjusting lighting with a simple voice command to automating routines that save time and energy, your home now responds to you, not the other way around.
Don’t stop here. Experiment with custom scenes, integrate weather-based triggers, or invite household members to personalize their experience. Share your success story, refine your setup, and enjoy the quiet confidence that comes from a home that works for you.


 浙公网安备
33010002000092号
浙公网安备
33010002000092号 浙B2-20120091-4
Comments
No comments yet. Why don't you start the discussion?