
Building a thriving online community starts with intention, structure, and consistent engagement. Among the most accessible platforms for this is Facebook, where groups offer a dedicated space for like-minded individuals to connect, share, and grow. However, simply creating a group isn’t enough. To foster real community growth, you need a strategic approach—from defining your purpose to nurturing ongoing participation. This guide walks through every essential phase of launching and scaling a successful Facebook group.
Define Your Group’s Purpose and Audience
Every successful community begins with clarity. Before setting up your group, answer two foundational questions: Why does this group exist? and Who is it for?
A clear mission statement helps guide content, rules, and member interactions. For example, “This group supports new remote workers in navigating digital tools and work-life balance” is more actionable than “A place for remote workers.”
Identify your target audience with precision. Are they entrepreneurs, parents, fitness enthusiasts, or indie game developers? The more specific your niche, the easier it becomes to attract engaged members who see immediate value.
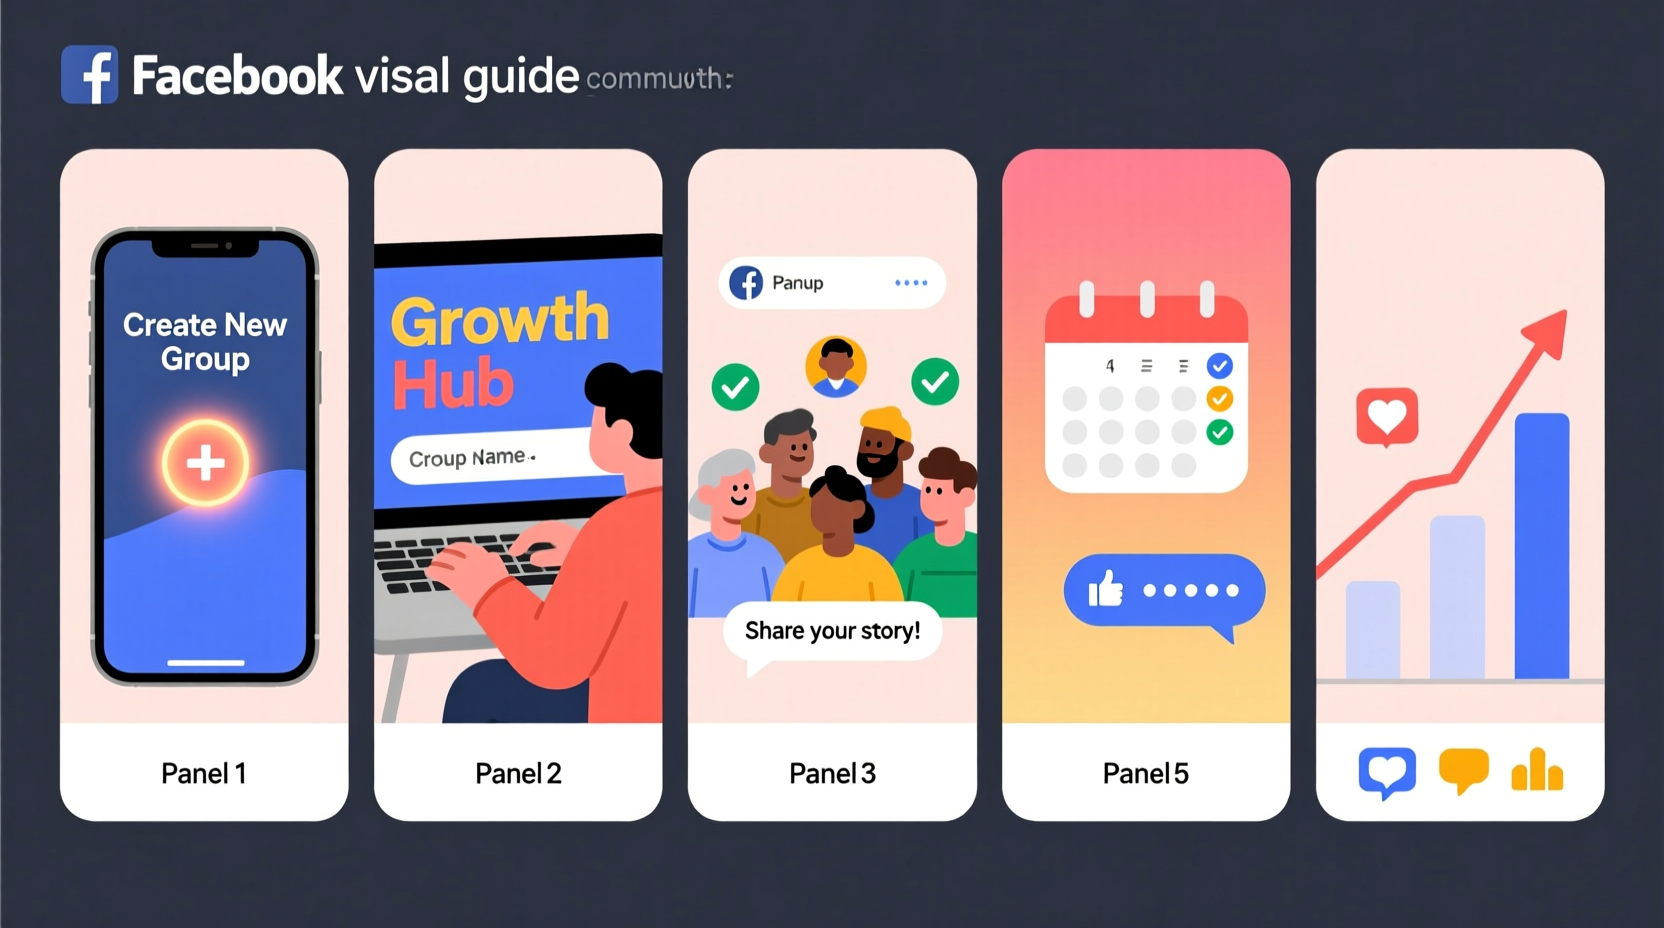
Create and Configure Your Group
Once your vision is clear, it’s time to set up the technical foundation. Follow these steps within Facebook Groups:
- Name your group – Make it descriptive and searchable (e.g., “Urban Gardeners of Portland” vs. “Green Space”).
- Choose privacy settings:
- Public: Anyone can see members and posts.
- Closed: Visible to all, but only members see content.
- Private: Hidden from search; membership requires approval.
- Upload branding elements – A custom cover photo and logo reinforce identity. Use clean visuals that reflect your group’s tone.
- Set up group description – Include the mission, benefits of joining, and expectations. Example: “Join fellow educators to exchange lesson plans, discuss classroom challenges, and access monthly expert Q&As.”
- Enable features – Turn on Member Requests, Questions for New Members, and Content Moderation tools under Group Settings.
Do’s and Don’ts When Setting Up
| Do’s | Don’ts |
|---|---|
| Use a clear, keyword-rich group name | Choose vague names like “Community Hub” |
| Write a detailed description with hashtags | Omit contact info or guidelines |
| Select relevant categories (e.g., Education, Health) | Ignore privacy settings suited to your goals |
| Add admins early to share moderation load | Allow unvetted members during launch |
Establish Rules and Onboarding Processes
Rules aren’t restrictive—they’re liberating. They set behavioral standards and protect the group’s culture. Post them prominently in the “Featured” section and include them in automated welcome messages.
Effective rules are simple, positive, and enforceable. Instead of “Don’t self-promote,” say, “Share promotional content only in designated threads and after contributing meaningfully to discussions.”
Use Facebook’s “Questions for New Members” to qualify applicants. Ask things like:
- How did you hear about this group?
- What do you hope to gain here?
- Please confirm you’ve read our rules.
This filters out bots and passive scrollers while encouraging thoughtful participation from the start.
“Communities thrive when boundaries are clear. People feel safer and more willing to engage when they know what’s expected.” — Dana Lee, Digital Community Strategist
Launch with Momentum and Early Engagement
A silent group repels new members. To avoid this, seed content before opening the doors. Prepare 5–7 discussion prompts, resource shares, or member spotlights ready to publish in the first week.
Invite 10–20 trusted individuals first—friends, colleagues, or past workshop attendees. Ask them to introduce themselves, respond to posts, and invite others who fit the criteria.
Host a virtual kickoff event using Facebook Live or a pinned post: “Welcome! Today we’re discussing [topic]. What’s one challenge you’re facing right now?” This sparks immediate dialogue.
Mini Case Study: “Zero-Waste Families Midwest”
Jamie Chen started a local sustainability group with fewer than 15 people. She began by personally messaging eco-conscious parents in nearby towns, inviting them to join. Within the first week, she posted daily tips—“Plastic-Free Lunch Hacks,” “DIY Cleaning Recipes”—and asked members to share their own solutions.
She also created themed days: “Swap Saturday” for trading kids’ clothes, and “Fix-It Friday” for repair tutorials. Within three months, the group grew to over 1,200 members, with 40% actively posting weekly. Local businesses even reached out to sponsor giveaways, strengthening community ties.
Nurture Growth Through Consistent Strategy
Sustained growth relies on rhythm and relevance. Implement these practices:
- Post consistently – Aim for 1–2 high-value posts per day. Mix formats: questions, articles, polls, member highlights.
- Recognize contributors – Feature active members in “Member of the Week” posts to encourage ownership.
- Use analytics – Check Facebook Group Insights weekly to see top posts, peak activity times, and member demographics.
- Introduce sub-topics – Create themed discussion threads (e.g., #MealPrepMondays, #TechTipsTuesday) to organize conversations.
- Collaborate externally – Partner with influencers or related pages to co-host live sessions or cross-promote.
Checklist: First 30 Days of Group Management
- ✅ Finalize group name, description, and visual branding
- ✅ Set privacy level and enable membership questions
- ✅ Draft and pin group rules
- ✅ Recruit 2–3 co-admins or moderators
- ✅ Seed first week of content
- ✅ Invite initial members and launch with a welcome post
- ✅ Respond to every new introduction in the first month
- ✅ Review insights and adjust posting schedule accordingly
- ✅ Host one live Q&A or themed discussion
- ✅ Identify and empower 5 super-engaged members
Frequently Asked Questions
How do I handle conflict or negative comments?
Address issues promptly but privately when possible. Use warnings, temporary muting, or removal based on severity. Always reference your published rules. If a dispute arises between members, remind them of respectful communication guidelines and redirect the conversation constructively.
Can I promote my business in my own group?
Yes, but sparingly and transparently. Follow the 80/20 rule: 80% value-driven content (tips, discussions, support), 20% promotional (services, products, events). Members stay for community, not ads.
What if growth stalls after the first few months?
Re-engage inactive members with a survey (“What topics interest you most?”), run a referral challenge (“Invite 2 friends and get a free guide”), or collaborate with complementary groups for joint events. Sometimes rebranding slightly—or introducing a new format like AMAs—can reignite momentum.
Conclusion: Build With Intent, Grow With Care
An effective Facebook group isn’t built overnight. It grows from a clear purpose, consistent stewardship, and genuine human connection. By defining your audience, setting strong foundations, and nurturing engagement deliberately, you create more than just a group—you build a community that supports, inspires, and evolves together.


 浙公网安备
33010002000092号
浙公网安备
33010002000092号 浙B2-20120091-4
Comments
No comments yet. Why don't you start the discussion?