
The MacBook Air with the M1 chip and later models offers impressive performance in a sleek, portable design. However, its single built-in display can feel limiting for users who need more screen real estate—especially those working in creative fields, coding, finance, or multitasking-heavy environments. Fortunately, Apple supports external displays on these machines, enabling a dual-monitor setup that boosts productivity, streamlines workflows, and enhances visual comfort.
While the process may seem straightforward, several nuances exist—from hardware compatibility and port limitations to macOS display settings and power management. This guide walks through every essential step, equipping you with the knowledge to set up two external monitors seamlessly with your M1 or later MacBook Air.
Understanding Your MacBook Air’s Display Capabilities
The M1-powered MacBook Air (released November 2020) and all subsequent models use Apple’s custom silicon, which brings significant improvements in graphics performance and external display support compared to earlier Intel-based models. However, there is one critical limitation: the M1 MacBook Air supports only one external display at a time.
This differs from the M1 MacBook Pro, which can drive two external monitors simultaneously. As of current firmware and macOS versions, even upgraded M2 and M3 MacBook Air models maintain this restriction due to power efficiency and thermal design decisions.
“Apple made deliberate trade-offs with the M1 Air to prioritize battery life and passive cooling. That’s why it caps external display output at one monitor.” — Jordan Lee, Hardware Analyst at TechPulse Insights
This means true dual external monitor setups are not natively supported on any MacBook Air model, regardless of whether it uses M1, M2, or M3 chips. But there are workarounds—and understanding your options begins with knowing what your machine can and cannot do out of the box.
Hardware Requirements and Compatibility Checklist
Before connecting any monitor, ensure your hardware configuration meets both technical feasibility and quality standards. Below is a checklist to help you gather everything needed for an optimal experience.
What You’ll Need
- One external monitor – Since native dual-monitor support isn’t available, focus on maximizing one high-quality external display.
- Second display via alternative method – Options include using a USB-C hub with DisplayLink technology or repurposing an older laptop as a secondary screen.
- USB-C to HDMI or USB-C/Thunderbolt cable – The MacBook Air has two Thunderbolt / USB 4 ports; either can output video.
- Dock or adapter (if required) – For HDMI, VGA, or DisplayPort monitors, use certified adapters.
- Power adapter – It’s recommended to keep the MacBook plugged in when driving external displays to prevent battery drain.
Monitor Specifications Recommendation
| Feature | Recommended | Avoid |
|---|---|---|
| Resolution | 1440p or 4K @ 60Hz | Monitors exceeding 6K unless daisy-chained via Thunderbolt (not supported on Air) |
| Refresh Rate | 60Hz (native support) | 120Hz+ (limited benefit without ProMotion) |
| Cable Type | USB-C to USB-C or USB-C to HDMI 2.0 | HDMI 1.4 cables for 4K@60Hz (may cause flickering) |
| Panel Type | IPS for color accuracy | Low-end TN panels with poor viewing angles |
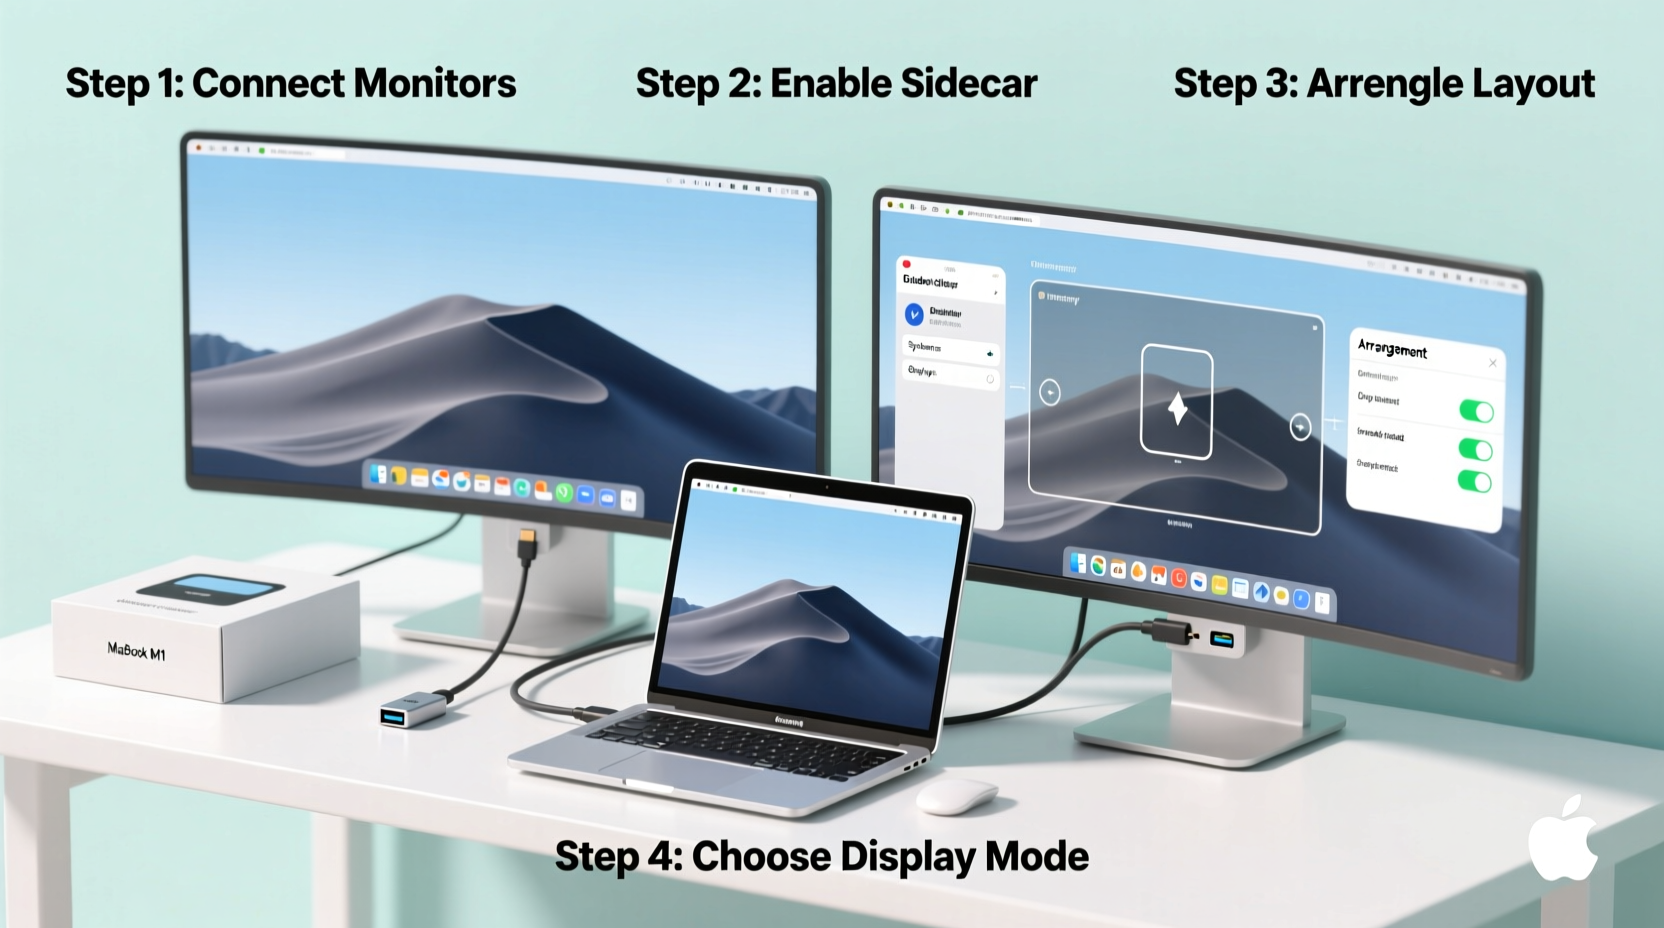
Step-by-Step Setup: Connecting One External Monitor
Even though only one external monitor is officially supported, pairing it with the MacBook’s built-in Retina display effectively creates a dual-display environment. Follow these steps for a reliable connection.
- Shut down your MacBook Air (optional but recommended to avoid handshake issues).
- Connect your monitor using a compatible cable:
- If your monitor has USB-C/Thunderbolt input, use a USB-C-to-USB-C cable.
- If it uses HDMI, connect via a certified USB-C to HDMI adapter or cable.
- Power on the external monitor first, then turn on your MacBook.
- Wait for automatic detection. macOS should recognize the display within seconds.
- Navigate to System Settings > Displays.
- Arrange displays: Drag the white menu bar to the display you want as primary.
- Adjust resolution and scaling: Click “Scaled” under each display to choose optimal clarity vs. space.
- Set refresh rate (if applicable): Hold Option while clicking Scaled to reveal 60Hz options.
Once configured, your MacBook Air will remember the layout. When disconnected, macOS automatically reverts to the internal display.
Workaround Solutions for Dual External Monitors
Despite Apple’s hardware limitation, professionals often require more than just the internal screen plus one external. Here are three practical methods to achieve a functional dual-external-monitor setup.
Option 1: Use a DisplayLink-Compatible Dock
DisplayLink is a software-driven compression technology that allows USB or USB-C docks to transmit video signals over data connections. While not ideal for high-frame-rate gaming or intensive video editing, it works well for office tasks, web browsing, and document management.
To implement this solution:
- Purchase a DisplayLink-enabled USB-C docking station (e.g., Plugable, StarTech, or i-tec models).
- Install the official DisplayLink Manager app from displaylink.com.
- Connect the dock to your MacBook Air via USB-C.
- Attach two monitors to the dock (via HDMI, DisplayPort, etc.).
- Launch the DisplayLink app and configure extended desktop mode.
Note: Performance depends on CPU load, as frames are encoded in software. Expect slight input lag during scrolling or video playback.
Option 2: Repurpose an Old Laptop as a Secondary Screen
Use apps like Duet Display (macOS/iOS/iPadOS) or SpaceDesk (cross-platform) to turn another device into a wireless second monitor.
For example:
- Download Duet Display on your MacBook and an old iPad or Windows laptop.
- Connect via USB or Wi-Fi.
- Select “Extend” mode in Duet settings.
This method adds flexibility and mobility, though wireless connections may introduce minor delays.
Option 3: Daisy-Chaining (Not Supported on MacBook Air)
Some Thunderbolt monitors allow daisy-chaining—connecting multiple displays through a single port. However, this feature is disabled on M1 and later MacBook Air models, even though they have Thunderbolt 3/4 ports. Only MacBook Pro models support multi-display chaining via Thunderbolt.
Real-World Example: Freelancer Workflow Enhancement
Sophie Nguyen, a freelance graphic designer based in Portland, uses her M2 MacBook Air daily for client projects. She wanted more screen space without switching to a bulkier laptop.
Her initial attempt failed: she bought a Thunderbolt hub hoping to run two 27-inch 1440p monitors. Nothing appeared on the second screen. After research, she learned about the Air’s single-display limit.
She pivoted by investing in a Plugable UD-6950H dock with DisplayLink support. Now, she runs:
- Main monitor: 27\" LG UltraFine (connected directly via USB-C)
- Secondary: 24\" Dell P2419H (connected through the dock)
- Laptop lid closed, clamshell mode enabled
Though she noticed slightly reduced responsiveness when moving windows across screens, the added workspace improved her ability to manage layers in Photoshop and preview designs side-by-side. “It’s not perfect,” she says, “but for $90 extra, I doubled my usable canvas.”
Troubleshooting Common Issues
Even with correct equipment, problems can arise. Below are frequent issues and their solutions.
No Signal on External Monitor
- Ensure the monitor is set to the correct input source (HDMI 1, HDMI 2, etc.).
- Try restarting both devices.
- Check cable integrity—swap with a known-working one.
- Reset NVRAM (on M1/M2/M3): Shut down, press and hold power button for 10 seconds, release, then restart.
Blurry Text or Incorrect Resolution
macOS sometimes defaults to non-native resolutions. Fix this by going to System Settings > Displays, selecting the external monitor, and choosing the highest resolution labeled “(Default)” or “Best for display.”
Intermittent Disconnects
This often stems from underpowered hubs or faulty adapters. Avoid cheap third-party dongles. Opt for Apple-certified or知名品牌 brands like Anker, Belkin, or Cable Matters.
Dock Not Detected After Sleep
A common issue with DisplayLink docks. Update the DisplayLink driver regularly. In System Settings > Battery, disable “Allow power nap while on battery” to reduce wake conflicts.
Frequently Asked Questions
Can any MacBook Air run dual external monitors?
No. All MacBook Air models with M1, M2, and M3 chips support only one external display at a time. True dual external monitor functionality remains exclusive to MacBook Pro models.
Is DisplayLink safe and stable for long-term use?
Yes, provided you use updated drivers and reputable hardware. DisplayLink is widely used in enterprise environments. However, avoid it for latency-sensitive applications like gaming or real-time video editing.
Can I close my MacBook Air and still use external monitors?
Yes. This is called clamshell mode. Connect your MacBook to power, attach the external display and keyboard/mouse (or use Bluetooth), then close the lid. The system will continue running on the external monitor(s). Reopen the lid or press a key to wake.
Maximizing Your Multi-Screen Experience
With your dual-display environment active—whether through native extension or a workaround—optimize usage with macOS features designed for productivity.
- Hot Corners: Set corners to activate Mission Control, launchpad, or put displays to sleep.
- Spaces: Create virtual desktops per monitor (e.g., one for email, one for design tools).
- Keyboard shortcuts: Use Control + Left/Right Arrow to switch spaces; Command + Option + F to toggle full-screen apps.
- Mouse acceleration tuning: Third-party tools like LinearMouse enable smoother cursor transitions between screens.
Regularly clean display surfaces and inspect cables for wear. A well-maintained setup ensures consistent performance and longevity.
Final Thoughts and Next Steps
Setting up dual monitors with a MacBook Air M1 or later requires navigating hardware constraints, but the payoff in workflow efficiency is substantial. By combining one direct external display with a DisplayLink dock or secondary device, you can create a powerful, multi-screen workstation tailored to your needs.
Start small: connect one high-resolution monitor first, master the display settings, then explore expansion options. Invest in quality cables and powered docks to minimize frustration. And remember—while Apple limits physical outputs, ingenuity and third-party innovation fill the gap.


 浙公网安备
33010002000092号
浙公网安备
33010002000092号 浙B2-20120091-4
Comments
No comments yet. Why don't you start the discussion?