
Families love the Nintendo Switch for its engaging gameplay and social features, but with online access, downloadable content, and unrestricted playtime, it's essential to set boundaries. Without proper oversight, children can be exposed to inappropriate games, excessive screen time, or unintended in-game purchases. The good news is that Nintendo provides a robust parental control system through its free mobile app. When used correctly, it gives parents full visibility and authority over how their children use the console. This guide walks you through every stage of setup, explains key features, and offers practical advice to ensure a safe and balanced gaming experience.
Understanding Nintendo’s Parental Control System
Nintendo’s approach to parental controls is unique because it operates primarily through a smartphone app rather than directly on the console. The Nintendo Switch Parental Controls app (available for iOS and Android) allows caregivers to monitor and manage gameplay remotely. It connects securely to the child’s Nintendo account and the Switch console via the internet, enabling real-time adjustments and alerts.
The system covers several critical areas:
- Playtime management – Set daily or weekly limits.
- Content filtering – Restrict games based on age ratings.
- Spending controls – Prevent unauthorized purchases.
- Communication settings – Manage voice chat and messaging.
- Activity reporting – View what games were played and for how long.
Unlike built-in console systems from other manufacturers, Nintendo’s model requires a trusted device (a parent’s phone) to function. This ensures only authorized adults can make changes. However, it also means the initial setup depends on having a compatible smartphone and a stable internet connection.
“Digital parenting isn’t about restriction—it’s about guidance. Tools like Nintendo’s parental app help families build healthy tech habits together.” — Dr. Lisa Nguyen, Child Development & Technology Researcher
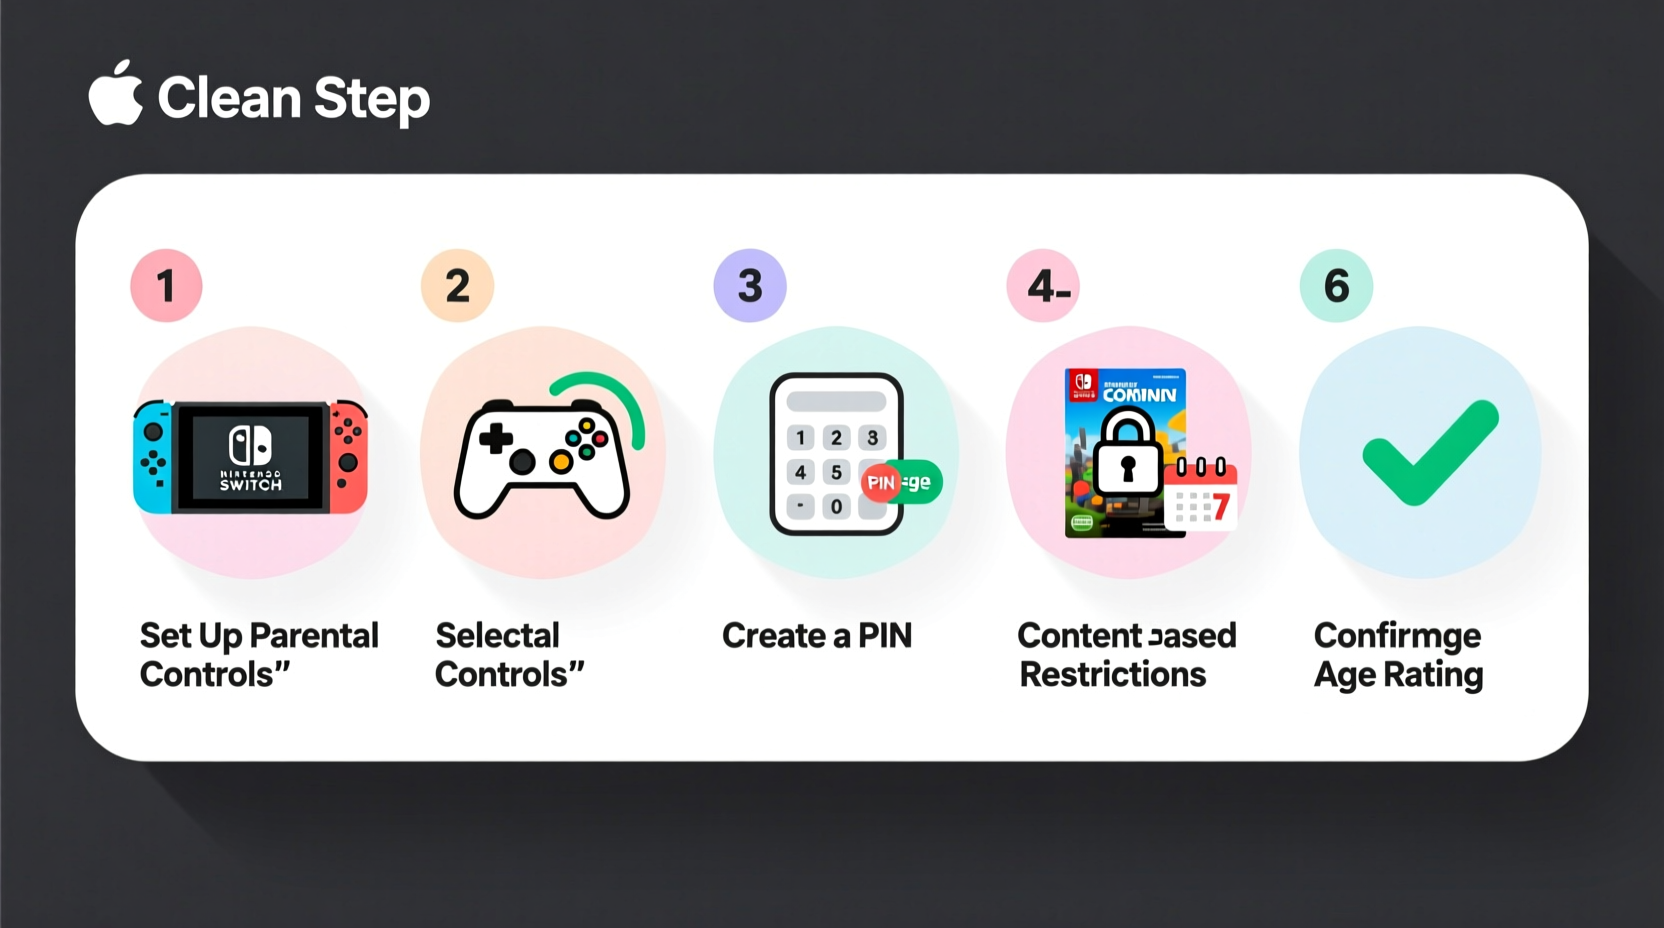
Step-by-Step Setup Process
Setting up parental controls takes less than 15 minutes if you follow these steps carefully. Ensure both your smartphone and the Nintendo Switch are connected to the internet before beginning.
- Download the App
Create an account on the App Store (iOS) or Google Play (Android) and install “Nintendo Switch Parental Controls.” Open the app once installed. - Link Your Nintendo Account
Sign in using the email and password associated with your Nintendo Account. This should be the account used to purchase games or manage subscriptions like Nintendo Switch Online. - Add Your Child’s Profile
In the app, tap “Add Device” and select the Nintendo Switch your child uses. You’ll be prompted to scan a QR code displayed on the console. - Generate the QR Code on the Switch
On the Nintendo Switch, go to: System Settings → Parental Controls → Register a New Device. A QR code will appear on-screen. Use your phone’s camera within the app to scan it. - Confirm Connection
Once scanned, the app will confirm the device is linked. From this point forward, you can manage settings remotely. - Set Up Initial Restrictions
Tap on the newly added device to begin customizing rules around playtime, content, and spending.
After completing these steps, the app will start sending activity reports whenever the child plays. These updates include session length, games launched, and any attempts to bypass restrictions.
Configuring Key Safety Features
With the device linked, you’re ready to fine-tune the controls. Each setting serves a specific purpose in maintaining a safe environment.
1. Playtime Limits
You can set a daily time limit ranging from 30 minutes to 6 hours. Once reached, the console locks until the next day—or until you manually approve additional play via the app.
For younger children, consider starting with 1–2 hours per day. Older teens might benefit from flexible weekend allowances. Use the “Suspend Play” feature during homework or bedtime hours.
2. Content Filters
Nintendo integrates regional age rating systems—such as ESRB (North America), PEGI (Europe), and CERO (Japan)—to filter game access. You can block titles above a certain rating (e.g., no M-rated games).
Additionally, individual games can be blocked regardless of rating. This is useful if a game has mild language or themes you’d prefer to avoid.
3. Communication Settings
Online multiplayer often includes voice chat and text messaging. To prevent exposure to strangers or cyberbullying:
- Disable voice chat entirely.
- Restrict friend requests to approved contacts only.
- Turn off global matchmaking in favor of local or family-group play.
4. Purchase Protection
Even with a PIN-protected eShop, accidental purchases happen. Within the app, disable the ability to buy games, DLC, or in-game currency. All transactions will require prior approval sent to your phone.
This prevents surprise charges while still allowing you to grant permission when appropriate—like buying a birthday gift title.
| Feature | Recommended Setting (Ages 6–10) | Recommended Setting (Ages 11–16) |
|---|---|---|
| Daily Playtime Limit | 1 hour | 2 hours (extendable on weekends) |
| Max Game Rating | E (Everyone) or E10+ | T (Teen) |
| Voice Chat | Disabled | Enabled with approved friends only |
| In-Game Purchases | Blocked | Requires Approval |
| Friend Requests | Only from registered family members | Manual approval required |
Real-World Example: The Thompson Family
The Thompsons have two children: Maya, age 8, and Liam, age 14. Both enjoy playing Animal Crossing: New Horizons and Super Mario Bros. Wonder, but Liam also plays competitive games like Fortnite and Apex Legends.
Initially, unrestricted access led to late-night gaming sessions and a $40 surprise purchase of character skins. After installing the parental control app, Mrs. Thompson took action:
- Limited Maya’s playtime to 45 minutes on school nights.
- Banned M-rated games for Liam unless pre-approved (e.g., for a special occasion).
- Required all purchases to go through her phone.
- Disabled voice chat for Maya and restricted it to known friends for Liam.
Within a week, screen time balanced out. Homework improved, and the family began scheduling co-op play sessions instead of isolated gaming. The app’s daily report showed exactly how much each child played, helping them stay accountable.
“It wasn’t about taking fun away,” Mrs. Thompson said. “It was about creating structure. Now we talk about gaming like we do chores or screen time on tablets—part of a routine.”
Common Mistakes to Avoid
Even with the right tools, missteps can weaken effectiveness. Watch out for these frequent errors:
- Using the wrong Nintendo Account: Always link the app to the adult’s account—not the child’s. If a child gains access to the controlling account, they can disable restrictions.
- Ignoring Software Updates: Outdated firmware may have security flaws. Enable auto-updates on the Switch under System Settings → Internet → Auto-Install Updates.
- Setting Unrealistic Limits: Drastic cuts in playtime can cause frustration. Gradually reduce hours if needed, and discuss changes with your child beforehand.
- Not Reviewing Activity Reports: The value lies in monitoring trends. A sudden spike in late-night activity could signal attempted bypassing.
- Leaving Guest Mode Enabled: While convenient for visitors, guest accounts skip parental controls. Disable this in System Settings → Users → Guest User.
Essential Parental Control Checklist
Use this checklist to verify your setup is secure and effective:
- ✅ Downloaded and installed the “Nintendo Switch Parental Controls” app
- ✅ Signed into the correct adult Nintendo Account
- ✅ Scanned QR code from the child’s Switch console
- ✅ Set daily playtime limits appropriate for age
- ✅ Selected maximum allowed game rating (ESRB/PEGI)
- ✅ Disabled in-app purchases or enabled approval mode
- ✅ Turned off voice chat or limited to approved friends
- ✅ Reviewed first activity report to confirm tracking works
- ✅ Discussed rules with child to promote understanding
- ✅ Scheduled monthly check-ins to adjust settings as needed
Frequently Asked Questions
Can I manage multiple Switch consoles from one app?
Yes. The app supports linking to multiple Nintendo Switch devices, each associated with a different child or household member. Simply repeat the QR code pairing process for each console.
What happens if my phone dies or I lose service?
Existing restrictions remain active on the console even without phone connectivity. However, you won’t receive real-time alerts or be able to approve extra playtime or purchases until the app reconnects.
Can my child delete the parental control settings?
No—unless they gain access to your Nintendo Account credentials or the controlling smartphone. Never share your login details with children, and enable two-factor authentication on your account for added security.
Final Thoughts: Building Healthy Gaming Habits
Setting up parental controls on the Nintendo Switch isn’t just about blocking content—it’s about fostering responsibility. Technology evolves fast, but consistent communication and clear boundaries remain the foundation of digital wellness. With the right tools in place, gaming becomes a positive part of family life rather than a source of conflict.
The effort you invest today pays off in better sleep, improved focus at school, and more intentional screen time. Revisit your settings every few months as your child grows. A 10-year-old might handle T-rated games responsibly; a 7-year-old likely won’t. Flexibility, combined with vigilance, makes all the difference.


 浙公网安备
33010002000092号
浙公网安备
33010002000092号 浙B2-20120091-4
Comments
No comments yet. Why don't you start the discussion?