
Creating an Apple ID is the essential first step to unlocking the full potential of Apple’s ecosystem. Whether you’re using an iPhone, iPad, Mac, or even just a web browser, your Apple ID connects you to iCloud, the App Store, Apple Music, iMessage, FaceTime, and more. A properly configured Apple ID ensures smooth syncing, secure access, and personalized experiences across all your devices. This comprehensive guide walks you through every phase of setup—correctly and securely—so you can enjoy uninterrupted service from day one.
Why Your Apple ID Matters
Your Apple ID isn’t just a login; it’s the digital key to your Apple experience. It stores your purchase history, app data, photos, contacts, and device preferences. Without it, features like Find My iPhone, iCloud backups, and Family Sharing won’t function. More importantly, a well-configured Apple ID enhances security through two-factor authentication and recovery options, protecting your personal information from unauthorized access.
“Your Apple ID is the foundation of your digital life on Apple devices. Getting it right from the start prevents headaches down the road.” — Lisa Tran, Senior Apple Support Consultant
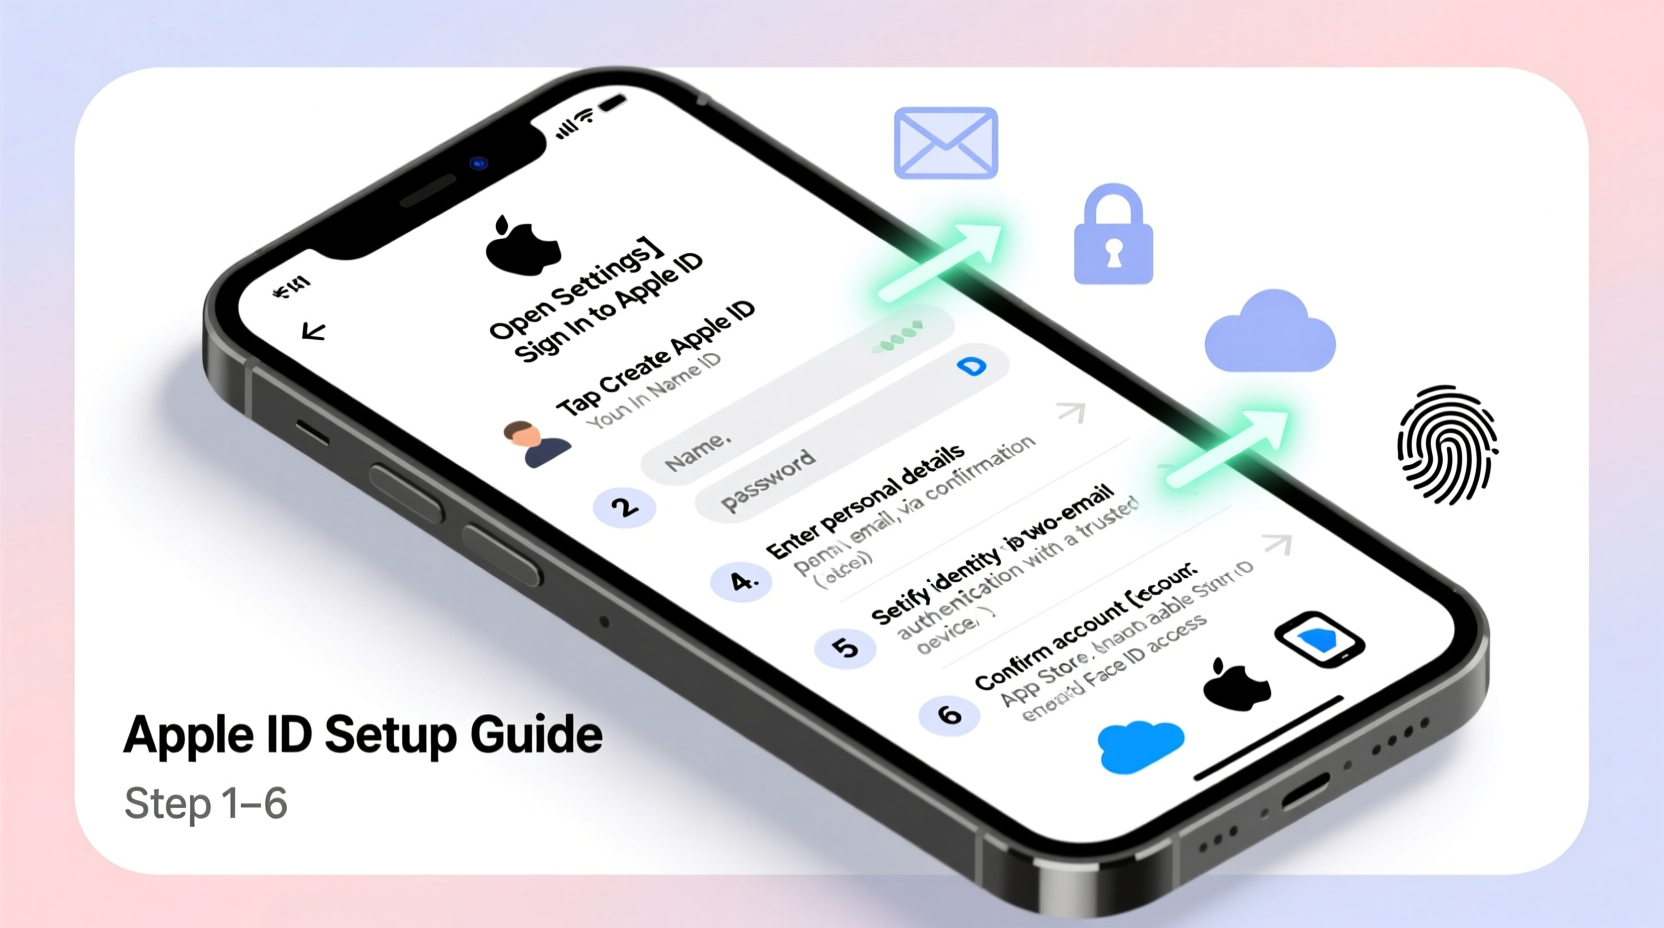
Step-by-Step Guide to Creating Your Apple ID
Setting up your Apple ID can be done directly on an Apple device or via a web browser. The process is straightforward but requires attention to detail for optimal security and functionality.
- Choose Your Device or Browser: Open Settings on iPhone/iPad, System Settings on Mac, or visit appleid.apple.com.
- Select “Create Apple ID”: On device, tap your name > Sign in to [Device] > Don’t have an Apple ID? Create one. On the web, click “Create Your Apple ID.”
- Enter Personal Information: Provide your first and last name. This helps personalize your experience and identify your account if shared with family members.
- Choose an Email Address: Use an existing email (recommended) or create a @icloud.com address during setup. Ensure this email is one you check regularly—it will serve as both username and recovery contact.
- Create a Strong Password: Must be at least eight characters long and include uppercase, lowercase, a number, and a symbol. Avoid reusing passwords from other accounts.
- Add Security Questions (if prompted): Though being phased out in favor of two-factor authentication, some legacy accounts may still require them. Choose questions only you can answer accurately.
- Verify Your Email: Apple sends a verification code to your email. Check inbox (and spam folder), then enter the code to confirm ownership.
- Set Up Two-Factor Authentication: Enter your phone number to receive SMS or automated call codes. This adds a critical layer of protection against unauthorized logins.
- Review & Agree to Terms: Carefully read Apple’s privacy policy and service terms before accepting.
- Sign In Across Devices: Once created, use your Apple ID to sign in on other Apple devices for instant sync of settings and data.
Configuring Key Apple Services After Setup
After creating your Apple ID, enable core services tailored to your needs. These are accessible under Settings > [Your Name] on iOS or System Settings > Apple ID on macOS.
- iCloud: Turn on Photos, Contacts, Calendars, Notes, and Safari syncing to keep data consistent across devices.
- iCloud Drive: Enable for document backup and cross-device file access. Ideal for Pages, Numbers, and Keynote files.
- Find My: Activate Find My iPhone, iPad, and Mac to locate lost devices and protect your data remotely.
- App Store & iTunes: Sign in automatically to download past purchases and update apps seamlessly.
- Apple Pay: Add credit/debit cards securely after verifying identity through your Apple ID.
Recommended Sync Settings by Use Case
| User Type | Essential Syncs | Optional Features |
|---|---|---|
| Student | iCloud Drive, Notes, Calendar, Safari | Keychain, Health Data |
| Professional | Mail, Contacts, Calendar, Find My | Backups, Passwords |
| Frequent Traveler | Wallet, Find My, iCloud Photos | Home (for smart devices), Siri |
| Family User | Family Sharing, Screen Time, Messages | Shared Albums, Purchases |
Security Best Practices for Long-Term Management
An Apple ID is only as secure as its weakest link. Follow these best practices to maintain control and prevent lockouts.
- Use Two-Factor Authentication (2FA):
- Mandatory for modern accounts. Requires both password and six-digit code sent to trusted devices or phone number.
- Keep Recovery Options Updated:
- If you change your phone number or email, update it in Account Settings immediately to avoid access issues.
- Enable Account Recovery Contacts:
- Designate a trusted person who can help verify your identity if you get locked out (available in iOS 15.2+).
- Avoid Public Devices:
- Never sign into your Apple ID on shared computers or kiosks without signing out afterward.
Real-World Example: Maria’s Smooth Transition
Maria recently upgraded from an Android phone to an iPhone 14. She followed the Apple ID setup steps carefully, using her personal Gmail address as her Apple ID. During configuration, she enabled iCloud Photos, ensuring her old gallery synced wirelessly. By activating Find My iPhone early, she located her new device when she accidentally left it at a café. Thanks to two-factor authentication, even when someone tried accessing her account from another country, they were blocked instantly. Within a week, her calendar, notes, and apps mirrored perfectly across her iPhone, iPad, and MacBook.
Common Pitfalls and How to Avoid Them
Even experienced users make mistakes during Apple ID setup. Here’s what not to do.
| Do’s | Don’ts |
|---|---|
| Use a personal, active email address | Use work or school emails that may expire |
| Write down recovery key (if offered) | Store passwords in unsecured notes apps |
| Verify all contact methods | Ignore verification emails or texts |
| Enable automatic updates | Disable system prompts related to security |
Frequently Asked Questions
Can I change my Apple ID email address later?
Yes, if your current Apple ID uses a third-party email (like Gmail), you can change it to another external address or switch to a @icloud.com alias. Go to appleid.apple.com, sign in, and edit your Apple ID under Account Details. Note: You cannot change it to a different iCloud subdomain (e.g., from @me.com to @iCloud.com) unless merged under one account.
What happens if I forget my Apple ID password?
Visit iforgot.apple.com and follow the prompts. You’ll need access to a trusted device, phone number, or recovery email. If two-factor authentication is enabled, you’ll receive a code to reset your password securely. In rare cases, account recovery may take a few days to verify identity.
Is it safe to use the same Apple ID on multiple devices?
Yes—this is actually recommended. Using the same Apple ID across your iPhone, iPad, and Mac enables seamless syncing of apps, messages, and settings. Just ensure each device is trusted and physically secure. For families, consider setting up Family Sharing instead of sharing a single ID to maintain privacy.
Final Checklist Before You Finish
- ✅ Apple ID created with valid, personal email
- ✅ Strong, unique password set
- ✅ Two-factor authentication enabled
- ✅ Trusted phone number verified
- ✅ iCloud services configured based on usage
- ✅ Find My activated on all devices
- ✅ Recovery contact added (if available)
- ✅ Signed into App Store, iCloud Mail, and other services
Conclusion
Setting up your Apple ID correctly lays the foundation for a seamless, secure, and personalized Apple experience. From effortless photo syncing to robust device protection, every feature relies on a well-maintained account. Take the time now to configure your settings thoughtfully—your future self will appreciate the peace of mind. Ready to get started? Open your device settings or visit Apple’s official site and begin your setup today.


 浙公网安备
33010002000092号
浙公网安备
33010002000092号 浙B2-20120091-4
Comments
No comments yet. Why don't you start the discussion?