
Setting up your Apple ID on a new or existing iPhone is the foundation of a smooth Apple ecosystem experience. It unlocks access to iCloud, the App Store, iMessage, FaceTime, Find My, and personalized settings across devices. A properly configured Apple ID ensures your data stays secure, synced, and accessible—whether you're switching phones, restoring from backup, or simply signing in for the first time.
This guide walks you through every phase of setting up and optimizing your Apple ID with clear instructions, real-world insights, and best practices that go beyond the basics. Whether you're a first-time iPhone user or refreshing your setup, these steps will help you avoid common pitfalls and maximize functionality.
Why Your Apple ID Matters
Your Apple ID is more than just an email and password. It's your digital key to Apple’s entire ecosystem. With it, you can:
- Download apps, music, and media from the App Store and iTunes
- Sync contacts, calendars, photos, and notes via iCloud
- Use iMessage and FaceTime across devices
- Enable Find My iPhone to locate or erase a lost device
- Back up your iPhone automatically to iCloud
- Share subscriptions and purchases with Family Sharing
Without a correctly configured Apple ID, many core features either won’t work or will operate at reduced capacity. That’s why getting it right from the start is essential.
Step-by-Step Guide to Setting Up Your Apple ID
The process varies slightly depending on whether you’re setting up a new iPhone or adding an Apple ID to an existing device. Below is a complete walkthrough for both scenarios.
Option 1: During Initial iPhone Setup (Out-of-Box Experience)
- Turn on your iPhone and follow the initial prompts until you reach “Apps & Data.” If restoring from backup, choose that option. Otherwise, select “Set Up as New iPhone.”
- Proceed to “Apple ID” screen. Tap “Sign in with Apple ID” if you already have one, or “Don’t have an Apple ID?” to create a new one.
- Create your Apple ID: Enter your full name, then choose how to get an Apple ID. You can either use an existing email or get a free @iCloud.com email.
- Enter your birth date and create a strong password. Apple requires at least eight characters, including uppercase, lowercase, and a number.
- Add a phone number for account recovery and two-factor authentication.
- Verify your email address by checking your inbox for a confirmation code from Apple.
- Agree to terms and conditions, then proceed to set up Face ID/Touch ID and passcode.
- Enable iCloud services like Mail, Contacts, Calendars, Photos, etc., based on your preferences.
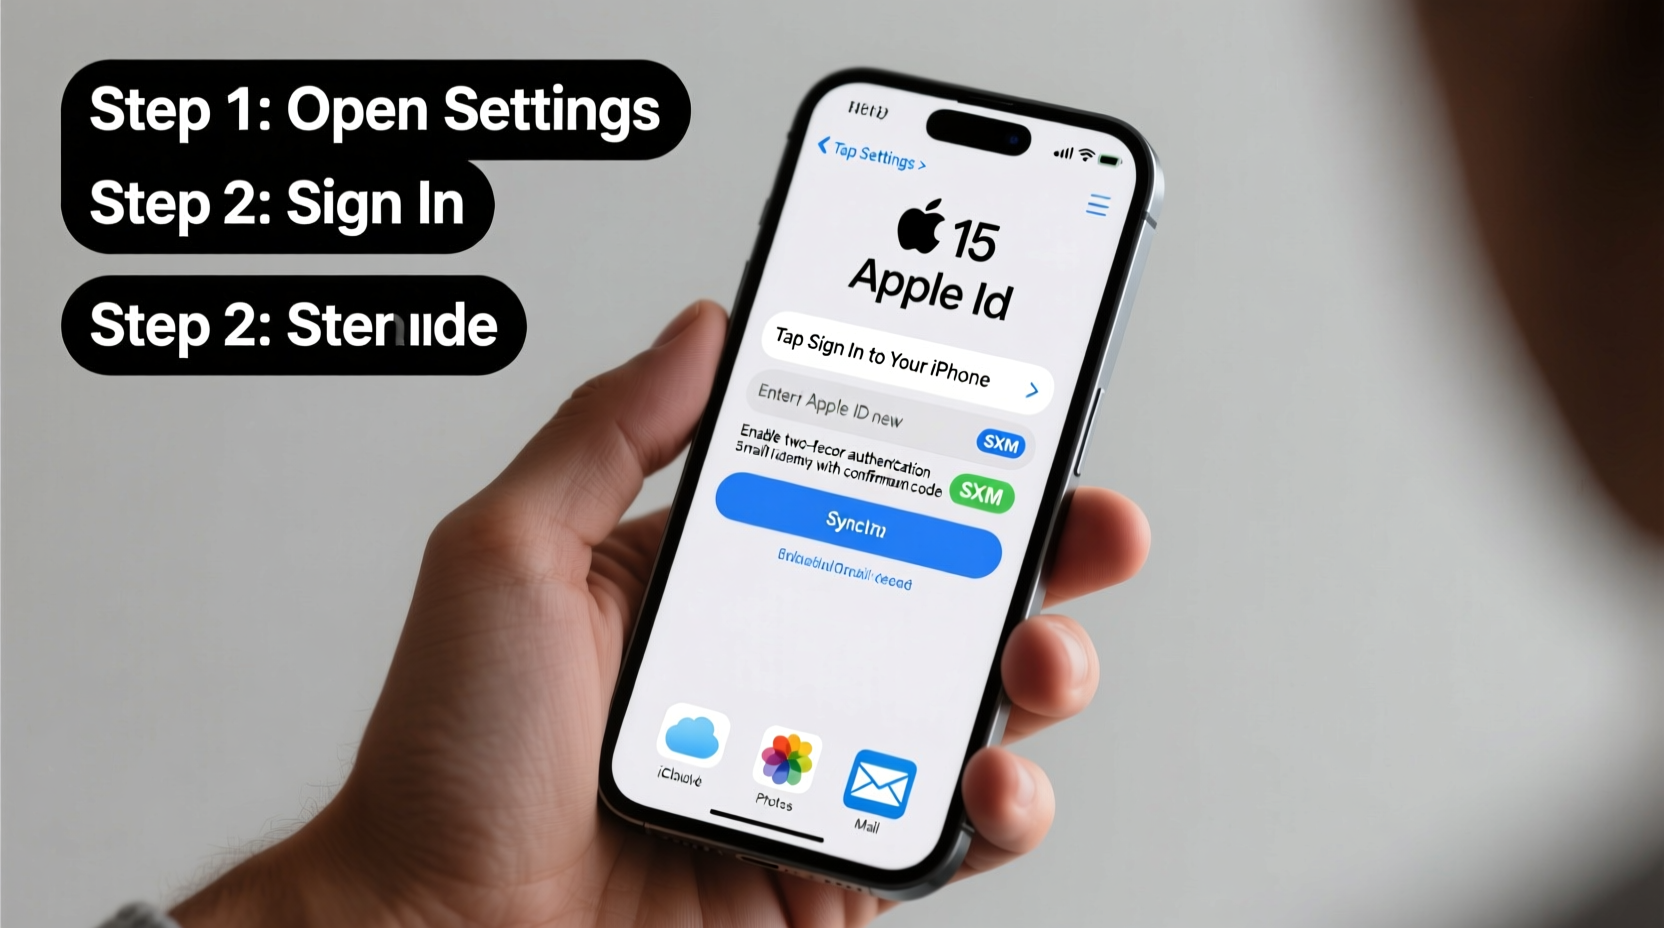
Option 2: Adding Apple ID to an Existing iPhone
- Open Settings and tap your name at the top. If no name appears, tap “Sign in to your iPhone.”
- Tap Create a New Apple ID.
- Follow the same steps as above: enter name, birth date, email, password, and phone number.
- Complete verification via email or SMS.
- Once signed in, go back to Settings > [Your Name] > iCloud and toggle on the services you want synced.
Essential Post-Setup Steps for Seamless Access
Creating the account is only the beginning. To ensure seamless integration across Apple services, complete these additional configurations.
1. Set Up iCloud Backup
Navigate to Settings > [Your Name] > iCloud > iCloud Backup and toggle it on. This allows automatic nightly backups when your iPhone is connected to Wi-Fi and charging.
2. Activate Find My iPhone
Go to Settings > [Your Name] > Find My > Find My iPhone and ensure both options are enabled. This helps locate a lost device or remotely erase it if necessary.
3. Sync Key Services
In Settings > [Your Name] > iCloud, make sure the following are toggled on:
- Photos (for iCloud Photos)
- Contacts
- Calendars
- Notes
- Safari (to sync bookmarks)
- Keychain (for saved passwords)
4. Update Trusted Phone Numbers
Go to Settings > [Your Name] > Password & Security > Edit under “Trusted Phone Number.” Ensure your current mobile number is listed so you can receive verification codes.
5. Review Payment Methods
To avoid interruptions when downloading paid apps or renewing subscriptions, add a valid payment method in Settings > [Your Name] > Payment & Shipping.
“Over 70% of support issues related to missing data or failed restores stem from incomplete iCloud setup or disabled backups.” — Sarah Lin, Apple Support Specialist
Do’s and Don’ts When Managing Your Apple ID
| Do’s | Don’ts |
|---|---|
| Use a strong, unique password and update it periodically | Reuse passwords from other accounts |
| Enable two-factor authentication | Disable two-factor authentication for convenience |
| Verify your email and phone number regularly | Ignore verification emails or SMS alerts from Apple |
| Check iCloud storage and upgrade if needed | Assume all photos are backed up without confirming |
| Sign out of shared or public devices after use | Leave your Apple ID signed in on someone else’s device |
Real-World Example: Recovering After a Lost iPhone
Jamal upgraded to a new iPhone but skipped setting up iCloud Backup during initial configuration. Two weeks later, he misplaced his phone. Without Find My enabled and no recent backup, he lost all messages, photos, and app data.
After contacting Apple Support, he reactivated his old device using his Apple ID and realized he hadn’t enabled critical services. He restored his new phone from scratch, this time carefully enabling iCloud Backup, two-factor authentication, and Find My. Since then, he performs monthly checks on his iCloud settings and now uses Family Sharing to back up his children’s devices too.
This scenario underscores the importance of not just creating an Apple ID—but configuring it fully and verifying its functionality early.
FAQ: Common Apple ID Questions
Can I change the email address linked to my Apple ID?
Yes, but only if it’s an @icloud.com, @me.com, or @mac.com address. Go to Settings > [Your Name] > Sign-In & Security > Change Apple ID. For third-party emails (Gmail, Outlook), you must create a new Apple ID unless you switch to an iCloud email first.
What happens if I forget my Apple ID password?
You can reset it at iforgot.apple.com. The process requires either answering security questions, receiving a reset link via email, or approving the request on a trusted device. Two-factor authentication significantly speeds up recovery.
Can I use the same Apple ID on multiple devices?
Absolutely. In fact, using the same Apple ID across your iPhone, iPad, Mac, and Apple Watch enables seamless syncing of data, messages, and purchases. Just ensure each device is trusted and secured.
Final Checklist Before You Finish
- ✅ Apple ID created with correct name and birth date
- ✅ Strong password set and stored securely
- ✅ Two-factor authentication enabled
- ✅ Trusted phone number verified
- ✅ iCloud Backup turned on
- ✅ Find My iPhone activated
- ✅ Key iCloud services (Photos, Contacts, Notes) synced
- ✅ Payment method added (optional but recommended)
- ✅ Recovery key or email confirmed (if applicable)
Conclusion: Secure Today, Enjoy Tomorrow
Taking the time to properly set up your Apple ID pays dividends in security, convenience, and continuity. It transforms your iPhone from a standalone device into a central hub of a connected digital life. From automatic photo backups to effortless message syncing, the benefits compound over time—especially when something goes wrong.
Don’t wait until you lose your phone or need to restore data to realize the value of a well-configured Apple ID. Apply these steps today, review your settings quarterly, and stay in control of your digital identity.


 浙公网安备
33010002000092号
浙公网安备
33010002000092号 浙B2-20120091-4
Comments
No comments yet. Why don't you start the discussion?