
When you unbox a new CyberPowerPC, you're not just getting raw power—you’re receiving a customizable platform capable of peak performance in gaming, content creation, or professional workloads. However, out-of-the-box settings rarely deliver the best experience. Without proper setup, thermal throttling, background bloat, and suboptimal driver configurations can silently degrade performance. This guide walks through every essential step to configure your system for maximum efficiency, responsiveness, and long-term reliability.
1. Initial Boot and System Verification
The first few minutes with your CyberPowerPC are critical. Before installing games or applications, verify hardware functionality and ensure the system boots correctly. Power on the machine and watch for POST (Power-On Self-Test) completion. Listen for beeps or check for error messages on screen that may indicate RAM, GPU, or storage issues.
Once Windows loads, confirm all components are recognized:
- Navigate to Settings > System > About to verify installed RAM and processor.
- Open Task Manager (Ctrl+Shift+Esc), go to the Performance tab, and inspect CPU, GPU, memory, and disk usage.
- Check Device Manager for any yellow exclamation marks indicating missing drivers.
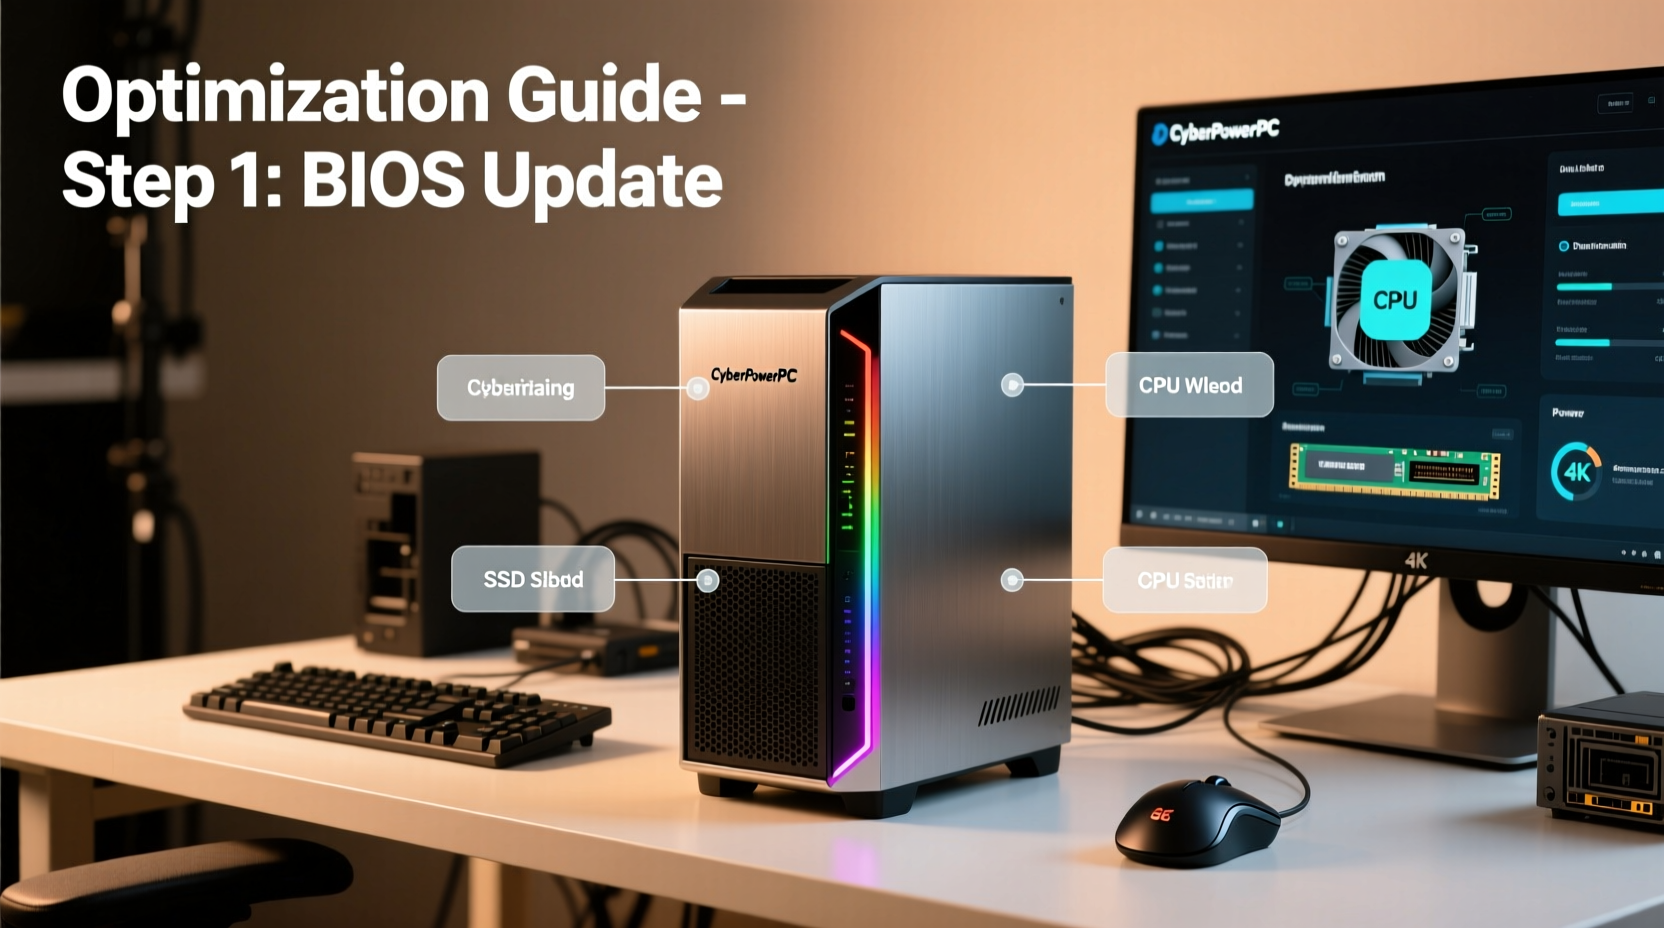
2. Update BIOS and Firmware
A current BIOS ensures compatibility with the latest hardware, security patches, and performance improvements. Outdated firmware can cause instability, boot failures, or reduced CPU/GPU efficiency.
To update safely:
- Visit the CyberPowerPC Support page and enter your model number.
- Download the latest BIOS version for your motherboard.
- Follow the included instructions—usually involving a USB flash drive and entering the BIOS setup (typically by pressing F2 or Del during boot).
- Select the update option and flash the new BIOS.
“BIOS updates are low-frequency but high-impact changes. Always back up your data before flashing.” — David Lin, Senior Hardware Engineer at ASUS
3. Install and Optimize Drivers
Preinstalled drivers may not be the latest versions. For peak performance, manually install updated drivers from official sources.
| Component | Source | Purpose |
|---|---|---|
| Graphics Card | NVIDIA or AMD | Better frame rates, Vulkan/DirectX support, driver profiles |
| Chipset | Intel or AMD | Stability, PCIe lane management, power states |
| Network/Wi-Fi | Manufacturer site (e.g., Intel, Realtek) | Faster downloads, lower latency, stable connections |
| Audio | Realtek or motherboard vendor | Clear sound, surround support, microphone optimization |
After installation, disable unnecessary startup programs via Task Manager’s Startup tab. Common culprits include RGB control panels, retail trial software, and cloud sync tools that launch at boot.
4. Thermal Management and Fan Tuning
High-performance PCs generate heat. Poor airflow or aggressive fan curves can lead to noise or throttling. Access your BIOS or use manufacturer software (like MSI Afterburner or NZXT CAM) to adjust cooling profiles.
For air-cooled systems:
- Ensure intake fans are at the front and exhausts at the rear.
- Clean dust filters weekly if used in dusty environments.
- Set fan curves to ramp up gradually—start at 40% speed at 50°C and reach 100% near 80°C.
If using liquid cooling, confirm pump speed is stable and radiator fans are synchronized. Monitor temperatures using HWInfo or Core Temp. Under full load, CPU temps should stay below 85°C; GPUs under 83°C are ideal.
5. Performance Optimization Settings
Windows includes several built-in features that can hinder performance if left unconfigured. Adjust these key settings:
Power Plan Configuration
Go to Control Panel > Hardware and Sound > Power Options. Select “High Performance” or “Ultimate Performance” (if available). Avoid “Balanced” mode for gaming or rendering tasks.
Disable Visual Effects
Right-click This PC > Properties > Advanced System Settings > Performance Settings. Choose “Adjust for best performance” or manually disable animations and shadows.
Enable XMP/DOCP for RAM
In BIOS, enable XMP (Intel) or DOCP (AMD) to run your RAM at rated speeds. A 3200MHz kit running at 2133MHz loses up to 30% bandwidth potential.
SSD Optimization
Ensure TRIM is enabled (fsutil behavior query DisableDeleteNotify should return 0). Defragmentation is unnecessary for SSDs, but regular cleanup helps maintain write speeds.
- ✅ Verify all hardware is detected in Device Manager
- ✅ Update BIOS to latest version
- ✅ Install latest GPU, chipset, and network drivers
- ✅ Configure power plan to \"High Performance\"
- ✅ Enable XMP/DOCP in BIOS
- ✅ Set custom fan curves for balanced cooling
- ✅ Disable unnecessary startup programs
- ✅ Run stress test (Prime95 + FurMark) for 30 minutes
Mini Case Study: Overcoming Frame Drops in CyberPowerPC Gamer Xtreme
Jason, a streamer using a CyberPowerPC Gamer Xtreme IX with an RTX 4070 and Ryzen 7 7700X, experienced inconsistent frame rates in Call of Duty: Warzone. Despite high specs, he saw dips from 120 FPS to 60 FPS during combat.
Diagnosis revealed two issues: outdated chipset drivers causing PCIe negotiation errors, and a default fan curve leading to CPU thermal throttling at 92°C. After updating AMD chipset drivers and configuring a steeper fan curve starting at 70°C, CPU temps stabilized at 78°C under load. Frame rates improved to a consistent 110–120 FPS. The fix took under 45 minutes and required no hardware changes.
FAQ
Can I overclock my CyberPowerPC safely?
Yes, but only if you understand voltage, temperature limits, and warranty terms. Most CyberPowerPC systems use quality motherboards and cooling, making moderate overclocking safe. Start with small increments (e.g., +100MHz on CPU multiplier) and stress-test for stability. Note: Some models void warranty if UEFI settings are modified.
Why is my CyberPowerPC running slow after a few months?
Performance degradation often stems from accumulated temporary files, background apps, or thermal buildup. Perform monthly maintenance: clean dust from vents, scan for malware, clear temp files (%temp%), and check for driver updates. Consider reinstalling Windows annually for a clean slate.
Does CyberPowerPC offer remote setup support?
Yes. CyberPowerPC provides free technical support via phone and email. For advanced tuning, their Premium Support package includes remote diagnostics and optimization sessions. Check eligibility on their support portal.
Conclusion
Optimizing your CyberPowerPC isn’t a one-time task—it’s an ongoing process of refinement. From BIOS updates to thermal tuning, each step unlocks more of your system’s true potential. A well-configured machine doesn’t just run faster; it responds quicker, stays cooler, and lasts longer. Don’t settle for factory defaults. Take control of your hardware today and transform your PC into a finely-tuned powerhouse.


 浙公网安备
33010002000092号
浙公网安备
33010002000092号 浙B2-20120091-4
Comments
No comments yet. Why don't you start the discussion?