
Fax machines remain a vital tool in industries such as healthcare, legal services, and government agencies, where document authenticity and secure transmission are non-negotiable. Despite the rise of digital communication, faxes offer a legally recognized paper trail and direct point-to-point delivery that email often can't match. However, improper setup can lead to failed transmissions, poor print quality, or constant busy signals. A well-configured fax machine ensures consistent performance, reduces downtime, and maintains professional standards. This guide walks you through every stage of installation, configuration, testing, and maintenance to help you achieve seamless fax operations.
Understanding Your Fax Machine and Requirements
Before plugging in cables or adjusting settings, it’s essential to understand what type of fax machine you’re working with. Most modern devices fall into one of three categories: standalone analog fax machines, multifunction printers (MFPs) with fax capability, or internet-based (FoIP) fax systems. Each has distinct setup procedures and compatibility needs.
Analog fax machines connect directly to a traditional phone line using an RJ-11 cable. They require a dedicated landline without interference from voicemail, call waiting, or DSL filters. Multifunction units integrate scanning, printing, copying, and faxing, often connecting via USB or network—requiring driver installation and correct port assignment. Internet fax services use VoIP lines or email-to-fax gateways but demand stable broadband and proper SIP configurations.
“Many fax failures stem not from hardware issues, but from incorrect line assignments or overlooked signal conflicts.” — Robert Lin, Telecommunications Engineer at ComNet Systems
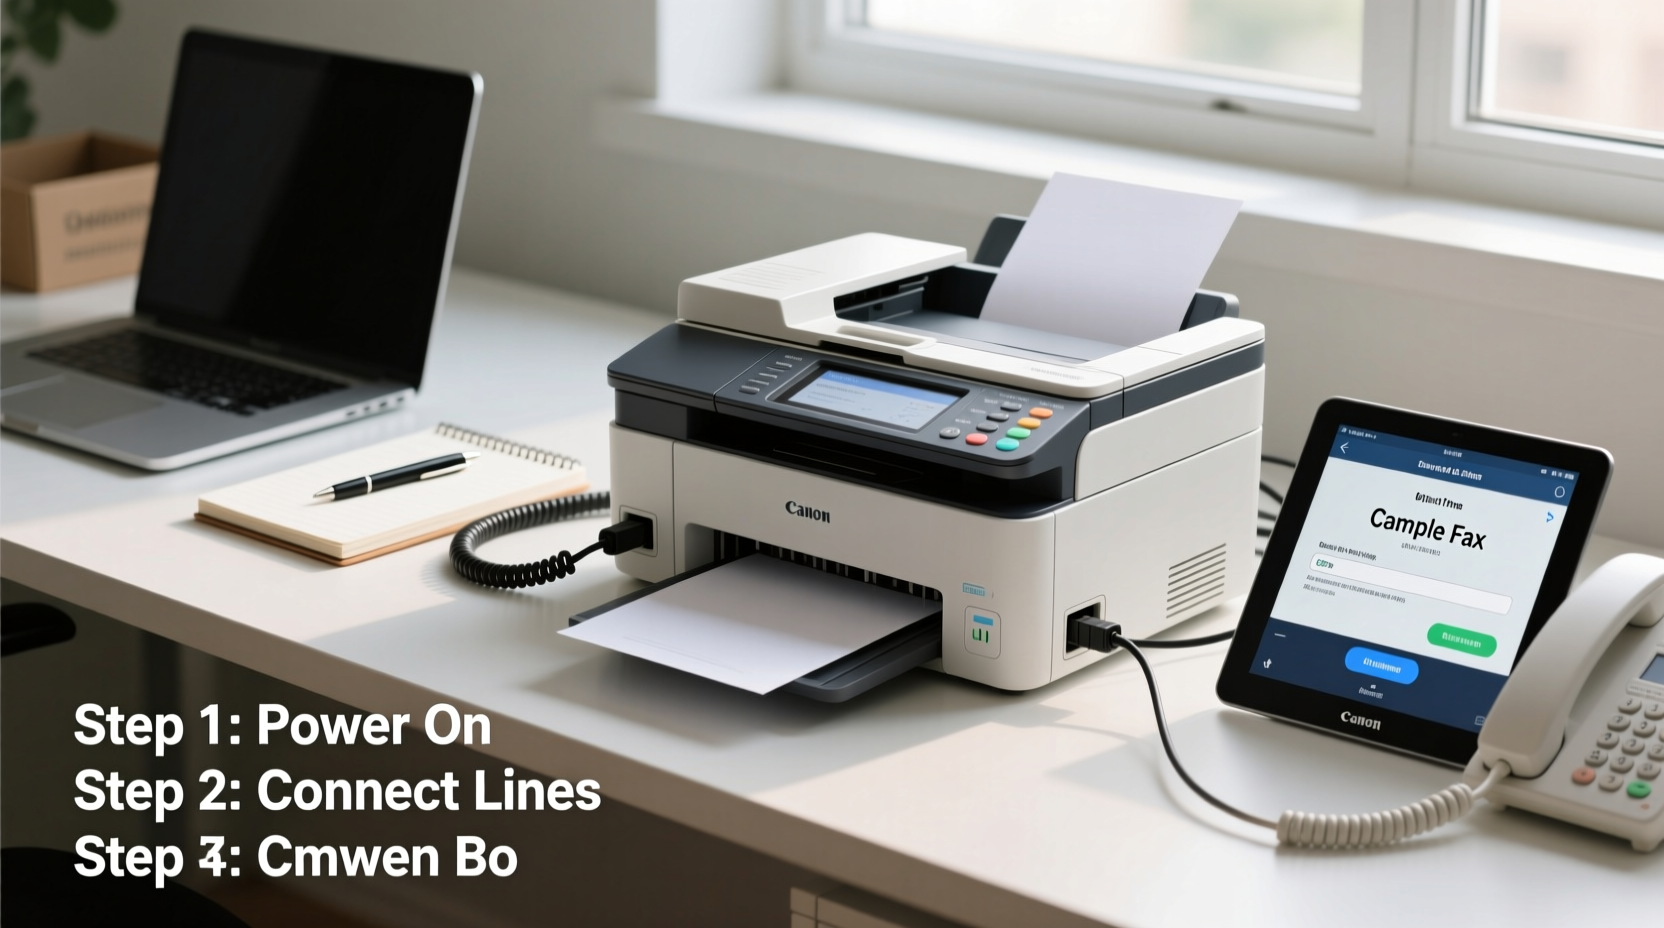
Step-by-Step Setup Process
Follow this sequential process to ensure your fax machine is physically and digitally ready for operation.
- Unbox and inspect components: Confirm all parts are present—power cord, telephone line cable, ink/toner cartridges, user manual, and any included software CDs or access codes.
- Place the machine appropriately: Set it on a flat, dry surface near a power outlet and phone jack. Avoid humid areas or locations exposed to direct sunlight.
- Connect power: Plug in the power cord and turn on the device. Allow it to initialize fully—this may take up to two minutes.
- Load paper: Insert standard 8.5” x 11” paper into the tray, aligning edges and adjusting guides to prevent jams.
- Attach the phone line: Use a standard RJ-11 cable to connect the “Line” port on the fax machine to the wall phone jack. Do not plug into the “Phone” or “Ext” port unless daisy-chaining a telephone.
- Configure basic settings: Navigate the menu to set date, time, sender name, and fax number. These details appear on outgoing cover sheets and help identify documents.
- Test the connection: Initiate a test fax to a known working number or use the manufacturer’s toll-free test line (e.g., HP’s 1-888-HPFaxme).
Configuration Best Practices for Reliability
Once connected, fine-tuning internal settings enhances performance and minimizes errors. Access the setup menu using the control panel and adjust the following parameters:
- Transmission Speed: Set to “Auto” unless experiencing frequent disconnects. In low-signal environments, manually reduce speed to 9600 bps for better handshake success.
- Contrast and Resolution: For clear text reproduction, use “Fine” or “Super Fine” resolution. Increase contrast slightly if receiving faxes appear too light.
- Rings to Answer: Configure between 3–4 rings to allow time for answering machines or shared lines without delaying fax detection.
- Echo Cancellation: Disable this feature if using VoIP or if incoming faxes fail to transmit properly. Echo suppression can interfere with fax tone recognition.
- DRPD (Distinctive Ring Pattern Detection): Enable only if your phone line supports multiple numbers with different ring patterns (e.g., voice vs. fax).
| Setting | Recommended Value | When to Adjust |
|---|---|---|
| Resolution | Standard or Fine | Increase for detailed graphics or small fonts |
| Speed | Auto | Lower to 9600 bps in noisy line conditions |
| Rings to Answer | 3–4 | Reduce if sharing line with phone; increase if missing faxes |
| Echo Cancellation | Off | Always disable when using VoIP or experiencing send/receive failures |
Troubleshooting Common Issues
Even after careful setup, problems may arise. Address these frequent challenges promptly to maintain workflow continuity.
No Dial Tone: Check the phone line connection at both ends. Try a different cable or test the wall jack with a regular phone. If no dial tone exists, contact your telecom provider.
Fax Not Sending: Verify the recipient’s number includes the correct area code and pause digits (if needed). Ensure the sending tray isn’t jammed and that the machine isn’t out of paper or ink.
Poor Print Quality: Clean the scanner glass with a lint-free cloth. Replace worn rollers or low-toner cartridges. Recalibrate if streaks or smudges persist.
Busy Signal Every Time: The remote fax may be offline, or your line could have call waiting enabled. Disable call waiting temporarily or use **70 before dialing to block interruptions.
Maintenance and Long-Term Performance
To keep your fax machine running reliably over months or years, adopt a routine maintenance schedule. Dust buildup, degraded components, and outdated firmware can degrade performance silently.
Monthly tasks include wiping down the exterior, cleaning the scanner bed, checking for paper debris, and verifying that firmware updates are installed (especially for network-connected models). Replace consumables like ink, toner, and thermal paper before they run out completely. For analog lines, periodically test transmission quality by sending sample pages to external recipients.
“A fax machine that receives daily use should undergo full inspection every six months. Preventive care prevents costly delays.” — Maria Tran, Office Equipment Maintenance Specialist
Real-World Example: Law Firm Fax Recovery
A mid-sized law firm in Chicago experienced recurring failed transmissions during client onboarding. After replacing cables and confirming line connectivity, technicians discovered that their VoIP system was applying voice compression to fax calls. By configuring a separate FXO gateway for fax traffic and disabling echo cancellation on the device, they restored 100% transmission success within 48 hours. This case underscores the importance of matching fax hardware with compatible telephony infrastructure.
Frequently Asked Questions
Can I use my fax machine on a VoIP line?
Yes, but not all VoIP services support faxing. You must enable T.38 protocol for fax over IP (FoIP), or use a gateway device that converts digital signals to analog. Standard G.711 codecs with no compression may work intermittently, but T.38 is more reliable.
Why does my fax machine pick up voice calls?
This happens when the “Rings to Answer” setting is too low or DRPD is misconfigured. Adjust the ring count so voice calls can be answered first, or enable distinctive ring detection if your service provides unique fax-line ringing.
How do I know if a fax was sent successfully?
Most machines generate confirmation reports showing the recipient number, transmission time, and status (success/failure). Review these logs after each critical send. If unavailable, enable report printing in the settings menu.
Final Checklist Before Going Live
- ✅ Power and phone line securely connected
- ✅ Correct date, time, and sender information set
- ✅ Test fax sent and received successfully
- ✅ Transmission speed and resolution optimized
- ✅ Call waiting disabled or suppressed (**70 prefix tested)
- ✅ Confirmation reports enabled
- ✅ Maintenance schedule established
Conclusion
Setting up a fax machine correctly isn’t just about plugging in cables—it’s about ensuring signal integrity, configuring intelligent defaults, and preparing for long-term reliability. Whether you're managing a single office unit or integrating fax into a larger communications ecosystem, attention to detail pays off in fewer errors, faster deliveries, and greater trust in document handling. Take the time now to follow this guide thoroughly, and your fax operations will run smoothly for years to come.


 浙公网安备
33010002000092号
浙公网安备
33010002000092号 浙B2-20120091-4
Comments
No comments yet. Why don't you start the discussion?