
Sewing your own plush toys offers a deeply personal way to celebrate beloved characters while developing valuable crafting skills. Among Disney’s most cherished duos, Lilo and Stitch stand out for their charm, expressiveness, and unique silhouettes—making them ideal candidates for handmade plush dolls. With patience and the right materials, you can create a custom version of either character or even both as a pair. This guide walks through every stage of the process, from selecting fabrics to adding final embroidered details, ensuring success whether you're new to sewing or refining your technique.
Gather Your Materials and Tools
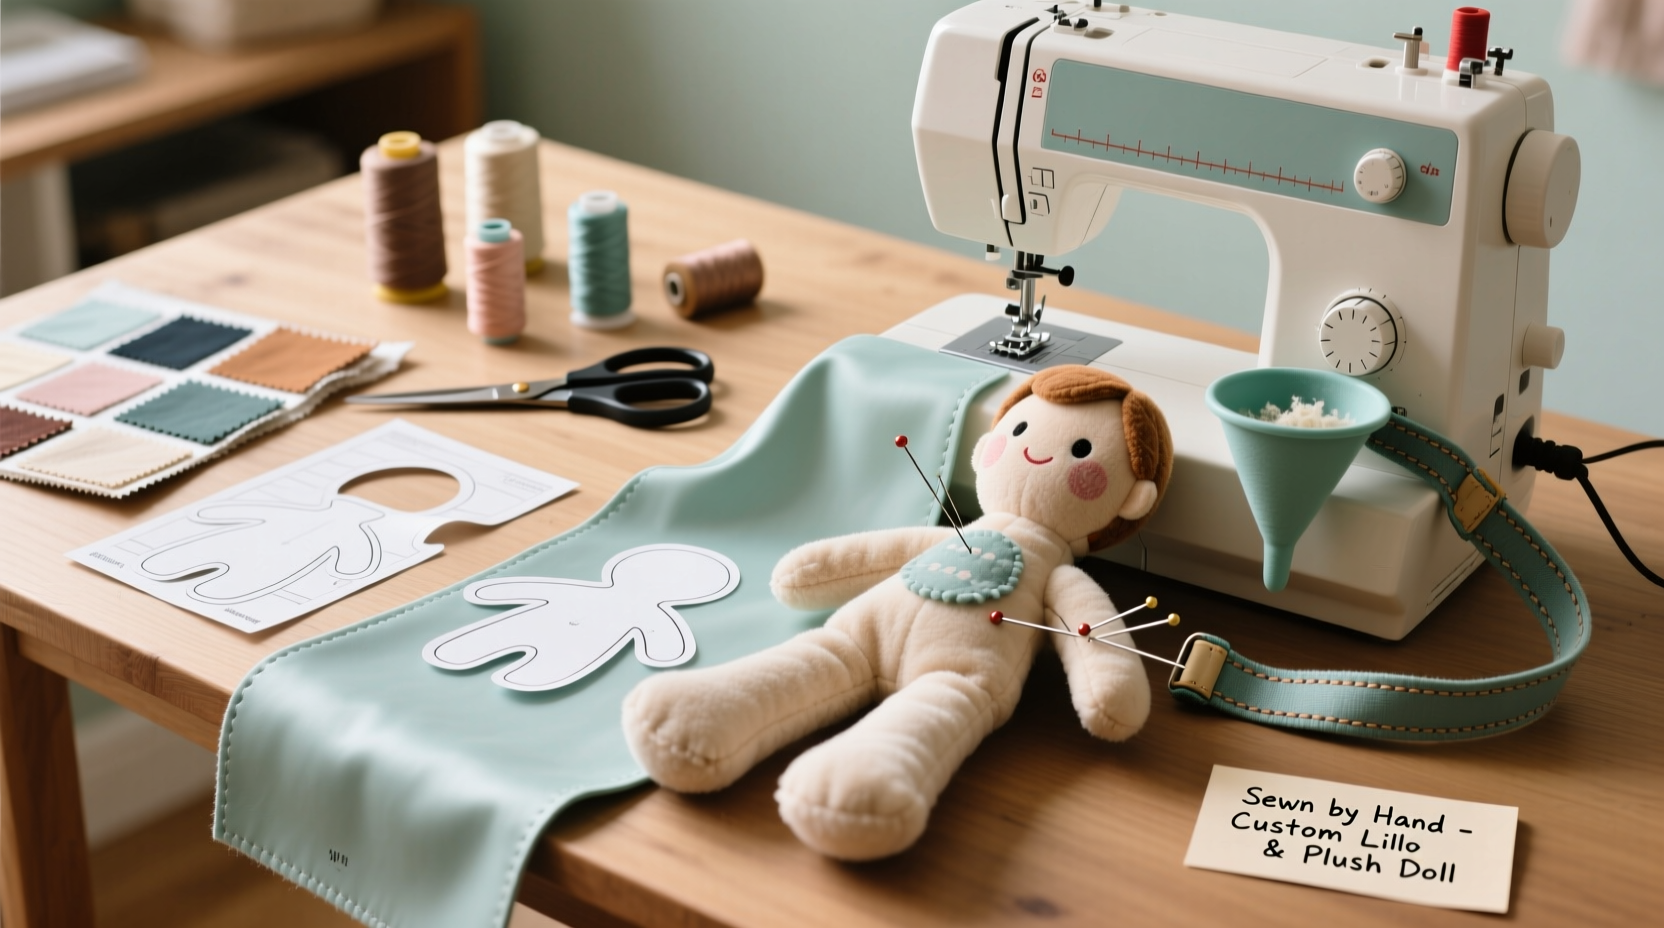
Before cutting any fabric, ensure you have all necessary supplies on hand. Accuracy in material selection directly affects the final look and durability of your plush. Choose soft, durable fabrics that mimic the characters’ textures and colors. Fleece and minky cloth are excellent choices due to their plush feel, fray resistance, and ease of handling.
“Using high-quality stuffing and tightly woven fabric prevents lumps and ensures your plush holds its shape over time.” — Dana Reyes, Soft Sculpture Artist
- Fleece or minky fabric (blue for Stitch, floral-patterned cotton for Lilo’s dress)
- Contrasting thread (black, red, yellow, and skin-tone shades)
- Polyester fiberfill stuffing
- Embroidery floss for facial features
- Scissors, pins, and fabric chalk
- Sewing machine (or needle for hand-sewing)
- Tapestry needle for closing seams
- Printable pattern templates (hand-drawn or downloaded)
Create or Use a Custom Pattern
A precise pattern is essential for capturing the distinct shapes of Lilo and Stitch. While commercial patterns exist, creating your own allows full customization in size and detail. Begin by sketching simplified outlines of each character, breaking them into sewable pieces: head, body, limbs, ears, and tail (for Stitch), or arms, legs, torso, and head for Lilo.
For Stitch, focus on exaggerated features—large oval ears, a rounded snout, and long limbs. For Lilo, emphasize her modest frame, large eyes, and signature blue dress with a floral print. Transfer your sketches onto cardboard or thick paper to make reusable templates.
| Character | Main Body Parts | Special Features |
|---|---|---|
| Stitch | Head, body, 4 limbs, tail, 2 ears | Snout, claws, three fingers per hand |
| Lilo | Head, body, arms, legs, dress overlay | Dress with collar, hair braid |
Cut, Pin, and Sew the Pieces
Once your pattern is ready, trace each piece onto the wrong side of your fabric. Cut two identical pieces for each section—front and back. Pin them together with edges aligned, right sides facing inward.
- Begin sewing the head: Use a ¼-inch seam allowance and leave an opening at the base for turning and stuffing.
- Repeat for arms, legs, and body sections. For Stitch, cut and sew his long tail separately.
- Turn each piece right-side out using a blunt tool like a chopstick to push out corners gently.
- Lightly stuff limbs and ears first—avoid overfilling to maintain flexibility.
- Sew larger components like the body last, leaving ample space for attaching other parts.
When assembling Stitch, attach the limbs and tail to the body before joining the head. For Lilo, sew her arms and legs to the torso, then add the head. Consider adding a light layer of stuffing between layers when sewing the dress piece to give it subtle dimension.
Add Facial Features and Details
This stage brings personality to your plush. Embroidery is ideal for expressive faces. Use backstitch for clean lines and French knots for small details like nostrils or freckles.
- Stitch: Embroider large black oval eyes, a small black nose, and a wide mouth with jagged teeth using white thread. Add whisker dots with gray floss.
- Lilo: Stitch large almond-shaped eyes, a tiny nose, and a soft smile. Use brown floss for her braid, looping it down one shoulder.
For clothing details, cut a separate floral cotton piece shaped like Lilo’s dress and hand-stitch it over the torso. Secure with invisible stitches along the neckline and waist for a seamless look.
“Facial embroidery transforms a simple stuffed shape into a recognizable character. Take your time—small stitches make a big difference.” — Marcus Lin, Textile Designer
Final Assembly and Finishing Touches
With all parts sewn and detailed, proceed to final assembly. Match attachment points carefully to ensure balanced posture. Whipstitch or ladder stitch components securely, pulling tightly between knots to avoid gaps.
Close all openings with ladder stitching, which remains nearly invisible on fleece. Lightly steam the surface with a pressing cloth to smooth wrinkles—never apply direct heat to synthetic fabrics.
Mini Case Study: Emma’s First Stitch Plush
Emma, a beginner sewer from Portland, decided to make a 12-inch Stitch plush for her niece’s birthday. She used navy blue anti-pill fleece and printed a free online template. After struggling with uneven ear placement on her first attempt, she pinned each piece twice and basted them before final stitching. The second try succeeded beautifully. Her niece adored the soft texture and oversized ears. Emma now hosts monthly plush-making meetups at her local craft library.
Checklist: Sewing Your Lilo and Stitch Plush
- Choose appropriate fabrics (fleece for bodies, cotton for clothes)
- Design or download patterns for both characters
- Cut two fabric pieces per body part, right sides together
- Sew with ¼-inch seam allowance, leaving turning gaps
- Turn pieces right-side out and lightly stuff limbs
- Attach major components using secure hand stitches
- Embroider facial features with precision
- Add clothing details like Lilo’s dress
- Close all openings invisibly
- Inspect for loose threads and trim excess
Frequently Asked Questions
Can I wash my handmade Lilo and Stitch plush?
Yes, but hand-washing in cold water with mild detergent is safest. Air dry flat to preserve shape and prevent fiber damage. Avoid wringing or machine drying.
What if I don’t have a sewing machine?
You can complete the entire project by hand. Use a backstitch for seams to ensure strength, and allow extra time for consistency. Hand-sewn plush often has a more artisanal charm.
How do I make my plush more poseable?
Incorporate pipe cleaners into the arms and legs before closing them. Bend the wires gently into position, then seal the ends inside the stuffing to prevent poking.
Conclusion
Creating a custom Lilo and Stitch plush doll at home blends creativity with craftsmanship, resulting in a keepsake that resonates emotionally and artistically. Each stitch adds character, and every choice—from fabric hue to facial expression—reflects your personal touch. Whether made as a gift or for personal enjoyment, these plush dolls become treasured companions. The techniques learned here extend to future projects, empowering you to bring any imaginative creature to life.


 浙公网安备
33010002000092号
浙公网安备
33010002000092号 浙B2-20120091-4
Comments
No comments yet. Why don't you start the discussion?