
Sewing your own clothing offers unmatched control over fit, fabric, and style. Among the most versatile pieces you can create is a custom tube top—a minimalist staple that pairs well with high-waisted jeans, skirts, or layered under jackets. Unlike off-the-rack versions that often gap, slide, or pinch, a handmade tube top can be tailored precisely to your body’s unique shape. With just a few measurements, basic sewing skills, and the right materials, you can craft a comfortable, supportive, and stylish garment in under two hours.
Why Make Your Own Tube Top?
Prefabricated tube tops are notorious for poor elasticity distribution and inconsistent sizing. Many women struggle with tops that slip down, dig into the arms, or fail to support adequately. When you sew your own, you choose the fabric weight, stretch ratio, and seam placement—factors that directly influence comfort and longevity.
Beyond fit, creating your own allows for customization: select eco-friendly fabrics, match your wardrobe exactly, or add features like lining, adjustable straps (for hybrid styles), or decorative hems. It’s sustainable, cost-effective, and deeply satisfying.
“Sewing isn’t just about making clothes—it’s about reclaiming agency over how garments interact with your body.” — Lila Torres, Sustainable Fashion Educator
Materials and Tools You’ll Need
Before cutting any fabric, gather the essentials. Accuracy begins with preparation.
- Fabric: ½ yard of knit fabric with at least 50% horizontal stretch (cotton spandex, jersey, or performance knit)
- Lining (optional): Matching stretch fabric for opacity and structure
- Matching thread: Polyester or stretch thread for durability
- Ballpoint needle: Size 75/11, designed for knits to prevent skipped stitches
- Scissors or rotary cutter: For clean cuts
- Measuring tape: Flexible, non-stretch type
- Pins or clips: Use clips to avoid damaging knit fibers
- Seam gauge or ruler: For consistent seam allowances
- Sewing machine: With zigzag or stretch stitch capability
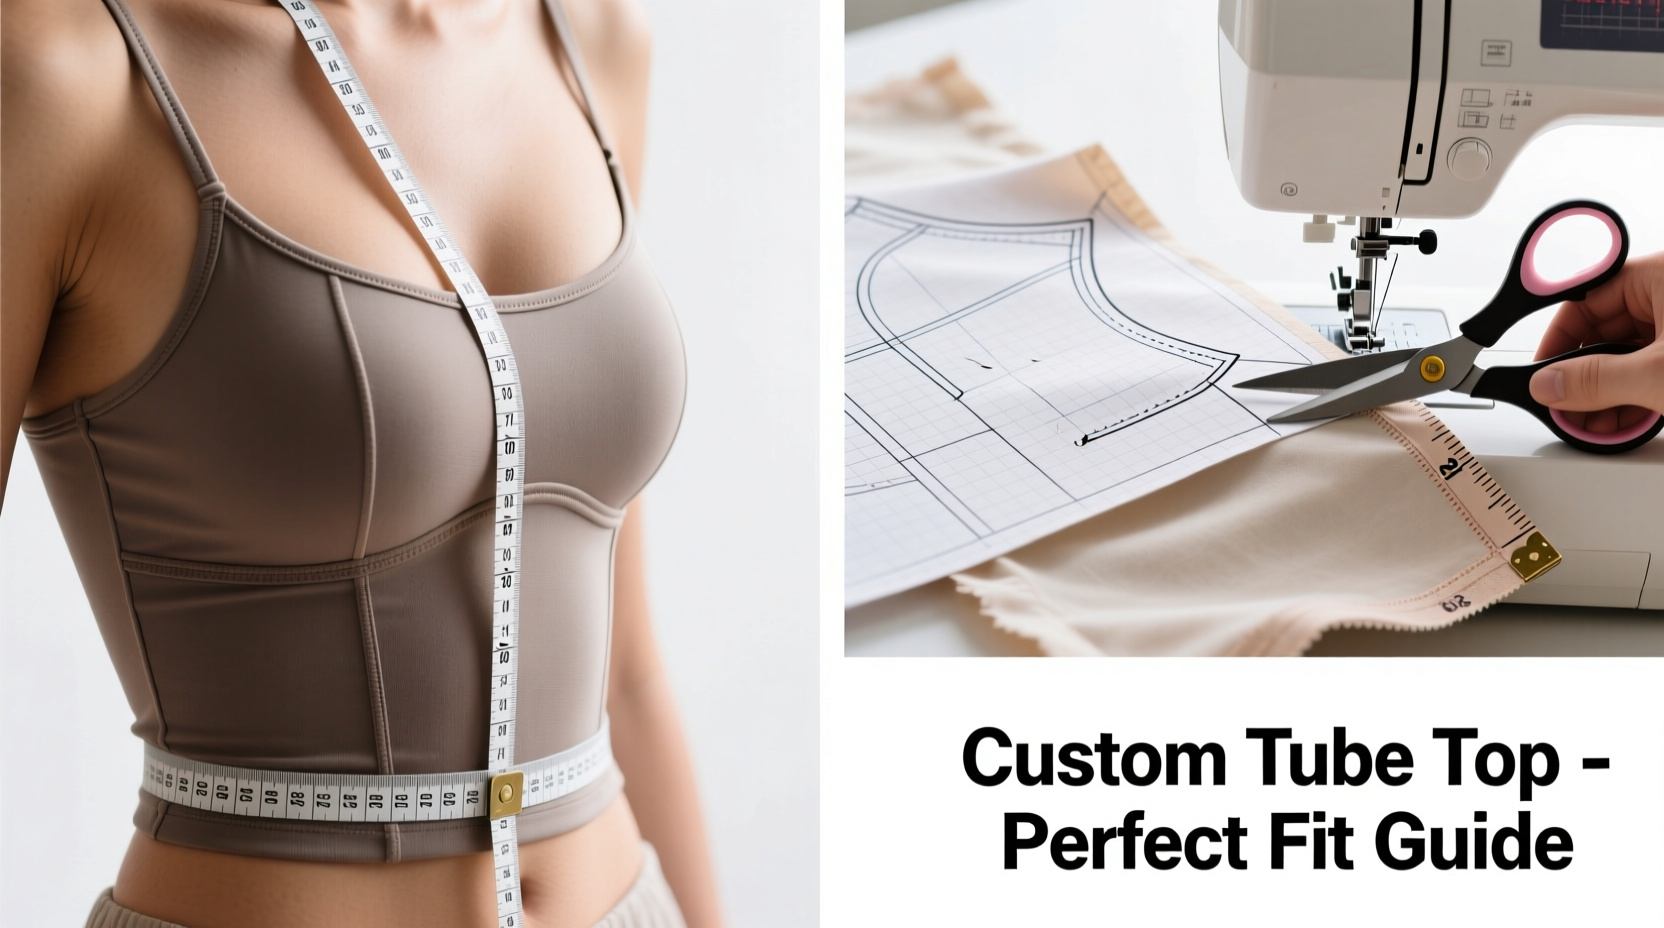
Step-by-Step Guide to Measuring and Cutting
A perfect fit starts with accurate body measurements. Wear a well-fitting bra or undergarments similar to what you’ll wear with the top.
- Bust measurement: Wrap the tape around the fullest part of your bust, keeping it parallel to the floor. Don’t pull too tight.
- Upper torso length: Measure from the base of your neck (where a choker would sit) down to where you want the top to end—typically just above the navel.
- Armhole circumference (optional): Measure around the upper arm where the sleeve would sit, adding 1” for ease if you’re concerned about tightness.
Using these numbers, calculate your pattern dimensions:
| Measurement | Formula | Example (Bust: 36\") |
|---|---|---|
| Width (flat) | (Bust – 2\") ÷ 2 | (36 – 2) ÷ 2 = 17\" |
| Length | Desired length + 1\" (hem & seam allowance) | 10\" + 1\" = 11\" |
| Hem allowance | ½\" double fold | Included in length |
| Side seams | ¼\" each side | Already factored into width |
Cut two identical rectangles: one for the outer layer, one for the lining (if using). Align the fabric with the grain line running vertically. Use weights or pins to secure before cutting for precision.
Constructing the Tube Top: Sewing Process
Follow this sequence for clean, durable construction.
- Sew side seams: Place the front and lining pieces together with right sides facing. Pin along one short edge. Using a narrow zigzag stitch (or serger if available), sew a ¼\" seam. Repeat for the other side, forming a continuous tube.
- Press seams open (gently): Knits don’t require pressing, but you can lightly finger-press with steam if needed. Avoid flattening the fabric.
- Create the hem: Fold the bottom edge ½\" inward, then another ½\" to encase the raw edge. Pin evenly. Stitch using a twin needle or narrow zigzag for a professional, stretchable finish.
- Finish the neckline: At the top edge, fold ¼\" inward, then another ¾\" to form a deep, elasticized casing. Baste close to the inner fold, leaving a 1.5\" opening.
- Add elastic: Cut a piece of ¼\" lingerie elastic slightly shorter than your bust measurement (subtract 2–3\"). Attach a safety pin and thread it through the casing. Overlap the ends by ½\", stitch securely in a square pattern, then close the casing.
- Secure final seam: Ensure the elastic lies flat and doesn’t twist. Close the small gap with hand stitching or machine basting.
Fitting Adjustments and Real-World Example
Maria, a size 14 with a full bust and narrow ribcage, found ready-to-wear tube tops always slipped down. After measuring her bust at 40\" and opting for a 37\" finished circumference (3\" negative ease), she used medium-weight cotton-spandex with integrated lining. She added a second row of elastic inside the casing for extra grip and raised the back slightly for better coverage during movement.
Her adjustments illustrate a key principle: negative ease (making the garment slightly smaller than your body) ensures grip, but too much causes discomfort. Start with 2–3 inches of negative ease and test with a mock-up if uncertain.
“The sweet spot for tube tops is balance: enough stretch to get on, enough compression to stay put.” — Jamal Reed, Apparel Designer
Do’s and Don’ts: Fabric and Fit Guidelines
| Do | Don’t |
|---|---|
| Choose fabrics with good recovery (snaps back after stretching) | Use 100% cotton jersey—it stretches out easily |
| Pre-shrink fabric before cutting | Ignore grain lines—always cut parallel to the selvage |
| Use a twin needle for hems to prevent popping | Stretch the fabric while sewing seams—let the feed dogs do the work |
| Add lining for opacity and structure | Omit elastic entirely—rely only on fabric stretch |
FAQ
Can I make a tube top without elastic?
You can, but it’s not recommended for daily wear. Without elastic, the top relies solely on fabric stretch, which may degrade quickly and lead to slippage. A lightweight elastic in the casing significantly improves longevity and fit.
How do I know if my fabric has enough stretch?
Test it: Stretch a 4\" swatch horizontally. If it reaches 6\" (50% stretch) and returns mostly to 4\", it’s suitable. If it doesn’t recover well, avoid it for structured garments.
Can this pattern be adapted for a longer crop top?
Absolutely. Extend the length measurement and consider adding side seams shaped to the waist for a more tailored silhouette. You may also incorporate princess seams for enhanced shaping.
Final Checklist Before Wearing
- ✅ Try on the top and check for smooth fit—no twisting or rolling at edges
- ✅ Verify elastic is evenly distributed and not twisted
- ✅ Move your arms overhead to test stability
- ✅ Confirm hem sits level all around
- ✅ Wash test: Machine wash gently to ensure colorfastness and shape retention
Conclusion
Sewing a custom tube top is an empowering introduction to garment construction. It teaches essential skills—measuring for negative ease, handling stretch fabrics, applying elastic—while delivering a wearable, flattering result. Once you’ve mastered the basics, experiment with ruching, lace trims, or asymmetrical hems. The goal isn’t perfection, but personalization: a top that feels like it was made for your body, because it was.


 浙公网安备
33010002000092号
浙公网安备
33010002000092号 浙B2-20120091-4
Comments
No comments yet. Why don't you start the discussion?