
Shoe customization has evolved from a niche hobby into a full-fledged art form. From personalized sneakers worn on city streets to limited-edition designer collaborations, custom footwear blends self-expression with craftsmanship. Whether you're looking to turn your favorite pair of shoes into wearable art or start a small creative business, the process is accessible—with the right tools, techniques, and mindset. This guide walks through everything needed to begin, offering practical steps, essential supplies, and inspiration to fuel your creativity.
Understanding the Basics of Shoe Customization
Shoe customization involves altering existing footwear to reflect personal style, artistic vision, or brand identity. Common techniques include painting, dyeing, adding patches or embroidery, modifying soles, and even reshaping materials. The most popular canvas is the athletic sneaker—brands like Nike, Adidas, and Converse offer clean surfaces ideal for paint and design work—but boots, loafers, and high heels can also be transformed.
The key to successful customization lies in understanding materials. Canvas, leather, suede, and synthetic fabrics each react differently to adhesives, paints, and solvents. For example, acrylic paint adheres well to primed canvas but may crack on flexible rubber areas without proper sealants. Knowing how different surfaces behave ensures durability and professional results.
Essential Tools and Materials for Beginners
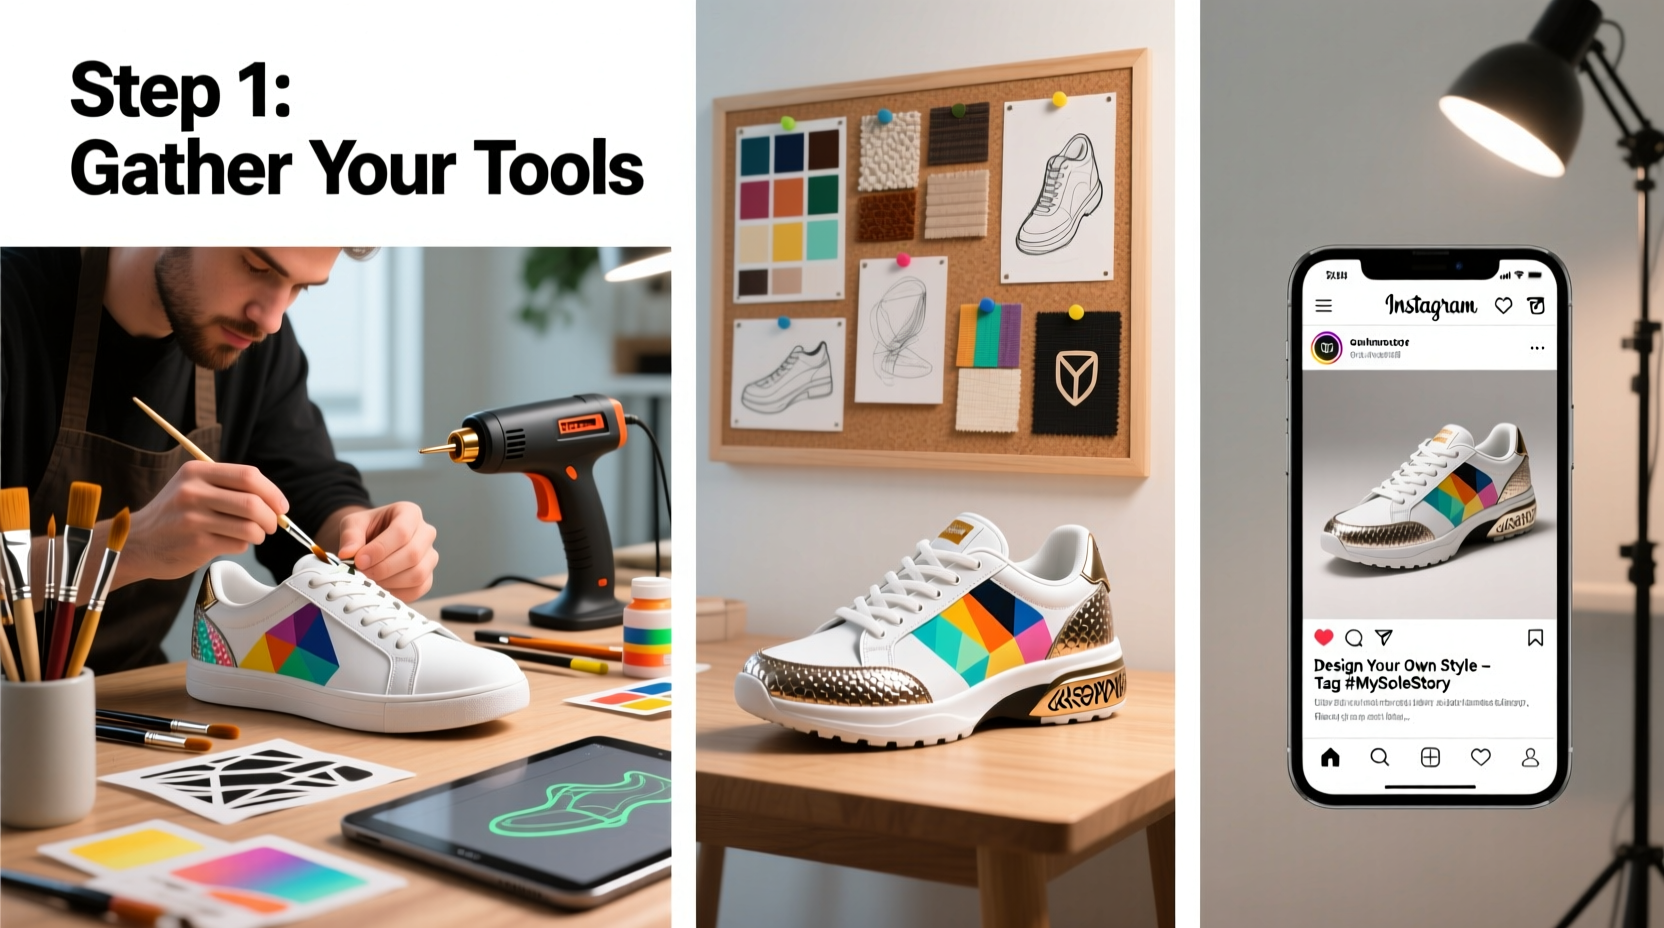
Starting shoe customization doesn’t require a full studio. A basic toolkit allows experimentation while minimizing initial costs. Below is a checklist of foundational items every beginner should acquire.
Checklist: Starter Kit for Shoe Customization
- High-quality acrylic fabric paints (e.g., Angelus Direct)
- Fine-tipped and flat paintbrushes (sizes 0, 2, 5)
- Painter’s tape or masking tape
- Rubbing alcohol and cotton pads (for surface cleaning)
- Pencil or chalk liner (for sketching designs)
- Heat gun or hair dryer (to set paint layers)
- Clear acrylic sealer (matte or glossy finish)
- Protective gloves and workspace cover (newspaper or silicone mat)
- Spray fixative (optional, for pencil outlines)
As skills progress, additional tools like airbrush kits, leather burnishers, or embroidery needles can expand creative possibilities. However, mastering hand-painting and detailing with basic brushes builds precision and control—the foundation of any custom piece.
Step-by-Step Process: From Concept to Completion
Creating a custom shoe follows a structured workflow. Following these steps helps maintain quality and avoid common mistakes.
- Clean the Shoes: Use rubbing alcohol to remove dirt, oils, and residues. A clean surface ensures better paint adhesion.
- Sketch the Design: Lightly draw your concept using a pencil or chalk. Consider symmetry, balance, and flow across both sides.
- Mask Off Areas: Apply painter’s tape to protect sections not being painted (e.g., soles, logos).
- Apply Base Coats: Start with lighter colors first. Let each layer dry completely before adding details.
- Add Details and Shading: Use fine brushes for lines, patterns, or gradients. Work slowly to maintain sharp edges.
- Let Paint Cure: Allow at least 24 hours for full drying before handling.
- Seal the Design: Apply 2–3 thin coats of acrylic sealer, drying between layers. This protects against scuffs and water damage.
- Final Inspection: Remove tape carefully and check for touch-ups. Store flat until fully cured (48 hours).
This timeline typically takes two to three days from start to finish, depending on complexity and drying times. Rushing the sealing stage is one of the most frequent causes of peeling or cracking paint.
Do’s and Don’ts When Customizing Shoes
| Do’s | Don’ts |
|---|---|
| Use fabric-specific paints designed for shoes | Use regular wall or craft paint (not flexible enough) |
| Work in thin, layered coats | Apply thick globs of paint that crack when bent |
| Allow ample drying time between layers | Stack or wear shoes before paint is fully cured |
| Store finished shoes in breathable containers | Keep them in plastic bags where moisture can build up |
| Practice designs on paper or scrap material first | Start with expensive or sentimental shoes as your first project |
Inspiration and Creative Ideas to Try
Originality sets custom shoes apart. While replicating popular styles is a good learning exercise, developing unique concepts makes your work stand out. Here are several creative directions to explore:
- Nature Themes: Forest landscapes, ocean waves, or animal prints painted with textured brushwork.
- Pop Culture Homages: Subtle nods to films, music, or video games—like pixel art or lyric quotes in hidden spots.
- Abstract Geometry: Bold lines, optical illusions, or color-blocking using tape for crisp edges.
- Personal Symbolism: Incorporate initials, birth flowers, or meaningful dates in minimalist style.
- Upcycled Embellishments: Add recycled zippers, fabric scraps, or embroidered patches for tactile depth.
One rising trend is “deconstructed” customization—where parts of the original shoe are removed, replaced, or reassembled creatively. For example, cutting away sections of mesh to reveal colorful underlays or replacing laces with woven paracord.
“Customization isn’t just about changing how shoes look—it’s about giving them a story.” — Marcus Tran, Professional Sneaker Artist & Educator
Mini Case Study: Transforming a Worn-Out Pair
Jessica, a college student in Portland, inherited her brother’s old white canvas sneakers. They were scuffed, yellowed, and deemed unwearable. Instead of discarding them, she decided to try customization. After cleaning them thoroughly with a mix of baking soda and vinegar, she primed the surface with a fabric base coat. Using stencils and blue-to-purple ombré paint, she created a galaxy-themed design with tiny silver stars dotted with a toothbrush flick technique. She sealed the shoes with three layers of matte protector. Two months later, she still wears them regularly—and classmates have asked her to customize theirs.
This example shows that even beginner-level skills, combined with patience and imagination, can yield impressive, long-lasting results.
Frequently Asked Questions
How long do custom shoe designs last?
With proper sealing and care, a well-finished custom design can last over a year, even with regular wear. Avoid excessive exposure to rain or abrasive surfaces to extend longevity.
Can I wash customized shoes?
Hand-washing is possible, but not recommended frequently. Use a damp cloth to spot-clean only. Never machine wash or submerge them, as this can lift paint and weaken adhesives.
Are there legal issues with copying branded designs?
Yes. Replicating protected logos or trademarked artwork (e.g., Marvel characters, Nike Swoosh variations) for resale may violate copyright laws. Original designs or transformative interpretations are safer and more ethical.
Final Thoughts and Next Steps
Shoe customization is more than a craft—it’s a way to reclaim mass-produced items and turn them into something deeply personal. With minimal investment and consistent practice, anyone can develop the skills to create striking, durable footwear. Begin with simple projects, learn from mistakes, and gradually experiment with bolder techniques. Share your creations online to connect with a global community of artists and collectors.


 浙公网安备
33010002000092号
浙公网安备
33010002000092号 浙B2-20120091-4
Comments
No comments yet. Why don't you start the discussion?