
Apple Watch owners often upgrade their devices over time, moving from older models like the Series 1 to the rugged, high-performance Ultra. While the technology evolves, one feature remains refreshingly consistent: interchangeable bands. The ability to switch bands across generations enhances personalization and comfort. However, transitioning from early models to the latest flagship requires attention to detail—especially when ensuring compatibility, alignment, and secure attachment. This guide walks through every stage of switching bands between Apple Watch Series 1 and Ultra, offering practical advice, compatibility insights, and expert-backed techniques for a seamless experience.
Understanding Band Compatibility Across Models
One of the most common misconceptions is that newer Apple Watches require entirely new band systems. In reality, Apple has maintained backward-compatible quick-release pins since the Series 1 introduced them in 2015. All modern Apple Watches—from the original Series 1 up to the current Ultra 2—use the same 20mm, 22mm, or 24mm lug width system depending on case size, making most bands interchangeable.
The key difference lies in case dimensions:
- Series 1–3 (38mm/42mm): Use 20mm (38mm) and 22mm (42mm) bands.
- Series 4–8 & SE (40mm/41mm and 44mm/45mm): Compatible with 20mm and 22mm bands.
- Ultra & Ultra 2 (49mm): Require 24mm bands due to larger case design.
This means you can reuse many of your existing bands—but only if they match the lug width of your current model. A 22mm band will not fit an Ultra without strain or misalignment, just as a 24mm band won’t securely attach to a 38mm Series 1.
“Apple’s band ecosystem is one of the most consistent in wearable tech. If you kept your old bands, chances are good some still work—with the right adapter or replacement link.” — Jordan Lee, Wearable Design Analyst at TechForma
Step-by-Step Guide to Safely Switching Bands
Switching bands is simple, but doing it correctly prevents damage to the pins, housing, or display. Follow this detailed process whether installing a vintage leather strap from your Series 1 onto a newer model—or adapting a modern Alpine Loop for retro use.
- Power down your Apple Watch (optional but recommended). Though not required, turning off the device reduces risk during handling, especially near sensitive components.
- Place the watch face-down on a soft, lint-free surface. Use a microfiber cloth to avoid scratches.
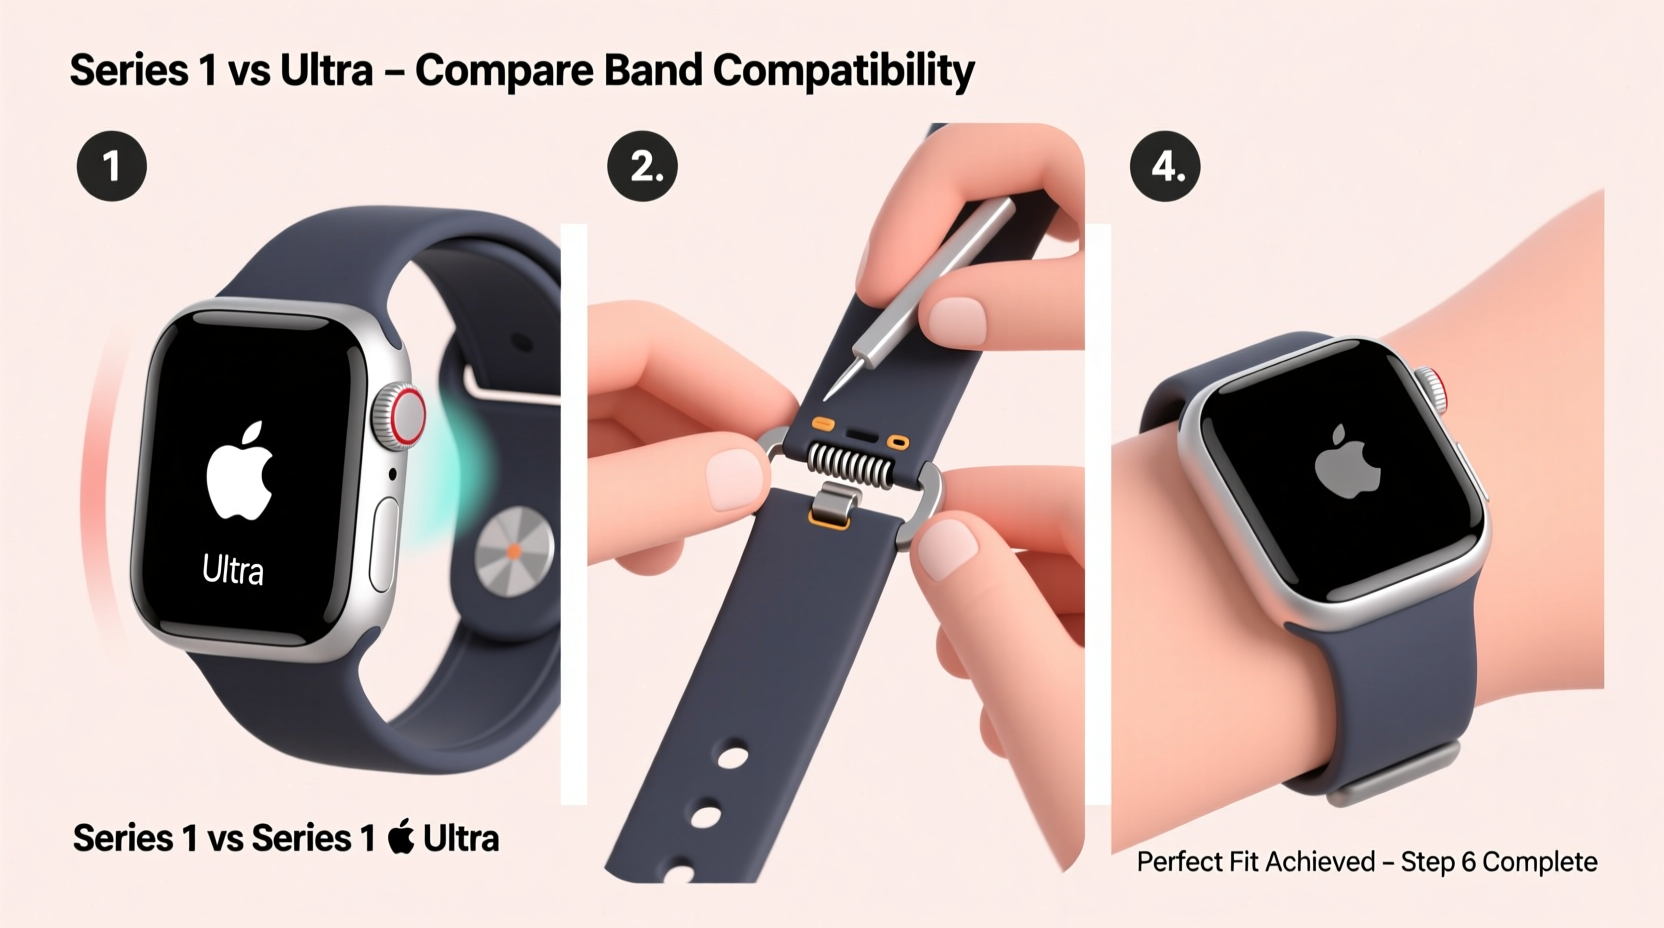
- Locate the release button on the band connector. On both sides of the watch case, you’ll see small oval indentations where the band meets the housing. Press the spring-loaded pin gently using your fingernail or a non-metallic tool.
- Slide the band straight out. While holding the release, pull the band away from the case in a smooth motion. Do not twist or yank.
- Align the new band’s lug with the slot. Ensure the arrow on the band connector points toward the case. Insert one side first, then press the opposite end until the pin clicks into place.
- Test the connection. Gently tug on the band to confirm it’s secure. There should be no wobbling or lateral movement.
Adapting Older Bands for Modern Fit and Comfort
You may want to preserve sentimental value by reusing a favorite band from your Series 1 on a newer model. However, direct compatibility isn't always possible. Here’s how to adapt:
- Use third-party adapters: Companies like Wristables and BandWerk offer 20mm-to-24mm conversion kits that allow smaller bands to fit Ultra cases safely.
- Replace individual links: For metal Milanese or Link bands, swap only the connecting pins or end links to match current widths.
- Custom refurbishment: Some artisans modify leather or nylon bands by re-stitching ends to accommodate wider lugs.
Note: Avoid forcing narrow bands onto wider cases. This stresses the internal spring mechanism and may lead to premature wear or detachment during activity.
Do’s and Don’ts When Reusing Legacy Bands
| Do | Don’t |
|---|---|
| Verify lug width before attaching any band | Force a band that doesn’t align flush with the case |
| Clean connectors regularly with a dry tool | Use metal objects to depress release pins |
| Store unused bands in breathable containers | Leave silicone bands in direct sunlight long-term |
| Inspect pins for wear every 3–6 months | Mix left/right connectors between different bands |
Real Example: Upgrading from Series 1 to Ultra Without Losing Style
Consider Mark, a longtime Apple user who started with a Series 1 in 2016. He loved its sleek look with a classic stainless steel link band. When he upgraded to the Ultra for trail running and diving, he initially assumed his old band was obsolete. After researching compatibility, he discovered his 22mm link band could be modified.
He purchased replacement end links designed for 24mm cases and swapped them himself in under ten minutes. The result? A fully functional, personalized band that bridged nearly a decade of Apple Watch evolution. Not only did it save money, but it also preserved emotional value tied to his first smartwatch.
This scenario underscores a broader truth: thoughtful adaptation beats replacement when it comes to accessories.
Frequently Asked Questions
Can I use my Apple Watch Ultra band on a Series 1?
No, because the Ultra uses 24mm bands while the Series 1 supports only 20mm or 22mm widths. Attempting to force a larger band can damage the connector pins or housing.
Are all quick-release mechanisms the same across models?
Yes, the spring-pin mechanism introduced in Series 1 remains unchanged in function through the Ultra line. The physical design and ejection force are nearly identical, ensuring reliable performance across generations.
What should I do if a band feels loose after installation?
Double-check that the arrow on the band connector faces inward toward the watch case. If properly aligned and still loose, inspect the pin for debris or damage. Persistent looseness may indicate worn internals requiring service.
Final Checklist Before Every Band Swap
- ✅ Confirm the band width matches your model (20mm, 22mm, or 24mm)
- ✅ Power down the watch for safer handling (especially with expensive bands)
- ✅ Inspect both pins and slots for dust or damage
- ✅ Align the connector arrows toward the case before insertion
- ✅ Test stability with a gentle pull after installation
- ✅ Store removed bands in a cool, dry place away from UV exposure
Conclusion: Make Your Watch Truly Yours
Switching Apple Watch bands from Series 1 to Ultra isn’t just about functionality—it’s about continuity. With careful attention to sizing, alignment, and maintenance, you can carry forward favorite styles while embracing new capabilities. Whether driven by nostalgia, sustainability, or cost-efficiency, adapting legacy bands extends more than just accessory life; it deepens your relationship with the device.


 浙公网安备
33010002000092号
浙公网安备
33010002000092号 浙B2-20120091-4
Comments
No comments yet. Why don't you start the discussion?