
Modern GPUs are powerful but often run hotter than necessary due to aggressive voltage delivery. Undervolting—reducing the voltage supplied to the GPU while maintaining stable performance—can significantly lower operating temperatures and power draw without sacrificing frame rates. In fact, in many cases, it can lead to better sustained performance thanks to reduced thermal throttling. This guide walks you through the entire process with precision, safety, and real-world results in mind.
What Is Undervolting and Why It Matters
Undervolting adjusts the voltage-frequency curve of your graphics card so that it runs at a lower voltage for a given clock speed. Most GPUs are shipped with conservative voltage settings to ensure universal stability, even on units with less-than-ideal silicon quality (a phenomenon known as \"silicon lottery\"). However, this means many cards receive more voltage than they actually need, generating excess heat and consuming more power unnecessarily.
By carefully reducing voltage while preserving performance, undervolting delivers three key benefits:
- Lower temperatures: Less voltage means less heat, which improves thermal headroom.
- Better boost behavior: Cooler temps allow the GPU to maintain higher boost clocks for longer.
- Reduced power consumption: Ideal for smaller PSUs or building energy-efficient systems.
“Undervolting is one of the safest performance optimizations available—it doesn’t void warranties and carries minimal risk when done correctly.” — Dr. Linus Sebastian, Tech Educator & Hardware Analyst
Preparation: Tools and Safety Checks
Before making any changes, ensure your system is ready. Mistakes during voltage adjustments can cause instability, crashes, or poor performance—but not permanent damage if handled properly.
Required Software
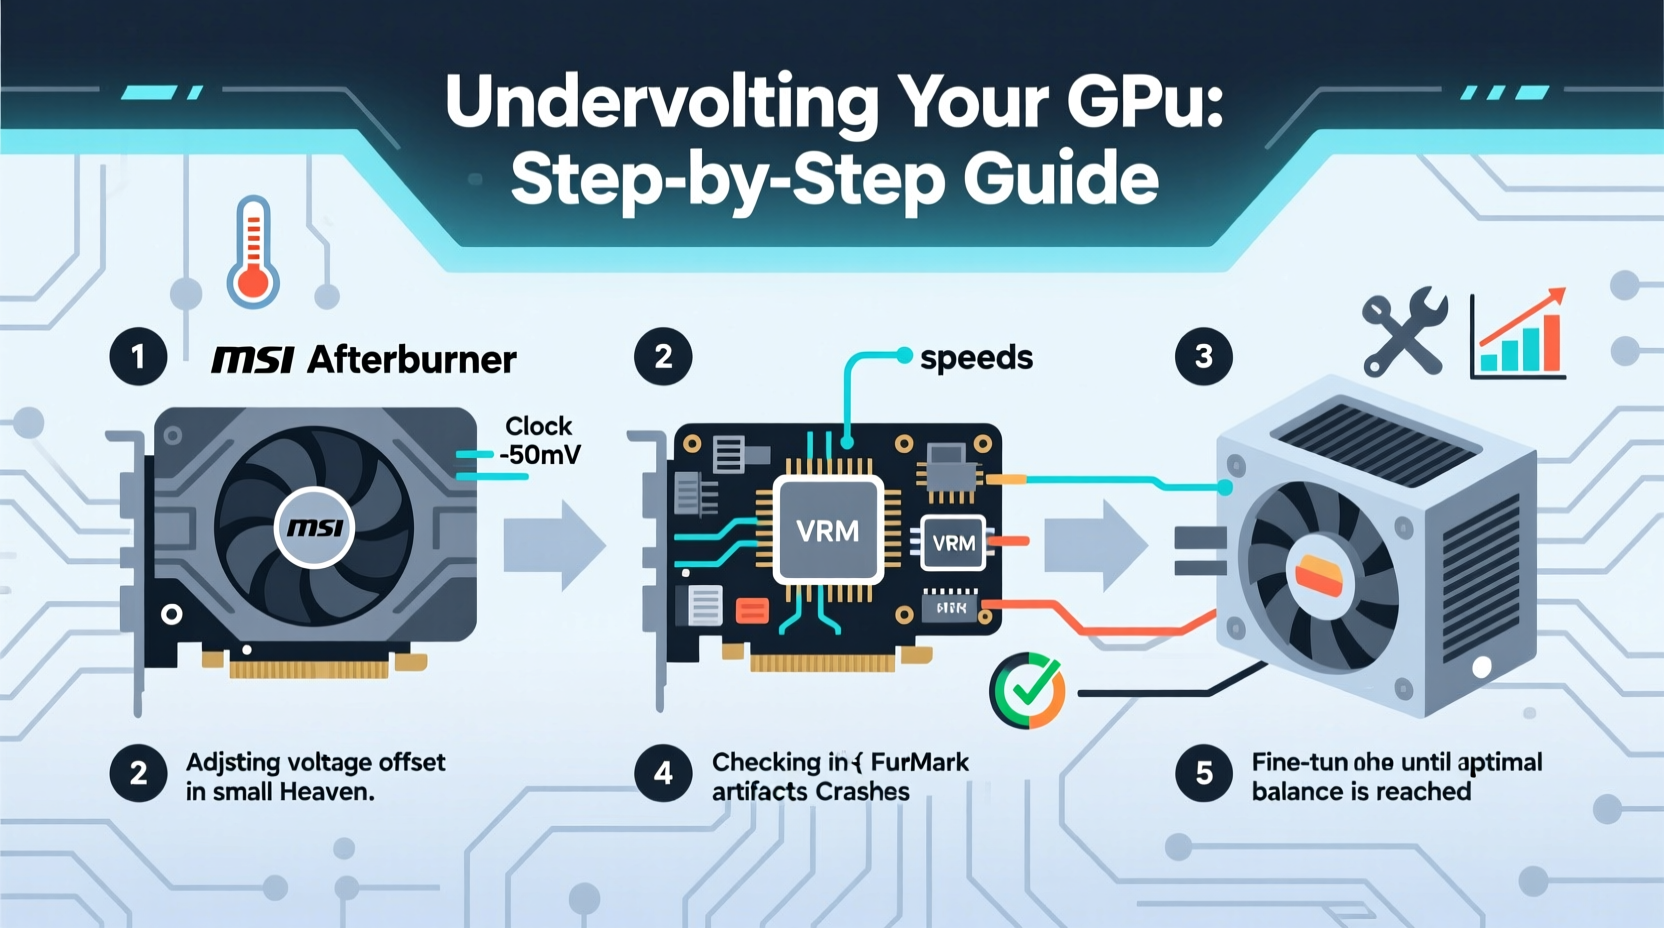
- MSI Afterburner: The most widely used GPU tuning tool, supports most NVIDIA and AMD cards.
- FurMark or Unigine Heaven: Stress-testing tools to validate stability.
- HWInfo64: For monitoring voltage, temperature, power draw, and clock speeds in real time.
- Game or benchmarking tool: To test real-world performance post-tweak (e.g., Cyberpunk 2077, 3DMark).
Safety Guidelines
- Back up your current GPU profile in MSI Afterburner before starting.
- Work in small increments—never reduce voltage by more than 50mV at once.
- Ensure adequate cooling; clean dust from fans and heatsinks beforehand.
- Avoid overclocking and undervolting simultaneously until you’ve mastered each separately.
- Save custom BIOS profiles only after confirming long-term stability.
| Tool | Purpose | Compatibility |
|---|---|---|
| MSI Afterburner | GPU voltage and clock adjustment | NVIDIA & AMD (most models) |
| HWInfo64 | Detailed sensor monitoring | All modern GPUs |
| FurMark | Stress testing under load | Cross-platform |
| Radeon Software | Native AMD tuning (for AMD users) | AMD RDNA/RDNA2/RDNA3 |
Step-by-Step Guide to Undervolting Your GPU
This sequence ensures safe, effective tuning. Follow each step precisely and allow time for validation between adjustments.
Step 1: Baseline Performance Measurement
Run a benchmark like 3DMark Time Spy or a demanding game at native resolution. Use HWInfo64 to record:
- Max GPU temperature
- Average core clock
- Power consumption (watts)
- Voltage under load (typically ~950–1100 mV for modern NVIDIA/AMD)
Step 2: Open MSI Afterburner and Reset to Default
Launch MSI Afterburner, click the gear icon, and select “Restore Defaults” to start with factory settings. Ensure “Unlock Voltage Control” and “Enable GPU Voltage Readout” are checked under the “Settings” > “General” tab.
Step 3: Adjust the Voltage-Frequency Curve
In the main interface, locate the voltage (mV) and core clock (MHz) sliders. Click the “Voltage/Frequency Curve” button (usually represented by a graph icon).
- Find the highest frequency point on the default curve (often around 1800–2100 MHz depending on model).
- Select that point and lower its voltage by **50 mV**.
- Optionally, slightly reduce intermediate points to smooth the curve.
Click “Apply.” The GPU will briefly stutter as settings take effect.
Step 4: Test Stability Under Load
Launch FurMark or Unigine Heaven. Run the test for at least 15 minutes. Watch for:
- Artifacts (weird colors, lines, flickering)
- Crashes or driver timeouts
- Sudden clock drops or reboots
If any occur, return to Afterburner and increase voltage by 10–20 mV. Repeat until stable.
Step 5: Refine and Optimize
Once stable at -50mV, try reducing another 20–30 mV. Many modern GPUs (especially NVIDIA RTX 30/40 series and AMD RX 6000/7000) stabilize comfortably at -80mV to -120mV.
After each change, rerun stress tests. Aim for:
- No visual artifacts
- No application crashes
- Consistent clock speeds (avoid large dips)
Step 6: Validate Real-World Gaming Performance
Play a demanding game for 30+ minutes. Monitor via HWInfo64:
- Did average FPS remain consistent?
- Are temperatures 5–15°C lower than baseline?
- Is power draw noticeably reduced?
If yes, save your profile in Afterburner using the floppy disk icon. Label it “Undervolt v1.”
Real-World Example: Undervolting an RTX 3080
Jamal, a PC builder and streamer, noticed his ASUS RTX 3080 hitting 84°C during gameplay, causing clock speeds to drop from 1900 MHz to 1750 MHz. He followed the steps above:
- Baseline: 84°C, 350W power draw, 1900 MHz average clock
- Applied -90mV offset via Afterburner’s curve editor
- Passed 20-minute FurMark test with no artifacts
- Gaming test in Cyberpunk 2077: Temp dropped to 71°C, clocks held at 1880 MHz, FPS increased by 4% due to sustained boost
- Power draw fell to 310W—a 40W reduction
After two weeks of daily use, including streaming sessions, the card remained stable. Jamal saved the profile and now uses it as his default setup. His case airflow improved indirectly due to less heat output, benefiting other components.
Common Pitfalls and How to Avoid Them
Even experienced users make mistakes. Here are frequent issues and solutions:
| Issue | Root Cause | Solution |
|---|---|---|
| Screen flickering or artifacts | Voltage too low for stable operation | Increase voltage by 10–20 mV increments |
| Driver crash (Error 43 or 6) | System instability under load | Reboot, revert to last stable setting |
| No voltage control option | BIOS lock or incompatible software | Update Afterburner; check manufacturer restrictions |
| Minimal temp reduction | Poor cooling or ambient case heat | Improve airflow before tuning |
“The sweet spot isn’t the lowest voltage possible—it’s the lowest voltage that remains rock-solid across all workloads.” — Sarah Chen, Overclocking Specialist at Gamers Nexus
FAQ: Common Questions About GPU Undervolting
Is undervolting safe for my GPU?
Yes. Unlike overclocking, undervolting reduces electrical stress on the chip. As long as the system remains stable, there is no risk of hardware damage. If instability occurs, the GPU will reset or crash—no lasting harm is done.
Will undervolting improve gaming performance?
Not directly. You won’t gain higher peak FPS, but you may see more consistent frame rates due to reduced thermal throttling. In some cases, cooler temperatures allow the GPU to sustain boost clocks longer, resulting in a 3–6% effective performance gain in prolonged sessions.
Can I use undervolting with a laptop GPU?
Yes, but with caveats. Many laptops limit access to voltage controls via firmware. MSI Afterburner may not unlock full options on mobile GPUs. Additionally, laptop cooling constraints mean gains may be smaller. Proceed cautiously and monitor fan noise and thermal limits closely.
Final Checklist Before You Begin
Undervolting Preparation Checklist:
- ✅ Installed MSI Afterburner and HWInfo64
- ✅ Updated GPU drivers to latest version
- ✅ Cleaned GPU and ensured proper case airflow
- ✅ Recorded baseline temperature and clock data
- ✅ Backed up current GPU profile
- ✅ Set up monitoring panels (on-screen display in Afterburner optional)
Conclusion: Take Control of Your GPU’s Efficiency
Undervolting is a precise, rewarding tweak that puts you in control of your GPU’s efficiency. With careful calibration, you can achieve quieter operation, cooler temperatures, and smoother gameplay—all without spending a dollar. The process respects your hardware, enhances longevity, and aligns with sustainable computing practices.
Start conservatively, validate every change, and document your results. Once you find your card’s optimal curve, you’ll wonder why you didn’t do it sooner. Share your voltage offsets and temperature savings in your community forums—your findings could help others unlock hidden potential in their own systems.


 浙公网安备
33010002000092号
浙公网安备
33010002000092号 浙B2-20120091-4
Comments
No comments yet. Why don't you start the discussion?