
Keeping your Google Account information current is essential for security, recovery, and seamless access across devices. One of the most critical details tied to your account is your phone number. It's used for two-factor authentication (2FA), password resets, and identity verification. Whether you've changed carriers, lost access to an old device, or simply want to update outdated contact info, changing your phone number in Gmail is a straightforward process—if done correctly.
This guide walks you through every step with precision, explains why each action matters, and highlights best practices to prevent lockouts or unauthorized access. Follow this methodical approach to ensure your account stays secure while reflecting your current contact information.
Why Updating Your Phone Number Matters
Your phone number is more than just a way to receive texts—it’s a key layer in Google’s multi-tiered security framework. When enabled, it helps verify your identity during logins from unfamiliar devices, supports account recovery if you forget your password, and strengthens protection against phishing attempts.
Using an outdated or inactive number can leave your account vulnerable. If Google can’t reach you during a security event, you might be locked out permanently. Conversely, keeping an accurate number ensures you’re always in control—even when things go wrong.
“Outdated recovery options are among the top reasons users lose access to their digital identities.” — Dr. Lena Patel, Cybersecurity Researcher at Stanford University
How to Update Your Phone Number: A Step-by-Step Process
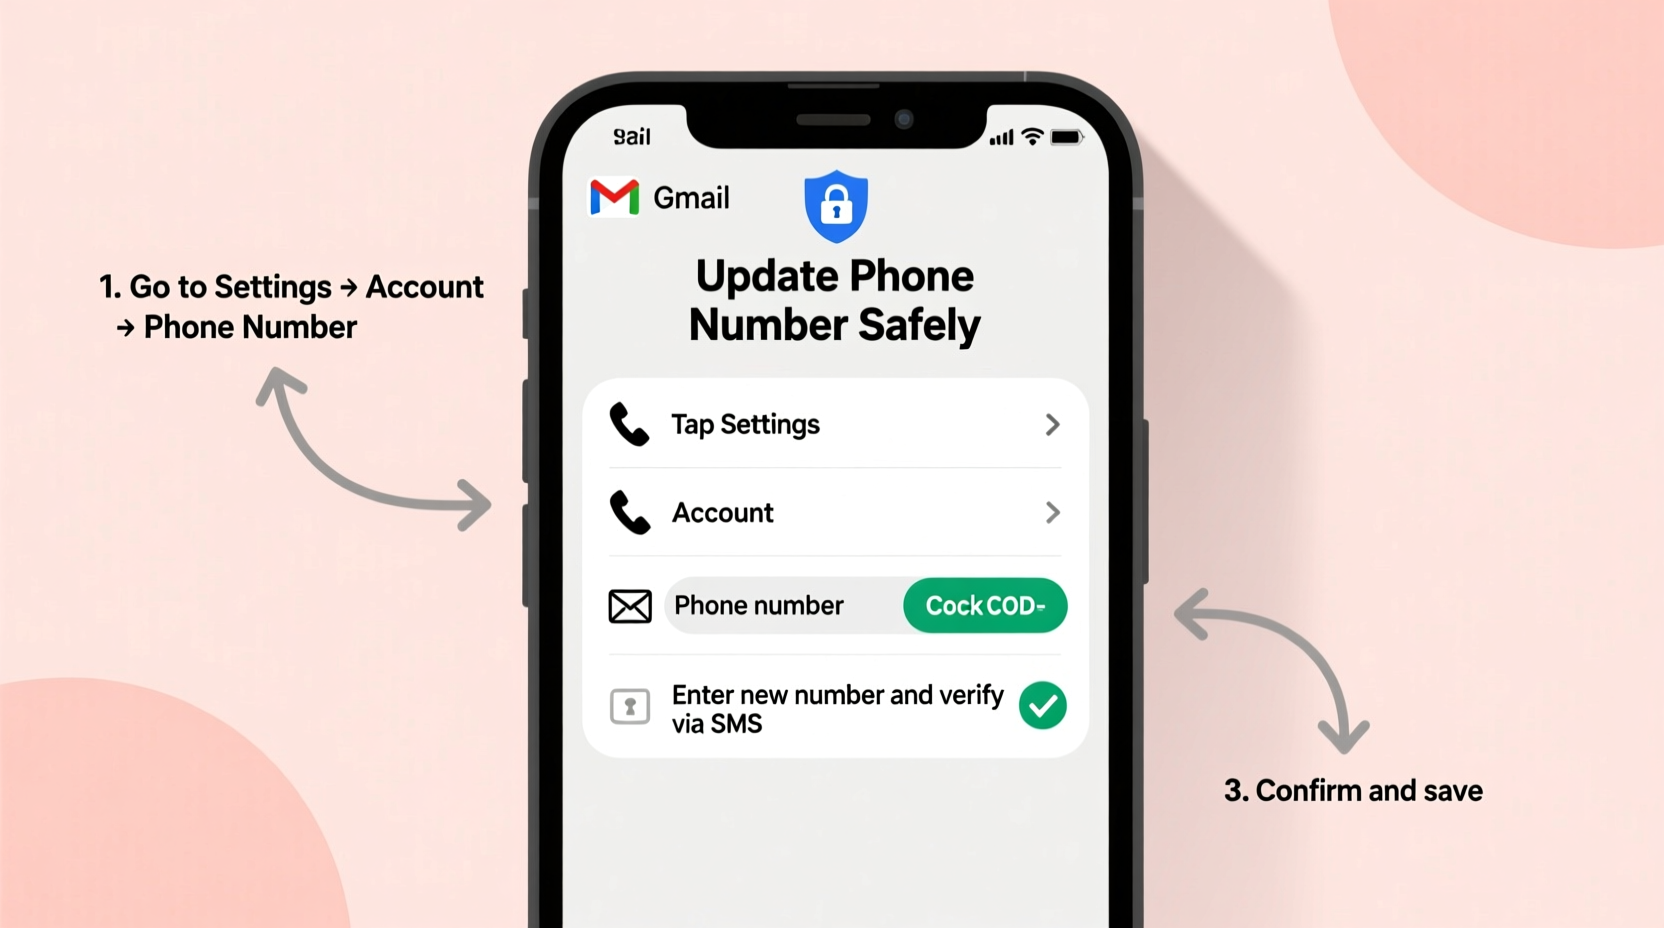
Follow this timeline-based sequence to change your phone number securely. The entire process takes less than 10 minutes and can be completed on any device with internet access.
- Sign in to your Google Account: Go to myaccount.google.com and log in using your current credentials.
- Navigate to Security Settings: In the left-hand menu, click “Security” to access authentication and recovery options.
- Locate “Recovery Phone”: Under the “Ways we can verify it’s you” section, find “Recovery phone.” Click “Edit.”
- Enter Current Password (if prompted): For security, Google may ask you to re-enter your password before allowing changes.
- Remove Old Number (Optional but Recommended): If the displayed number is no longer active, click the trash icon next to it after verifying ownership via SMS or call.
- Add New Number: Enter your new mobile number, including country code. Double-check for accuracy.
- Verify the New Number: Google will send a 6-digit code via SMS or automated call. Input the code to confirm ownership.
- Save Changes: Once verified, click “Done” to finalize the update.
Best Practices After Updating Your Number
Changing your phone number isn’t just about filling out a form. To maximize security and minimize future issues, follow these post-update actions:
- Test Recovery Flow: Log out of one device and attempt to sign back in using 2FA to confirm the new number receives codes.
- Update Backup Methods: Add a secondary recovery option like an alternate email or authenticator app.
- Review Recent Activity: Check “Recent security events” under Security settings to ensure no suspicious logins occurred during the transition.
- Notify Trusted Contacts: If you use Google Messages or Hangouts, inform frequent contacts that your number has changed.
Common Pitfalls and How to Avoid Them
Mistakes during this process can lead to temporary lockouts or even permanent loss of access. Below is a comparison of recommended behaviors versus risky ones.
| Do’s | Don’ts |
|---|---|
| Verify the new number immediately after adding it | Leave the number unverified “for later” |
| Keep your old SIM active for 48 hours after switching | Destroy or deactivate the old SIM right away |
| Use a personal, consistently available number | Add a friend’s number as your recovery option |
| Enable backup verification methods (e.g., authenticator app) | Rely solely on SMS without alternatives |
| Double-check country and area codes when entering the number | Assume auto-detection will format the number correctly |
Real Example: Recovering Access After a Number Change
Sarah, a freelance designer, switched to a new carrier and updated her phone number across all platforms—except Google. Two weeks later, she tried logging into her Gmail from a client’s computer and was prompted for a verification code. Her old number had been reassigned, so she received nothing. Unable to complete 2FA, she faced a lengthy account recovery process involving ID uploads and waiting 72 hours for review.
After regaining access, Sarah updated her recovery phone immediately and added Google Authenticator as a second factor. She now reviews her Google Account settings quarterly to avoid repeat incidents.
What If You Can’t Verify the Old Number?
If you no longer have access to your previous phone number, Google allows you to remove it without verification—but only under specific conditions. You must:
- Have another recovery method active (like a backup email)
- Successfully pass additional identity checks (security questions, recent passwords)
- Wait up to 48 hours in some cases before removal is permitted
In such scenarios, go to “Recovery phone,” select “Remove,” and follow the prompts. Google may require proof of identity, especially if the account shows unusual activity.
Frequently Asked Questions
Will changing my phone number affect my Gmail address or existing emails?
No. Your Gmail address remains unchanged regardless of phone number updates. Emails, contacts, and files stay intact.
Can I use a landline number for recovery?
Yes, but only for voice calls—not SMS. However, mobile numbers are preferred because they support both text and call verification, offering greater flexibility.
How many recovery phone numbers can I add?
Google allows one primary recovery number at a time. However, you can rotate numbers as needed and use other verification methods (like security keys or authenticator apps) alongside it.
Final Checklist Before You Finish
Before closing your browser, run through this final checklist to ensure everything is secure and functional:
- ✅ Signed in to myaccount.google.com
- ✅ Navigated to Security > Recovery phone
- ✅ Removed outdated number (if applicable)
- ✅ Added and verified new number with confirmation code
- ✅ Confirmed 2FA works with the new number
- ✅ Reviewed recent account activity for anomalies
- ✅ Updated linked services (e.g., banking apps, social media) that use your old number
Stay in Control of Your Digital Identity
Your Google Account is the gateway to your digital life—from emails and photos to calendars and cloud storage. Keeping your recovery information current isn’t just maintenance; it’s proactive self-defense in an era of increasing online threats. Taking a few minutes now to update your phone number can save hours—or even days—of frustration later.
Make it a habit to audit your account settings twice a year, especially after major life changes like moving, switching jobs, or upgrading devices. Small actions today build long-term resilience tomorrow.


 浙公网安备
33010002000092号
浙公网安备
33010002000092号 浙B2-20120091-4
Comments
No comments yet. Why don't you start the discussion?