
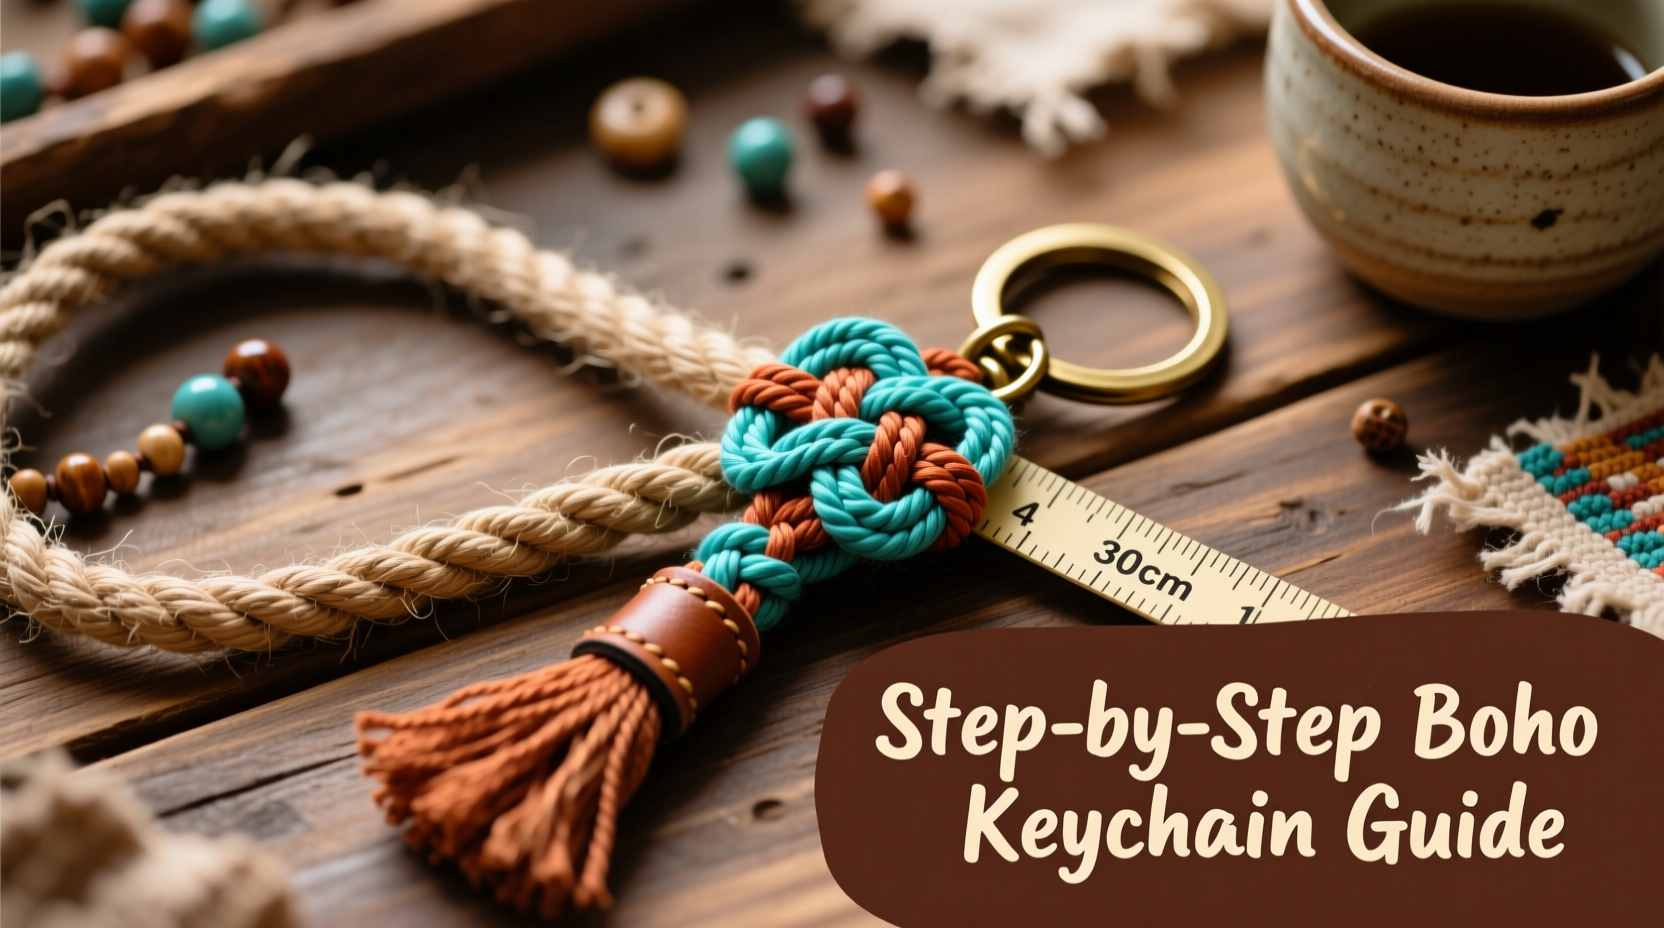
Handcrafted accessories bring a personal touch to everyday items, and few are as functional and expressive as a bohemian rope keychain. More than just a way to keep track of your keys, a handwoven keychain becomes a wearable piece of art—reflecting individuality, craftsmanship, and intention. With roots in macramé and folk-inspired design, the boho rope keychain blends simplicity with intricate texture, making it an ideal project for beginners and seasoned crafters alike. This guide walks you through every stage of creating one from scratch, ensuring both aesthetic appeal and durability.
Why Craft Your Own Bohemian Rope Keychain?
In a world saturated with mass-produced goods, handmade items stand out. A self-made keychain isn’t just practical—it’s meaningful. The tactile process of knotting and braiding fosters mindfulness, while the final product serves as a daily reminder of creativity and patience. Beyond personal satisfaction, crafting your own keychain allows full control over materials, colors, and length, ensuring it complements your style. Whether attached to house keys, a backpack zipper, or even used as a bag charm, a well-crafted rope keychain adds subtle elegance to any ensemble.
“Handmade details elevate the ordinary. A simple keychain can become a signature element of personal style.” — Lila Moreno, Artisan Jewelry Designer
Gathering Your Materials: What You’ll Need
Before beginning, assemble all necessary supplies. Quality materials ensure longevity and visual cohesion. While bohemian designs often embrace imperfection, using consistent components makes the weaving process smoother and the result more polished.
Essential Supplies Checklist
- Three strands of 3mm cotton cord (approx. 72 inches each)
- A metal keyring or split ring (15–20mm diameter)
- Scissors with sharp tips
- Lighter or fray check solution (for sealing ends)
- Tape or clip (to secure work while weaving)
- Ruler or measuring tape
Cotton cord is preferred due to its softness, strength, and ability to hold knots without slipping. Avoid synthetic ropes that may be too slick or stiff. For a true boho look, consider using earth-toned or ombre-dyed cords, or mix textures like twisted jute and braided cotton for contrast.
Step-by-Step Guide to Weaving Your Keychain
This method uses a classic three-strand flat braid, enhanced with a loop at the top and a knotted tassel at the end—hallmarks of bohemian design. Follow these steps carefully for a balanced, professional-looking result.
- Prepare the cords: Cut three lengths of cord, each 72 inches long. Fold them in half and attach the looped end to the keyring using a lark’s head knot. To do this, place the folded loop under the ring, pull the loose ends through the loop, and tighten gently.
- Secure your work: Clip the keyring to a stable surface like a clipboard or table edge. This keeps tension consistent during weaving.
- Begin the flat braid: Arrange the six strands into two groups of three—one on the left, one on the right. Cross the outer right strand over the middle two, then cross the outer left strand over the new center. Repeat this alternating pattern, maintaining even tension.
- Weave for 4–5 inches: Continue braiding until the body of the keychain reaches desired length. Most find 4 to 6 inches ideal for functionality and style.
- Create the tassel: Once the braid is complete, tie a tight overhand knot about 1 inch from the end to prevent unraveling. Trim the remaining ends evenly or at a slight angle for a clean finish.
- Seal the ends: Lightly run a flame over the cut tips (or apply fray check) to prevent fraying. Do not burn excessively—just enough to melt the fibers slightly.
- Final inspection: Check that all knots are secure, the braid is uniform, and the keyring moves freely.
Design Variations and Customization Ideas
The beauty of this project lies in its adaptability. Once you’ve mastered the basic braid, experiment with techniques and embellishments to make your keychain uniquely yours.
| Variation | How to Achieve It | Best For |
|---|---|---|
| Twisted Spiral Braid | Use a single thick cord and twist continuously while wrapping around the keyring | Minimalist, modern boho |
| Beaded Accent | Thread small wooden or glass beads onto strands before braiding | Adding color and texture |
| Doubled Strand Braid | Double up each of the three cords for a thicker, more substantial feel | Heavy-duty use or bold statement |
| Fringe Tassel Upgrade | Leave longer ends and comb them into a fuller tassel | Maximalist bohemian flair |
Consider combining multiple colors—like terracotta, sage green, and cream—for a layered, earthy palette. Alternatively, go monochrome with black or navy for a sleeker interpretation of the boho aesthetic.
Real-Life Inspiration: Maya’s First Keychain
Maya, a college student in Portland, decided to make her first keychain after losing her third set of keys in two months. “I wanted something I could spot easily in my bag,” she said. She chose bright turquoise and mustard-yellow cotton cords, braided them during study breaks, and added a tiny wooden bead near the tassel. Not only did she stop misplacing her keys, but friends began asking where they could buy one. Within weeks, she started selling custom keychains at a local market, turning a simple craft into a micro-business.
Her story illustrates how a small handmade object can have outsized impact—not just functionally, but emotionally and even economically.
Common Mistakes and How to Avoid Them
Even straightforward projects come with pitfalls. Awareness helps prevent frustration and ensures a satisfying outcome.
- Uneven tension: Pull each strand with consistent force during braiding. Too tight on one side causes curling.
- Frizzy ends: Skipping end-sealing leads to messy unraveling. Always flame or treat cut tips.
- Wrong cord thickness: Cords thinner than 2mm may break; thicker than 4mm can be bulky. Stick to 3mm for balance.
- Poor knot security: Ensure the lark’s head knot is snug against the keyring. Test by pulling firmly on the strands.
“Precision in the first knot sets the tone for the entire piece. Take your time at the start.” — Rafael Torres, Macramé Instructor
Frequently Asked Questions
Can I wash my rope keychain?
Yes, but sparingly. Spot clean with a damp cloth and mild soap. Avoid soaking, as prolonged moisture weakens natural fibers and may cause mildew.
How long does it take to make one?
For a beginner, expect 20–30 minutes including prep and finishing. With practice, it can be done in under 15 minutes.
Are there eco-friendly cord options?
Absolutely. Look for GOTS-certified organic cotton, recycled hemp, or biodegradable jute. These materials reduce environmental impact and align with bohemian values of sustainability.
Bring Intention to the Everyday
A bohemian rope keychain is more than an accessory—it’s a ritual in miniature. Each knot represents focus. Each color choice reflects mood. And every time you reach for your keys, you’re reminded of the care invested in something small yet significant. In a fast-paced world, handmade objects invite slowness, presence, and personal expression.


 浙公网安备
33010002000092号
浙公网安备
33010002000092号 浙B2-20120091-4
Comments
No comments yet. Why don't you start the discussion?