
Crafting personalized accessories doesn’t require years of experience—just a little patience and the right guidance. A pearl and bowknot keychain combines timeless elegance with handmade charm, making it an ideal beginner-friendly project. Whether you're crafting for yourself or as a thoughtful gift, this guide walks you through every stage: from selecting quality materials to securing the final knot. With clear instructions and practical tips, you’ll complete a polished accessory that looks store-bought but carries personal meaning.
Gathering Your Materials and Tools
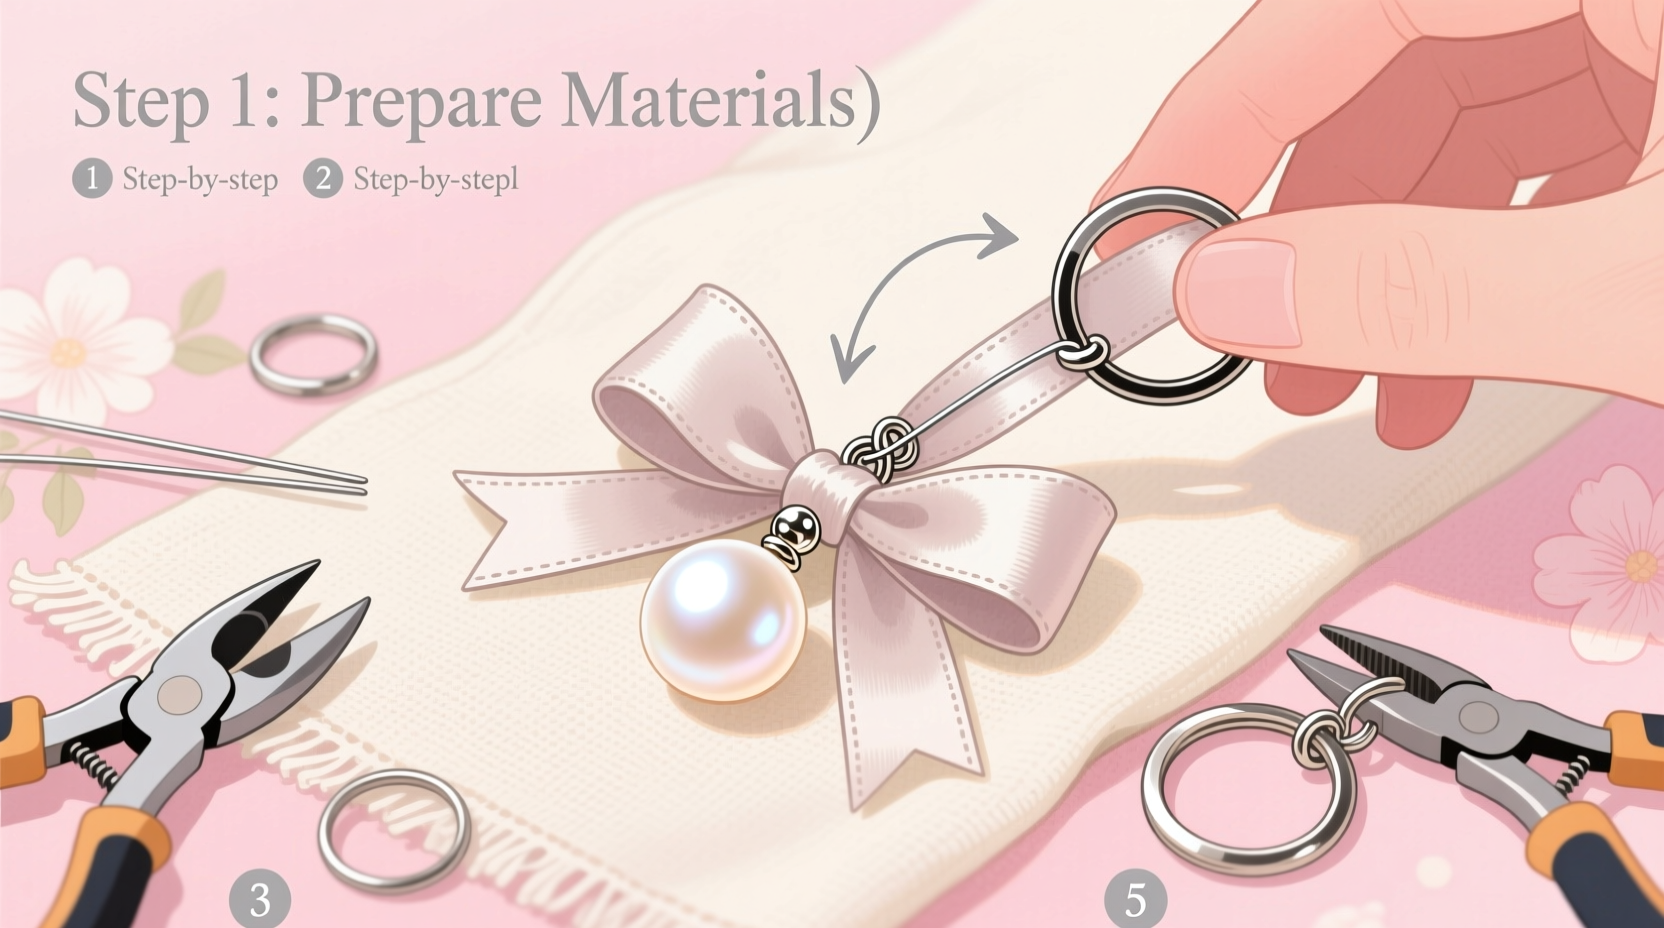
The foundation of any successful craft lies in preparation. Before threading a single bead, ensure you have all necessary supplies on hand. This project uses accessible components found at most craft or jewelry supply stores, both online and in person.
| Item | Purpose | Suggested Quantity |
|---|---|---|
| Faux pearls (6mm) | Main decorative beads | 15–18 |
| Satin cord (2mm thickness, 40cm) | Bowknot structure and loop | 1 piece |
| Stretchy elastic thread or nylon beading thread | Stringing pearls | 70–80 cm |
| Keyring clasp (25mm) | Functional attachment | 1 |
| Scissors | Cutting thread and cord | 1 pair |
| Beading needle (optional) | Easier threading | 1 |
| Glue (clear-drying jewelry adhesive) | Securing knots | Small amount |
Creating the Pearl Strand
The pearl strand forms the centerpiece of your keychain. Precision here ensures balance and durability. Follow these steps carefully to maintain consistent spacing and secure ends.
- Cut approximately 80 cm of elastic or nylon thread. The extra length allows room for knotting and adjustments.
- If using a needle, thread it onto the end of your stringing material. Otherwise, tie a small stopper knot at one end to prevent beads from slipping off.
- Begin threading the 6mm faux pearls one by one until you have a strand of 15–18 beads. Aim for a total length of about 10–12 cm when laid flat.
- Once all pearls are strung, double back through the last three beads to reinforce tension and reduce sagging over time.
- Tie a surgeon’s knot at the starting end to close the loop securely. Add a drop of clear jewelry glue to the knot before trimming excess thread.
This closed-loop design prevents individual pearls from scattering if the thread ever breaks. Elastic thread offers stretch for easy wear, while nylon provides greater strength and less elasticity—choose based on preference.
Forming the Bowknot Accent
The bowknot adds visual interest and a touch of sophistication. Though it may seem intricate, it’s built using simple folds and wraps. Take your time shaping each loop evenly.
- Cut a 40 cm piece of satin cord. Hold one end steady and fold the cord into two equal halves, forming a loop on top.
- Bring the loose ends behind the loop and pull them through to form a basic knot. Do not tighten yet.
- Create two symmetrical loops by folding each side of the cord upward, mimicking a traditional shoelace bow.
- Hold the loops in place and gently pull the tails to tighten the center knot around them.
- Adjust the loops so they sit evenly and resemble a classic bow. Trim excess tail length to about 1 cm for a clean finish.
- Apply a tiny dot of glue where the center knot meets the loops to lock the shape permanently.
Mini Case Study: Sarah’s First Keychain
Sarah, a college student new to crafts, decided to make keychains for her friends’ birthdays. Initially hesitant about tying the bowknot, she practiced twice with scrap fabric strips before working with the satin cord. Her third attempt yielded a perfectly balanced bow. She later shared: “I was surprised how much better it looked after just a few tries. Now I can do it confidently in under five minutes.” This shows that even delicate details become manageable with repetition and patience.
Assembling the Final Piece
Now that both elements are complete, it’s time to unite them into a functional, elegant accessory.
- Position the pearl strand so its looped end is facing upward.
- Slide the keyring clasp through this loop.
- Center the bowknot directly beneath the pearls, aligning it with the middle of the strand.
- Use a short piece of matching thread to sew the base of the bowknot securely to the back of the pearl strand. Wrap tightly several times, then knot and glue the thread ends.
- Ensure all connections are firm by giving the components a gentle tug test.
- Allow glued areas to dry completely (at least 30 minutes) before handling.
Proper alignment enhances visual harmony. The bow should sit snugly below the pearls without tilting or shifting.
“Handmade accessories gain their value not just from appearance, but from intention. A well-crafted keychain becomes more than utility—it’s a gesture of care.” — Lila Nguyen, Artisan Jewelry Designer
Common Pitfalls and How to Avoid Them
Even simple projects can encounter hiccups. Awareness helps prevent frustration and rework.
- Knot slippage: Always seal knots with jewelry-grade adhesive. Regular glue may yellow or weaken over time.
- Uneven bow loops: Measure each side before tightening. Mark midpoints lightly with chalk if needed.
- Twisted cords: Work on a flat surface and avoid twisting the satin strip during folding.
- Loose pearls: Double-threading through the last few beads significantly improves longevity.
Checklist: Build Your Keychain in Order
- ✔ Gather all materials and tools
- ✔ Cut elastic thread (80 cm) and satin cord (40 cm)
- ✔ String 15–18 faux pearls and secure both ends
- ✔ Tie and shape the bowknot with satin cord
- ✔ Attach the keyring to the pearl loop
- ✔ Secure the bowknot beneath the pearls with thread
- ✔ Apply glue to all knots and allow drying
- ✔ Test durability with light tugging
Frequently Asked Questions
Can I wash the keychain if it gets dirty?
Avoid submerging it in water. Instead, gently wipe the pearls with a soft, slightly damp cloth and dry immediately. Satin absorbs moisture and may stain if soaked.
What if I don’t have jewelry glue?
Nail polish (clear) can serve as a temporary substitute, though it’s less durable. True jewelry adhesive dries flexible and resists cracking—worth investing in for lasting results.
Can I use real pearls instead of faux ones?
You can, but keep in mind that natural pearls are softer and more porous. They risk damage from friction and adhesives. For beginner projects, high-quality faux pearls offer similar luster at lower cost and easier maintenance.
Final Touches and Creative Variations
Once assembled, inspect your keychain under good lighting. Adjust any asymmetries and trim stray threads. Consider customizing future versions: try colored pearls, metallic cords, or adding a tiny charm to the keyring. You might also experiment with double bows or layered pearl strands for advanced flair.
This project builds foundational skills applicable to other jewelry-making endeavors—bead control, knot precision, and design balance. As confidence grows, complexity can follow.
Conclusion
An elegant pearl and bowknot keychain proves that beauty often resides in simplicity. With minimal supplies and mindful execution, you’ve created a refined accessory that reflects personal taste and craftsmanship. These small creations carry big meaning—whether tucked into a backpack, gifted to a loved one, or used daily as a reminder of what you can make with your own hands. Don’t stop here. Share your finished piece, teach someone else the steps, or design a new variation. The world of handmade elegance is waiting.


 浙公网安备
33010002000092号
浙公网安备
33010002000092号 浙B2-20120091-4
Comments
No comments yet. Why don't you start the discussion?