
A jelly roll rug is more than just a cozy floor accent—it’s a satisfying project that transforms pre-cut fabric strips into a durable, colorful home décor piece. Originally inspired by the popular “jelly roll” fabric bundles used in quilting, these rugs are accessible even if you’ve never sewn before. With soft curves, vibrant patterns, and a tight spiral construction, they add warmth and personality to any room. This guide walks you through every stage of creating your first jelly roll rug, from selecting materials to finishing touches.
Understanding the Jelly Roll Rug Concept
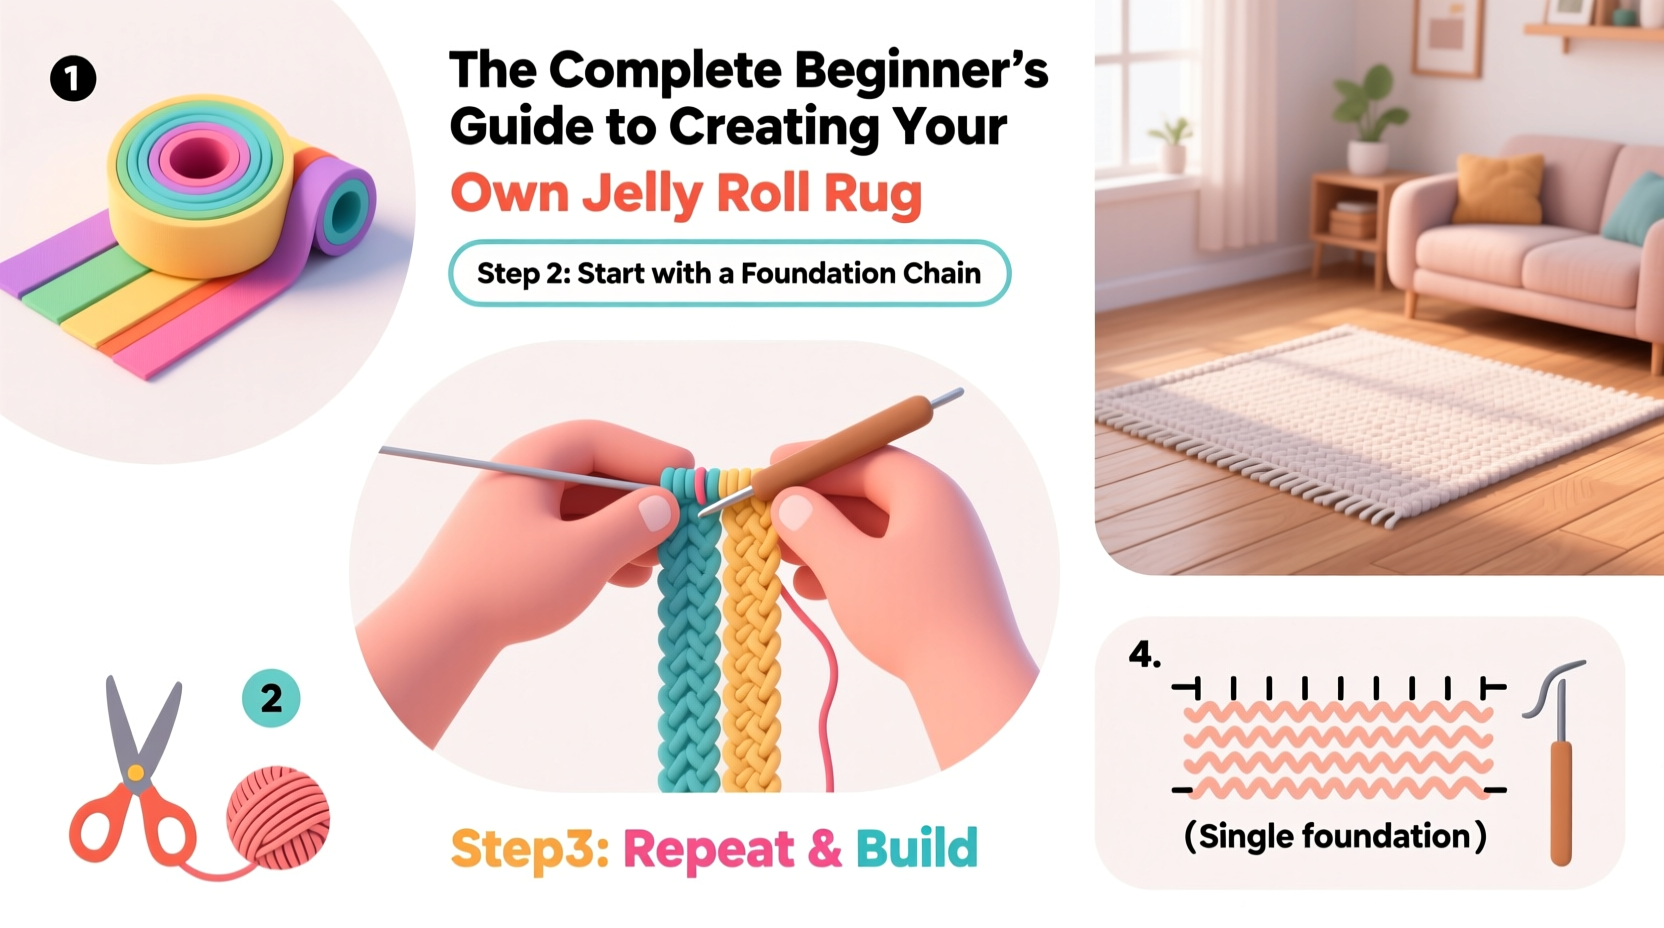
The term “jelly roll” comes from quilting, where 2.5-inch-wide fabric strips are rolled together like a Swiss cake roll—hence the name. A jelly roll rug uses the same strips, but instead of sewing them into a quilt top, they’re coiled and stitched into a circular or oval rug. The beauty lies in its simplicity: no complex patterns, no measuring large swaths of fabric, and minimal cutting. The repetitive spiral creates a mesmerizing design that showcases multiple prints and colors in one cohesive piece.
Because each strip is typically 40–44 inches long, you can achieve a medium-sized rug (about 24–30 inches in diameter) using a single 40-strip jelly roll pack. Larger rugs may require two packs or additional coordinating fabrics. The technique relies on straight-line sewing and basic hand or machine stitching, making it ideal for crafters at all levels.
Materials and Tools You’ll Need
Gathering the right supplies ensures a smooth process from start to finish. Most items are common in sewing kits, but double-check before beginning.
- Jelly roll fabric pack – 40 strips of 2.5” x 42” cotton fabric (one standard pack)
- Fusible tape or fabric glue – for securing strip ends
- Sewing machine with thread matching dominant colors in your roll
- Iron and ironing board – essential for flattening seams
- Pins or clips – to hold layers during assembly
- Scissors or rotary cutter
- Measuring tape
- Optional: Non-slip rug backing – adds safety and longevity
“Jelly roll rugs combine scrap efficiency with striking visual impact. They’re perfect for using up precuts while creating something functional.” — Dana Richards, Textile Artist & Craft Instructor
Step-by-Step Construction Guide
Follow this clear sequence to build your rug with confidence. The entire process takes 4–6 hours, depending on experience and hand-sewing vs. machine use.
- Prepare the Strips: Unroll all fabric strips and press them flat with an iron. This removes creases and evens out edges for smoother coiling.
- Join the First Few Strips: Place two strips end-to-end, right sides facing. Pin perpendicular corners and sew diagonally across the intersection. Trim seam to ¼ inch and press open. Repeat until all strips form one continuous band.
- Begin Coiling: Fold the joined strip in half lengthwise, wrong side out. Start rolling tightly from one end to form the center “button” of the rug.
- Sew the Coil: Using a zigzag stitch or narrow serpentine stitch on your machine, sew along the inner edge of the coil, catching each new layer as you spiral outward. Keep tension consistent to avoid puckering.
- Maintain Even Tension: As you work, gently push previous rows together to eliminate gaps. Avoid pulling too tightly, which can distort the shape.
- Finish the Edge: When the rug reaches desired size, tuck the final raw edge under and hand-stitch it invisibly to the underside.
- Add Backing (Optional): Cut a circle or oval of non-slip rug pad slightly smaller than your finished rug. Attach with spray adhesive or hand basting.
Design Choices and Customization Options
One of the joys of a jelly roll rug is personalization. While traditional versions follow a rainbow-like color progression, you can tailor yours to match your space.
| Design Style | Description | Best For |
|---|---|---|
| Random Mix | Strips arranged without order; creates a lively, eclectic look | Playrooms, casual spaces |
| Ombre Sequence | Arrange strips from light to dark within one color family | Modern or minimalist interiors |
| Themed Prints | Use seasonal, floral, or novelty fabrics (e.g., holiday, nautical) | Accent areas like entryways |
| Two-Tone Contrast | Alternate between neutral and bold strips for rhythm | Living rooms, bedrooms |
You can also experiment with strip width. While 2.5 inches is standard, wider strips (up to 4”) yield a chunkier texture and faster build time, though they require more fabric per coil turn.
Troubleshooting Common Issues
Even experienced crafters encounter hiccups. Here’s how to handle frequent challenges:
- Gaps between coils: Reduce the gap by adjusting how tightly you wind the fabric. Slightly overlapping each new row helps close spaces.
- Rug warping or curling: Uneven stitching tension causes distortion. Recheck your machine settings and ensure consistent pressure on the foot pedal.
- Visible seam allowances: Press all diagonal seams flat and away from the top surface. Use a small amount of fabric glue to secure fraying edges.
- Difficulty feeding thick layers: Lift the presser foot periodically to reposition the coil. Consider using a walking foot attachment for heavy builds.
Mini Case Study: Sarah’s Entryway Transformation
Sarah, a DIY enthusiast from Portland, wanted a welcoming touch for her narrow front hallway. She chose a jelly roll pack featuring soft blues and grays with subtle geometric prints. After assembling the strips and coiling over a weekend, she created a 28-inch round rug that perfectly framed her console table. To enhance durability, she added a recycled rubber mat backing cut from an old outdoor pad. The result? A custom-looking rug that guests consistently compliment—and it cost under $25.
Essential Checklist Before You Begin
Use this checklist to ensure you're fully prepared before starting your project:
- ☐ Acquired one or more jelly roll fabric packs
- ☐ Tested sewing machine with zigzag stitch
- ☐ Pressed all fabric strips flat
- ☐ Prepared workspace with ample lighting and table space
- ☐ Measured intended rug location to determine size goal
- ☐ Selected thread color(s) for seamless blending
- ☐ Optional: Purchased non-slip rug underlay
Frequently Asked Questions
Can I wash a jelly roll rug?
Hand washing is recommended. Use cool water and mild detergent, then lay flat to dry. Machine washing may cause shrinkage or seam stress, especially if the fabric isn’t pre-washed.
How long does it take to make one?
Most beginners complete a standard 24–30 inch rug in 4 to 6 hours, spread over one or two sessions. Experience reduces time significantly.
Can I use fabric other than cotton jelly rolls?
You can, but natural fibers like cotton work best. Synthetic blends may stretch or resist crisp folding, leading to uneven coils. If using alternatives, test a small section first.
Final Thoughts and Next Steps
Making a jelly roll rug is a rewarding introduction to textile crafting. It teaches foundational skills—seam joining, tension control, and pattern planning—while producing a practical, eye-catching item. Once you’ve mastered the basics, consider scaling up to oval rugs, adding borders, or mixing jelly rolls from different collections for unique effects.
Many crafters find the rhythmic motion of coiling and stitching almost meditative. Whether you keep it for yourself or gift it to a friend, your handmade rug carries both comfort and character. Ready to begin? Pull out those fabric strips, fire up your sewing machine, and start turning simple pieces into something extraordinary.


 浙公网安备
33010002000092号
浙公网安备
33010002000092号 浙B2-20120091-4
Comments
No comments yet. Why don't you start the discussion?