
A Rolex watch is more than a timepiece—it’s a legacy. Precision engineering, timeless design, and unmatched durability define every model. But even the most perfectly crafted watches need personalization. If your Rolex bracelet feels too loose or long, adjusting its size by removing links can restore comfort and elegance. While many owners turn to authorized dealers for this service, doing it yourself—correctly and carefully—can save time and money. This guide walks you through the entire process, from identifying your bracelet type to storing removed links for future use.
Understanding Your Rolex Bracelet Type
Before touching any tool, identify your Rolex bracelet model. Not all bracelets are adjusted the same way. The two most common types are:
- Oyster Bracelet: Features flat, three-piece links with hidden clasp mechanisms. Most modern Rolesor (steel/gold) and Oystersteel models use this style.
- Jubilee Bracelet: Known for its five-piece link design and supple fit. Often found on Datejust and Day-Date models.
Both use solid links secured by screws or pins, not hollow spring bars like lesser watches. Misidentifying the type can lead to incorrect tools or forceful attempts that damage the finish or mechanism.
Essential Tools for Safe Link Removal
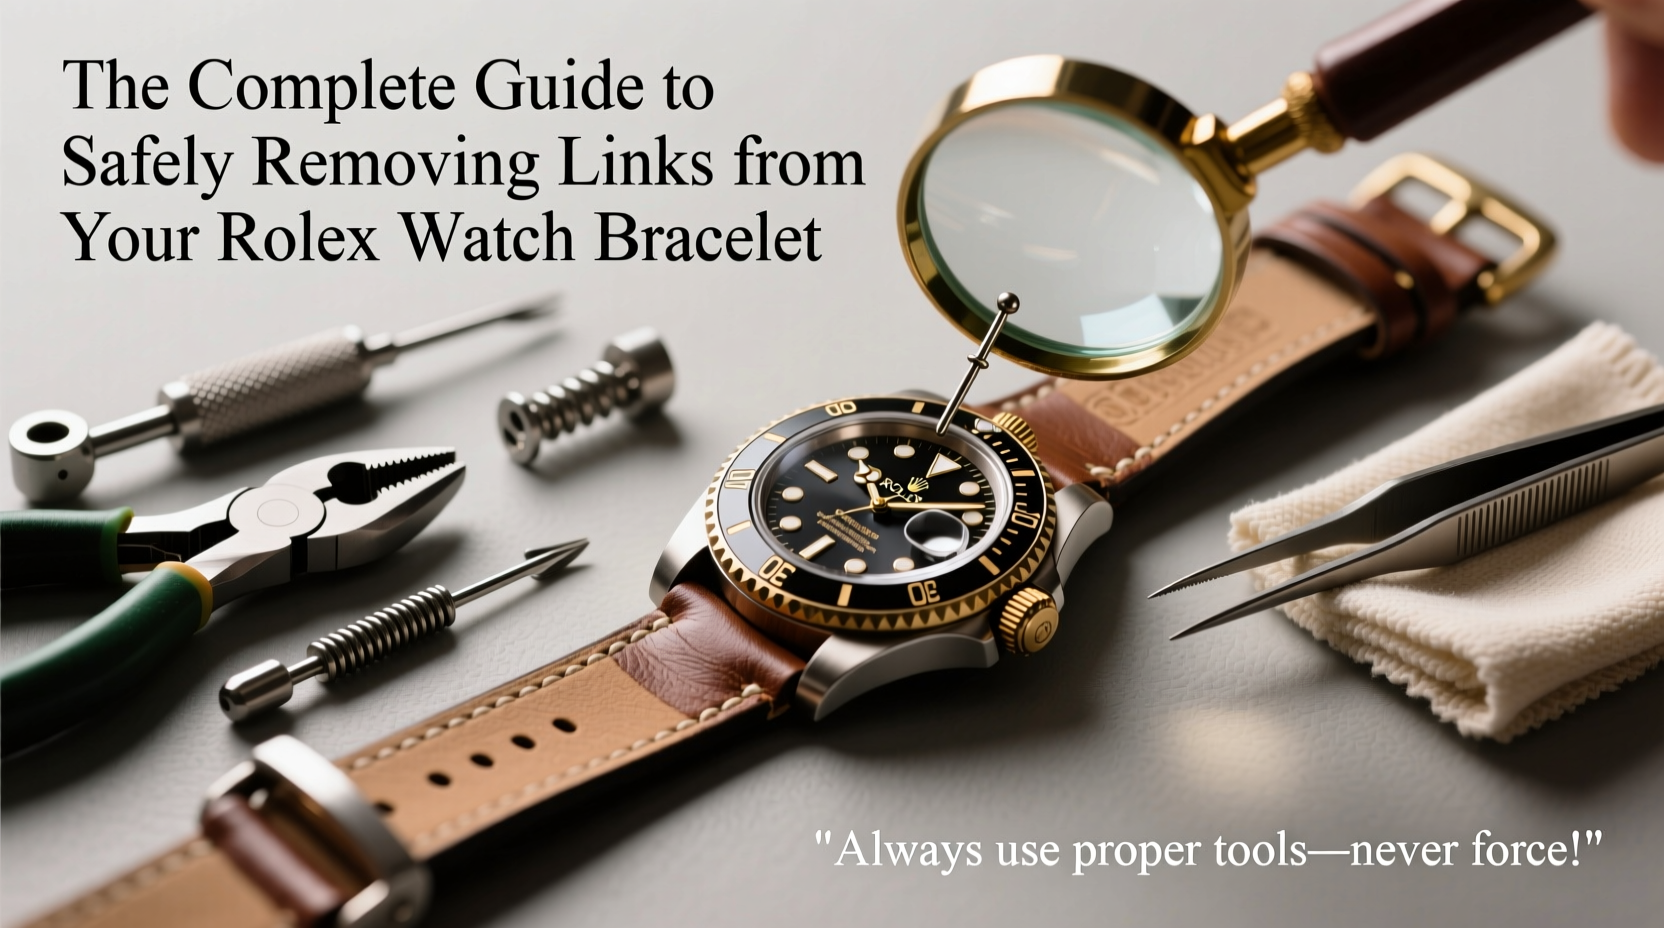
Success depends on having the right tools. Using makeshift items like nails or pliers risks scratching the case or bending pins beyond reuse. Invest in these professional-grade instruments:
- Pin Pusher Tool: A calibrated press with a fine tip to push out retaining pins without slipping.
- Properly Sized Punch (1.75mm–2.0mm): Matches the diameter of Rolex’s pins. Too wide damages the pin hole; too narrow causes slippage.
- Soft-Jawed Vise or Holder: Secures the bracelet without marring the metal.
- Magnifying Glass or Loupe: Helps inspect pin alignment and detect debris in pin holes.
- Microfiber Cloth: Protects the watch during handling.
Many kits marketed as “universal watch band tools” include subpar components. Opt instead for reputable brands like Bergeon, Horus, or Witschi, known for precision engineering compatible with high-end timepieces.
“Rolex bracelets are engineered to exacting tolerances. A misaligned push can deform a pin channel, leading to costly repairs.” — Daniel Reyes, Master Watchmaker, Geneva Institute of Horology
Step-by-Step Guide to Removing Links Safely
Follow this sequence meticulously. Rushing increases the risk of irreversible damage.
Step 1: Prepare Your Workspace
Clean a flat surface. Cover it with a microfiber cloth. Ensure bright, focused lighting. Keep small containers nearby to store pins and links.
Step 2: Remove the Watch from Your Wrist and Open the Clasp
Fully extend the clasp and lay the watch flat. This relieves tension on the end links and gives better access.
Step 3: Identify Which Links to Remove
Try the watch on. Mark which side needs shortening. Always remove equal numbers from both sides unless only one side has excess. Avoid removing center links—they house the clasp mechanism.
Step 4: Locate the Pin Holes
Examine each link. You’ll see small holes on the side where the pin ends sit. These align with arrows stamped on the underside of some links, indicating the direction the pin should be pushed.
Step 5: Secure the Bracelet
Place the section near the pin in a soft-jaw vise or hold firmly (but gently) in your hand, ensuring no movement during pin extraction.
Step 6: Push Out the Pin
Align the punch with the pin hole. Apply slow, steady pressure. Do not hammer. The pin should slide out smoothly. If resistance occurs, stop and recheck alignment.
Step 7: Disassemble and Reassemble
Once the pin is partially out, remove the link. To reattach later, reverse the process: insert the pin from the correct side and fully seat it. Some pins are tapered—one side enters easier than the other.
Step 8: Test Fit and Final Check
Put the watch on. Adjust if needed. Inspect all pins to ensure they’re flush and secure. Gently wiggle links to confirm stability.
Do’s and Don’ts: A Quick Reference Table
| Do’s | Don’ts |
|---|---|
| Use a magnifier to align the punch correctly | Use excessive force or a hammer |
| Work on a clean, padded surface | Leave pins partially inserted overnight |
| Store removed links and pins together in a labeled bag | Use screwdrivers or needles as substitutes |
| Push pins in the direction of the arrow (if present) | Remove center or clasp-mounted links |
| Double-check pin seating after reassembly | Adjust more than two links without testing fit |
Real Example: Adjusting a Datejust Jubilee Bracelet
Sarah, an architect in Chicago, purchased a pre-owned Rolex Datejust 41. The Jubilee bracelet hung loosely, sliding with every movement. She measured her wrist at 6.75 inches and confirmed the watch had two extra links on each side. Using a Bergeon 6624 pin pusher, she carefully removed one link per side. After cleaning the bracelet with a soft cloth, she realigned the pins following the engraved arrows. The result? A snug, secure fit that matched the elegance of her profession. More importantly, she preserved the watch’s resale value by keeping original parts intact.
Frequently Asked Questions
Can I damage my Rolex by removing links myself?
Yes—if improper tools or techniques are used. Scratched cases, bent pins, or misaligned links are common mistakes. However, with the right equipment and patience, experienced DIYers achieve professional results without issue.
Should I remove links from both sides equally?
Ideally, yes. Removing equal links maintains symmetry and ensures the clasp remains centered. Only remove from one side if the imbalance is minor and necessary for fit.
What should I do with the removed links and pins?
Store them in a small ziplock bag labeled with your watch model and date. Keep them in your watch box. Future weight changes or gifting may require reinstallation. Original parts preserve authenticity and value.
Final Checklist Before You Begin
- ✅ Identified bracelet type (Oyster or Jubilee)
- ✅ Gathered proper tools (pin pusher, punch, magnifier)
- ✅ Cleaned and prepped workspace
- ✅ Determined how many links to remove
- ✅ Located directional arrows on links (if present)
- ✅ Have a container ready for pins and links
- ✅ Watch is securely fastened during work
Conclusion
Adjusting your Rolex bracelet is a rite of ownership—a moment when you personalize a masterpiece to fit your life precisely. Done with care, it enhances comfort without compromising integrity. Every tool used, every pin aligned, reflects respect for the craftsmanship behind your watch. Whether you're preparing for a milestone event or simply refining daily wear, mastering this skill empowers you as a steward of horological excellence.


 浙公网安备
33010002000092号
浙公网安备
33010002000092号 浙B2-20120091-4
Comments
No comments yet. Why don't you start the discussion?