
The Raspberry Pi has revolutionized how people learn about computing, build DIY electronics, and create low-cost automation systems. Whether you're a student, hobbyist, or tech professional, getting started with a Raspberry Pi can open doors to endless projects—from home servers and media centers to robotics and IoT devices. But knowing where to begin—what model to buy, where to purchase it, and how to set it up—can be overwhelming. This guide cuts through the confusion with practical advice, expert insights, and a clear roadmap to help you make informed decisions.
Understanding the Raspberry Pi Models: Which One Is Right for You?
Raspberry Pi isn’t just one device—it’s a family of compact single-board computers, each tailored to different needs and skill levels. Choosing the right model depends on your intended use, budget, and technical comfort.
| Model | Best For | RAM | Connectivity | Price Range (USD) |
|---|---|---|---|---|
| Raspberry Pi 5 | Advanced projects, desktop replacement, AI/ML | 4GB or 8GB | Gigabit Ethernet, dual HDMI, USB 3.0 | $60–$80 |
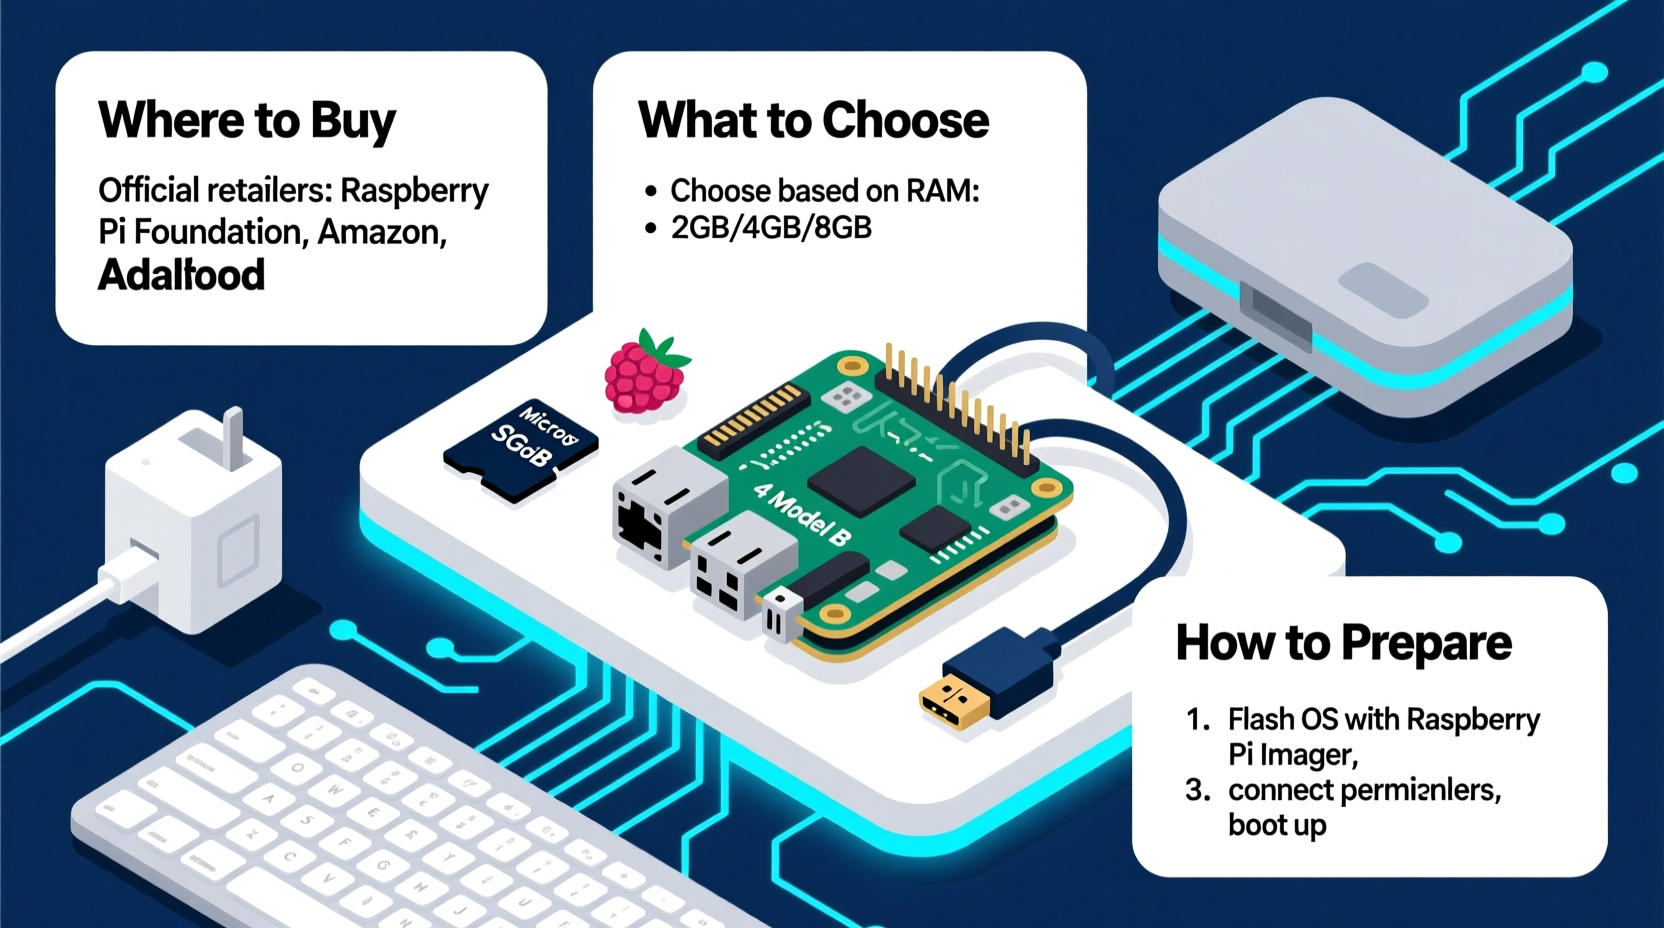
| Raspberry Pi 4 Model B | General computing, retro gaming, servers | 2GB, 4GB, or 8GB | Gigabit Ethernet, dual HDMI, USB 3.0 | $55–$75 |
| Raspberry Pi Zero 2 W | Compact builds, wearables, simple automation | 512MB | Mini HDMI, micro USB, Wi-Fi, Bluetooth | $15–$20 |
| Raspberry Pi Pico (RP2040) | Microcontroller projects, embedded programming | 264KB | No OS, programmable via C/C++ or MicroPython | $4–$7 |
The Raspberry Pi 5 is currently the most powerful option, ideal for users who want a responsive desktop experience or are diving into machine learning applications. The Pi 4 remains a solid choice for most general uses and is often more readily available. For space-constrained builds like drones or smart badges, the Zero 2 W offers wireless capability in a tiny form factor. Meanwhile, the Pico series targets those interested in low-level hardware control rather than full Linux operation.
Where to Buy a Raspberry Pi: Trusted Retailers and Avoiding Scams
Due to high demand and periodic supply shortages, finding a Raspberry Pi at retail price can be challenging. Many third-party sellers on marketplaces like Amazon or eBay inflate prices significantly. To avoid overpaying or receiving counterfeit products, stick to authorized distributors.
- Official Distributors: Element14 (Farnell), RS Components, and Adafruit are globally recognized as official Raspberry Pi partners. They maintain fair pricing and stock updates.
- Regional Options: In the U.S., try CanaKit (known for starter kits); in Europe, Conrad or ModMyPi; in Asia, Seeed Studio or Vilros.
- Avoid Grey Markets: Be cautious of resellers claiming “limited stock” or offering “bundles” that include unnecessary accessories at inflated prices.
When purchasing, consider buying a starter kit that includes the board, power supply, case, and SD card. Kits from reputable brands like CanaKit or Vilros reduce the risk of missing essential components and often come with pre-tested compatibility.
“Buying from authorized partners ensures warranty coverage and genuine firmware. It’s worth waiting an extra week to avoid counterfeit boards.” — David Hunt, Embedded Systems Engineer
Preparing Your Raspberry Pi: Essential Setup Steps
Once you have your Raspberry Pi, preparation is key. Unlike traditional computers, it doesn’t come with an operating system pre-installed. Follow this step-by-step process to get it running smoothly.
- Gather Required Components: Power supply (USB-C for Pi 4/5, micro USB for older models), microSD card (16GB minimum, Class 10 recommended), HDMI cable, monitor, keyboard, and mouse.
- Download Raspberry Pi Imager: Available free from the official Raspberry Pi website, this tool simplifies OS installation.
- Flash the Operating System: Insert the SD card, launch the Imager, select Raspberry Pi OS (formerly Raspbian), and write it to the card.
- Insert Card and Power On: Plug the SD card into the Pi, connect peripherals, and apply power. The first boot will guide you through language, Wi-Fi, and user setup.
- Update the System: Open the terminal and run:
sudo apt update && sudo apt full-upgrade -y
This ensures all software is current and secure.
What You Shouldn’t Do: Common Beginner Mistakes
Even experienced users can fall into traps when setting up a Raspberry Pi. Avoid these frequent errors to save time and frustration.
- Using a low-quality power supply: Underpowered adapters cause instability, crashes, and SD card corruption. Always use a 5V supply with at least 3A output for Pi 4/5.
- Skipping the case: While not mandatory, a case protects GPIO pins and prevents short circuits. Choose one with active cooling if running intensive tasks.
- Ignoring headless setup options: You don’t need a monitor. Enable SSH during imaging or create an empty file named
sshon the SD card’s boot partition to access your Pi remotely via Wi-Fi or Ethernet. - Overlooking backups: Regularly image your SD card using tools like
Win32DiskImagerorddto preserve working configurations.
Real-World Example: Setting Up a Home Media Center
Jamal, a college student in Portland, wanted to build a low-power media center without spending hundreds on a streaming box. He purchased a Raspberry Pi 4 (4GB) from Adafruit, along with a case and 32GB microSD card. Using Raspberry Pi Imager, he installed LibreELEC—a lightweight OS optimized for Kodi. After connecting the Pi to his TV via HDMI and joining his home Wi-Fi, he added his movie library from a network drive. Within two hours, he had a fully functional media hub that used less than 5 watts of power. Over time, he expanded it to include voice-controlled playback using a USB microphone and simple Python scripts.
This example shows how accessible and expandable Raspberry Pi projects can be—even for beginners with limited coding experience.
Frequently Asked Questions
Can I use any microSD card?
No. Use a high-endurance or Class 10 card from trusted brands like SanDisk, Samsung, or Kingston. Cheap cards fail faster under constant read/write cycles typical in Pi usage.
Do I need a monitor after initial setup?
No. Once configured, you can access your Pi via SSH (command line) or VNC (remote desktop) from another computer or phone. This is known as a \"headless\" setup.
Is Raspberry Pi suitable for daily computing?
The Pi 5 comes close, especially with 8GB RAM. However, it’s best suited for light browsing, document editing, and educational tasks—not heavy multitasking or video editing.
Final Checklist Before You Begin
- ✅ Choose the right model
- Match your project needs with the appropriate Pi version.
- ✅ Buy from authorized sellers
- Stick to Element14, Adafruit, RS Components, or CanaKit.
- ✅ Prepare your SD card
- Use Raspberry Pi Imager to install the OS correctly.
- ✅ Gather all peripherals
- Power supply, cables, case, and input devices.
- ✅ Update and secure your system
- Run updates, change default passwords, and enable firewall if needed.
Start Building Today
The Raspberry Pi is more than a mini-computer—it’s a gateway to innovation, learning, and creative problem-solving. With the right model, sourced responsibly and set up properly, you can explore programming, networking, automation, and even artificial intelligence on a budget. Don’t wait for perfect conditions. Start small, learn by doing, and let each project build your confidence. The community is vast, resources are free, and the only limit is your curiosity.


 浙公网安备
33010002000092号
浙公网安备
33010002000092号 浙B2-20120091-4
Comments
No comments yet. Why don't you start the discussion?