
Sound shapes emotion. While visuals capture attention, it’s audio that often determines whether a viewer feels immersed, moved, or disconnected. Adding audio over video—whether voiceover, music, ambient sound, or layered dialogue—is one of the most powerful ways to deepen narrative impact. Yet, many creators overlook its potential, settling for flat or mismatched soundscapes that dilute their message. This guide breaks down the essential principles, tools, and techniques for integrating audio into video effectively, transforming ordinary clips into compelling stories.
The Role of Audio in Storytelling
Visuals tell what is happening; audio tells how it feels. A well-placed score can evoke tension, nostalgia, or joy. Voiceover guides understanding, while ambient noise grounds a scene in realism. When audio and video are synchronized with intention, they create an emotional rhythm that keeps audiences engaged.
Consider a travel vlog showing a bustling market. Without audio, it’s a sequence of colorful stalls. With layered sounds—the chatter of vendors, sizzling food, distant music—it becomes an experience. The brain processes sound faster than sight, making audio a critical first impression tool in storytelling.
“Great video isn’t seen—it’s felt. And feeling comes from sound.” — Lena Torres, Award-winning Documentary Sound Designer
Essential Types of Audio for Video Enhancement
Effective audio layering involves combining multiple elements. Understanding each type ensures balanced, purposeful integration:
- Dialogue/Voiceover: Delivers information, narration, or character insight. Best recorded in quiet environments with directional microphones.
- Music: Sets tone and pace. Instrumental tracks often work better than lyrical ones to avoid competing with speech.
- Sound Effects (SFX): Adds realism—footsteps, door slams, nature sounds. Even subtle effects improve immersion.
- Ambience/Background Noise: Room tone or environmental audio that prevents unnatural silence during cuts.
- Foley: Custom-recorded sounds synced to actions (e.g., rustling clothes, handling objects).
Step-by-Step Guide to Adding Audio Over Video
Whether you’re using Adobe Premiere Pro, Final Cut Pro, DaVinci Resolve, or free software like Audacity and Shotcut, the process follows a consistent workflow:
- Plan Your Audio Needs Early
Before filming, outline where voiceover, music, or SFX will enhance the story. Script voiceovers and source royalty-free music in advance. - Record Clean Source Audio
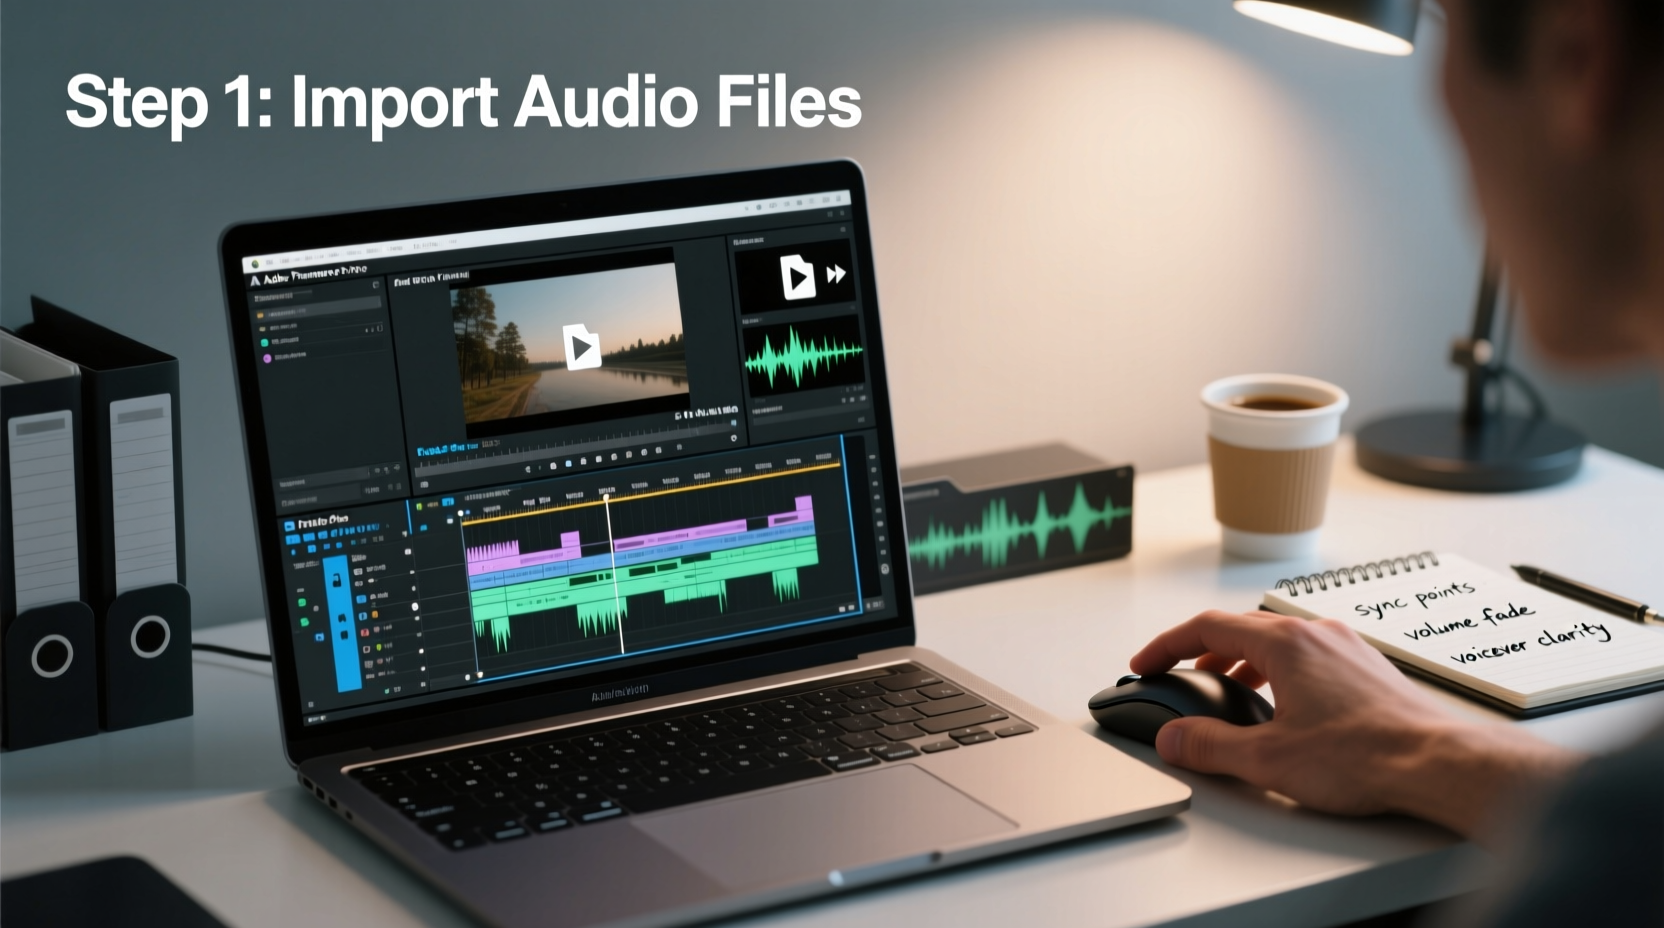
Use external mics when possible. Avoid built-in camera microphones for voice-heavy content. Record in WAV format at 48kHz/24-bit for best quality. - Import and Sync Media
Load video and audio files into your editing timeline. Sync voiceover or dialogue using waveform alignment or clapperboard markers. - Layer Audio Tracks Strategically
Organize tracks by type: dialogue (top), SFX (middle), music (bottom). Adjust volume so no element drowns another. - Edit and Process Audio
Cut pauses, reduce background noise, apply EQ to warm up voices, and compress dynamic range for consistency. - Balance Levels and Panning
Use peak meters to keep levels under -6dB to avoid clipping. Pan sounds subtly to match visual direction (e.g., car moving left to right). - Add Fades and Transitions
Apply crossfades between music tracks and fade-ins/outs to prevent jarring starts or ends. - Export with Correct Settings
Render audio at 48kHz, stereo, AAC or PCM depending on platform. Test playback on headphones and speakers.
Common Mistakes and How to Avoid Them
Poor audio integration undermines even the highest-quality visuals. These pitfalls are easily avoided with awareness:
| Mistake | Why It Hurts the Story | Solution |
|---|---|---|
| Overpowering music under dialogue | Viewer misses key information | Duck music volume during speech using automation |
| Inconsistent room tone | Creates distracting jumps in background noise | Fill gaps with recorded room tone |
| Using copyrighted music without permission | Risk of takedowns or legal issues | Use royalty-free libraries like Free Music Archive or Artlist |
| No headphone monitoring during recording | Misses wind noise, distortion, or mic bumps | Always monitor with closed-back headphones |
Mini Case Study: Elevating a Short Documentary
Jamal, an independent filmmaker, shot a five-minute documentary about urban beekeeping. Initial feedback indicated viewers found it informative but “emotionally flat.” After reviewing the edit, he realized the audio lacked depth—only raw interview clips and sparse music.
He re-edited the piece by:
- Re-recording narration in a treated closet with a dynamic mic for warmth.
- Adding subtle foley—gloves snapping on, hive lids lifting.
- Layering a soft acoustic guitar track that swelled during emotional moments.
- Inserting ambient city sounds beneath outdoor scenes for contrast.
The revised version increased viewer retention by 68% and was selected for a local film showcase. Jamal noted, “The visuals didn’t change much, but the sound made people *feel* the story.”
Checklist: Audio Integration Best Practices
Use this checklist before finalizing any video project:
- ☑ Recorded clean, high-quality source audio
- ☑ Used separate tracks for dialogue, music, and effects
- ☑ Applied noise reduction and EQ where needed
- ☑ Balanced volume levels across all elements
- ☑ Added fades to prevent abrupt audio cuts
- ☑ Monitored mix on multiple devices (headphones, phone, speakers)
- ☑ Verified no copyright issues with music or sound effects
- ☑ Exported with embedded audio synced to video
FAQ
Can I add audio to a video without professional software?
Yes. Free tools like Shotcut, iMovie, and Clipchamp allow basic audio overlay. For more control, use Audacity to pre-mix audio and import into simpler editors.
How do I make sure my voiceover matches the video pacing?
Write the script to align with scene durations. Practice delivery with a stopwatch, and leave room for pauses. Edit the video cuts to fit vocal emphasis points.
Is it okay to use music from YouTube’s audio library?
Yes, if you comply with licensing terms. YouTube’s library offers free tracks under Creative Commons or standard licenses—just verify usage rights for your platform (e.g., monetized videos, social media).
Conclusion
Audio is not an afterthought—it’s the invisible thread that weaves a story together. From the nuance of a whispered line to the swell of a cinematic score, every sound choice shapes how your audience connects with your content. By mastering the integration of audio over video, you gain a deeper level of creative control, turning passive viewers into emotionally invested listeners.


 浙公网安备
33010002000092号
浙公网安备
33010002000092号 浙B2-20120091-4
Comments
No comments yet. Why don't you start the discussion?