
Capturing what’s on your Mac screen is more than a convenience—it’s a necessity in today’s digital workflow. Whether you’re troubleshooting an issue, creating tutorials, sharing ideas with colleagues, or preserving a moment from a video call, knowing how to efficiently capture and copy your screen can save time and improve communication. macOS offers a powerful, built-in suite of tools that make screen capture simple, fast, and highly customizable. This guide walks you through every method, shortcut, and hidden feature so you can master screen capture on your Mac with confidence.
Understanding macOS Screen Capture Tools
Apple redesigned its screen capture system starting with macOS Mojave, introducing a unified interface that combines screenshots and screen recordings into one intuitive experience. Unlike older versions where screenshots were saved automatically to the desktop, modern macOS gives you real-time control over selection, editing, and saving destinations.
The tools are accessible via keyboard shortcuts or the Screenshot app (launched from Launchpad or Spotlight). You can capture the entire screen, a selected portion, a specific window, or record video of any area. Each option includes immediate post-capture editing capabilities such as cropping, annotating, adding text, or highlighting elements.
Essential Keyboard Shortcuts for Quick Capture
Speed matters when capturing dynamic content. Knowing the right shortcut eliminates delays and ensures precision. Here’s a breakdown of the most useful combinations:
| Action | Shortcut | Description |
|---|---|---|
| Capture Entire Screen | ⌘ + Shift + 3 | Saves a full-screen image to desktop or preferred folder. |
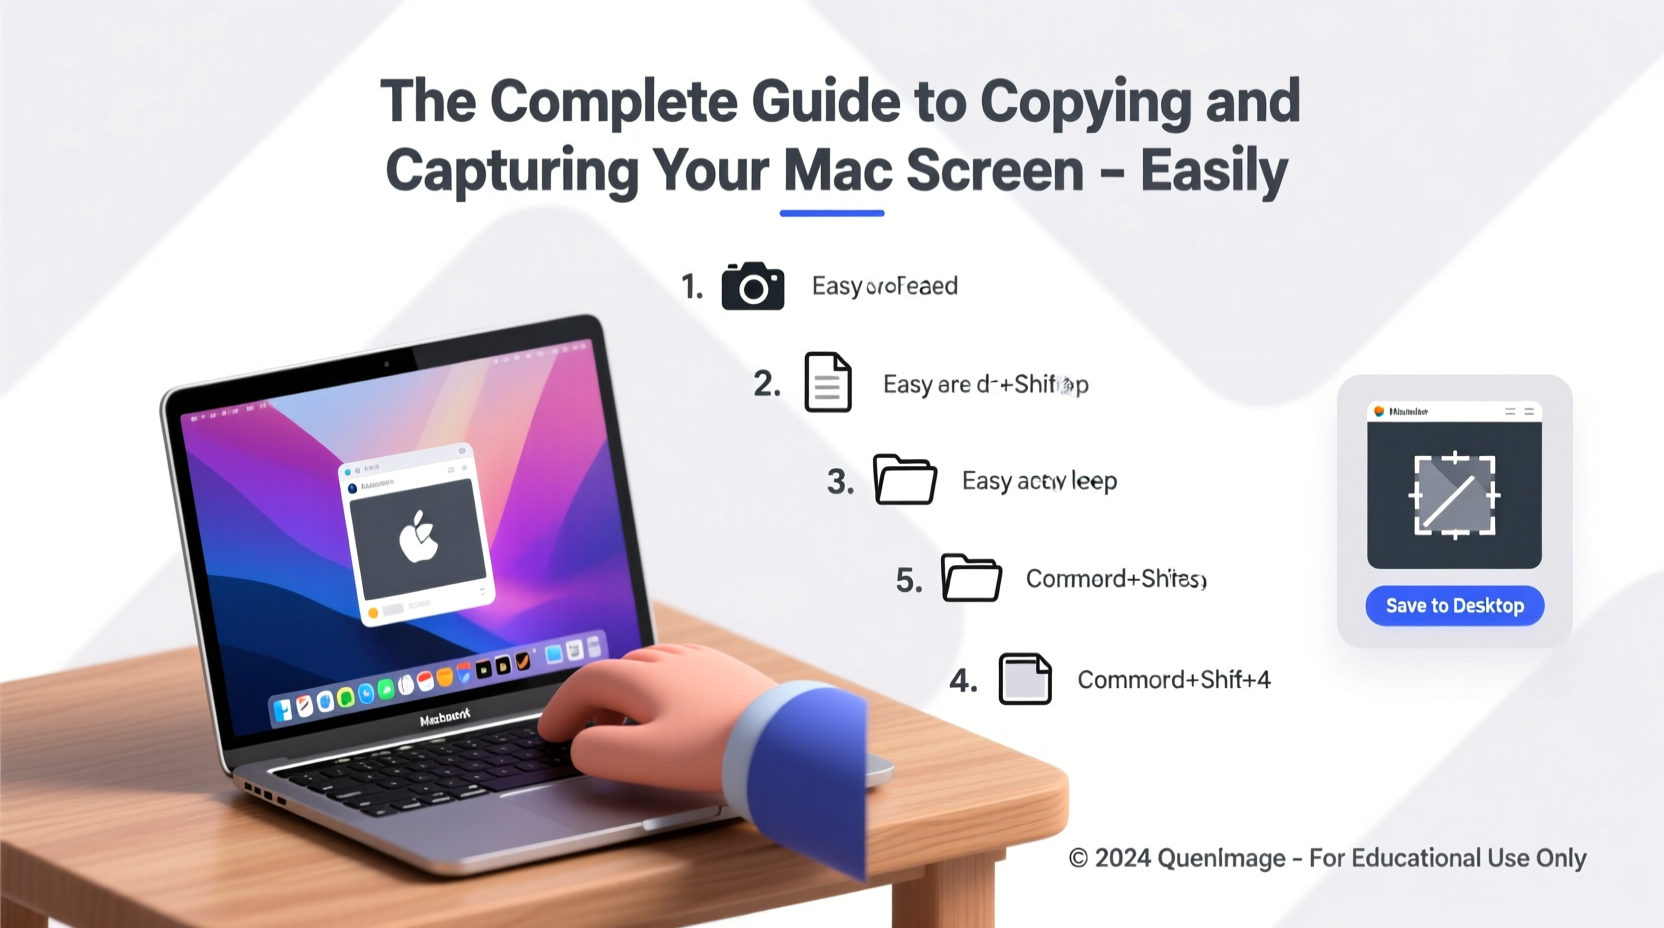
| Capture Selected Portion | ⌘ + Shift + 4 | Turns cursor into crosshair; drag to select area. |
| Capture a Window | ⌘ + Shift + 4, then press Spacebar | Highlights windows; click to capture without shadows. |
| Start Screen Recording | ⌘ + Shift + 5 | Opens recording controls—choose region or full screen. |
| Copy to Clipboard Instead of Saving | Add Control to any shortcut | Example: ⌘+Shift+Control+4 copies selection to clipboard. |
Using the Control key modifies any capture command to copy directly to the clipboard instead of saving a file. This is ideal when pasting into emails, documents, or messaging apps without cluttering your desktop.
Step-by-Step: How to Record Your Screen Like a Pro
Recording your screen is essential for creating demos, reporting bugs, or teaching software use. Follow this sequence for professional results:
- Press ⌘ + Shift + 5 to launch the Screenshot menu.
- Select “Record Entire Screen” or “Record Selected Portion.”
- If choosing a portion, drag the crosshair to define the area.
- Click “Options” to set microphone input, show mouse clicks, or choose save location.
- Click “Record,” then click anywhere to begin (or on the selected portion).
- To stop, click the Stop button in the menu bar or press ⌘ + Control + Esc.
- The recording preview appears briefly—click to edit or wait for it to save.
Editing and Managing Captured Content
After capturing a screenshot or recording, a thumbnail appears momentarily in the lower-right corner of your screen. Click it within five seconds to open the markup editor. From here, you can:
- Draw with pen or highlighter
- Add shapes, arrows, or text boxes
- Crop or rotate the image
- Use the magnifier tool to zoom in on details
- Sign documents using trackpad or camera
If you miss the thumbnail, don’t worry—the file saves automatically. By default, items go to the desktop unless you’ve changed the setting in the Screenshot app. You can also assign a different folder like “Screenshots” or iCloud Drive for better organization.
“We see a 40% increase in support resolution speed when users include annotated screenshots.” — Lisa Tran, Apple Support Lead
Advanced Tips and Hidden Features
Beyond basic captures, macOS hides several advanced functions power users rely on:
- Delay Timer: Use the Screenshot app to set a 5- or 10-second delay before capture—ideal for accessing dropdown menus or context-clicks.
- Terminal Commands: For automation, use
screencapturein Terminal to script custom workflows (e.g., scheduled captures). - Window Capture Without Shadow: Hold Option while clicking a window with ⌘+Shift+4 + Spacebar to remove the drop shadow.
- Save Format & Naming: Change default format (PNG, JPEG, PDF) via Terminal:
defaults write com.apple.screencapture type [format].
These features cater to developers, educators, and professionals who need consistency and customization beyond standard tools.
Mini Case Study: Solving a Bug Report Faster
Jamie, a frontend developer at a tech startup, received a vague bug report: “The login button disappears sometimes.” Frustrated by lack of detail, she replied with a request for a screen recording. The user followed the ⌘ + Shift + 5 steps, recorded a 15-second clip showing the exact moment the UI glitched, and included mouse movements. Jamie spotted a JavaScript conflict triggered by slow loading—something impossible to diagnose from text alone. The fix was deployed in two hours. Clear visuals transformed confusion into rapid resolution.
Checklist: Optimize Your Screen Capture Workflow
Ensure you're getting the most out of macOS screen tools with this daily-use checklist:
- ✅ Set a dedicated screenshots folder in Screenshot app preferences
- ✅ Practice keyboard shortcuts until they’re muscle memory
- ✅ Use clipboard copy (Control) when pasting into messages or docs
- ✅ Enable “Show Floating Thumbnail” for quick edits
- ✅ Turn on “Show Mouse Clicks” for tutorial recordings
- ✅ Clean up old recordings monthly to free space
Frequently Asked Questions
Where do my screenshots go by default?
By default, screenshots save to the desktop with names like “Screenshot [date] at [time].png.” You can change this in the Screenshot app (press ⌘+Shift+5 → Options → Save to).
Can I capture Touch Bar content?
Yes. When using ⌘+Shift+6, your Mac captures whatever is currently displayed on the Touch Bar. The image saves to your chosen destination just like regular screenshots.
Why isn’t my screen recording audio?
By default, screen recordings don’t include audio. In the Screenshot app, click “Options” and select a microphone source (Internal Microphone or external device) before recording. Note: Due to privacy, some apps (like FaceTime) block audio capture during calls.
Final Thoughts: Make Every Capture Count
Screen capture on Mac is no longer just about snapping images—it's about communicating clearly, solving problems faster, and documenting processes with precision. With built-in tools that rival third-party apps, there’s little reason to install extra software unless you need advanced editing or collaboration features.
From quick clipboard copies to polished screen recordings, mastering these techniques empowers you to work smarter across personal and professional tasks. Whether you're a student, designer, developer, or casual user, taking full advantage of macOS’s native capabilities enhances productivity and clarity.


 浙公网安备
33010002000092号
浙公网安备
33010002000092号 浙B2-20120091-4
Comments
No comments yet. Why don't you start the discussion?