
Text boxes are a powerful yet underutilized feature in Google Docs that can transform how you present information. Whether you're designing a newsletter, organizing content on a page, or highlighting key points, text boxes offer flexibility beyond standard paragraph formatting. Unlike fixed text flow, they allow you to position content freely, apply unique styles, and create visually engaging layouts without leaving the simplicity of Google Docs.
While Google Docs doesn’t offer the same design depth as dedicated desktop publishing tools, mastering text boxes brings your documents closer to professional-grade layouts. This guide walks through every step—from insertion to advanced customization—so you can use text boxes effectively and confidently.
How to Insert a Text Box in Google Docs
Adding a text box is straightforward, but knowing where to find the option is the first hurdle. Google Docs places this feature within the “Insert” menu rather than offering a toolbar button by default.
- Open your Google Docs document.
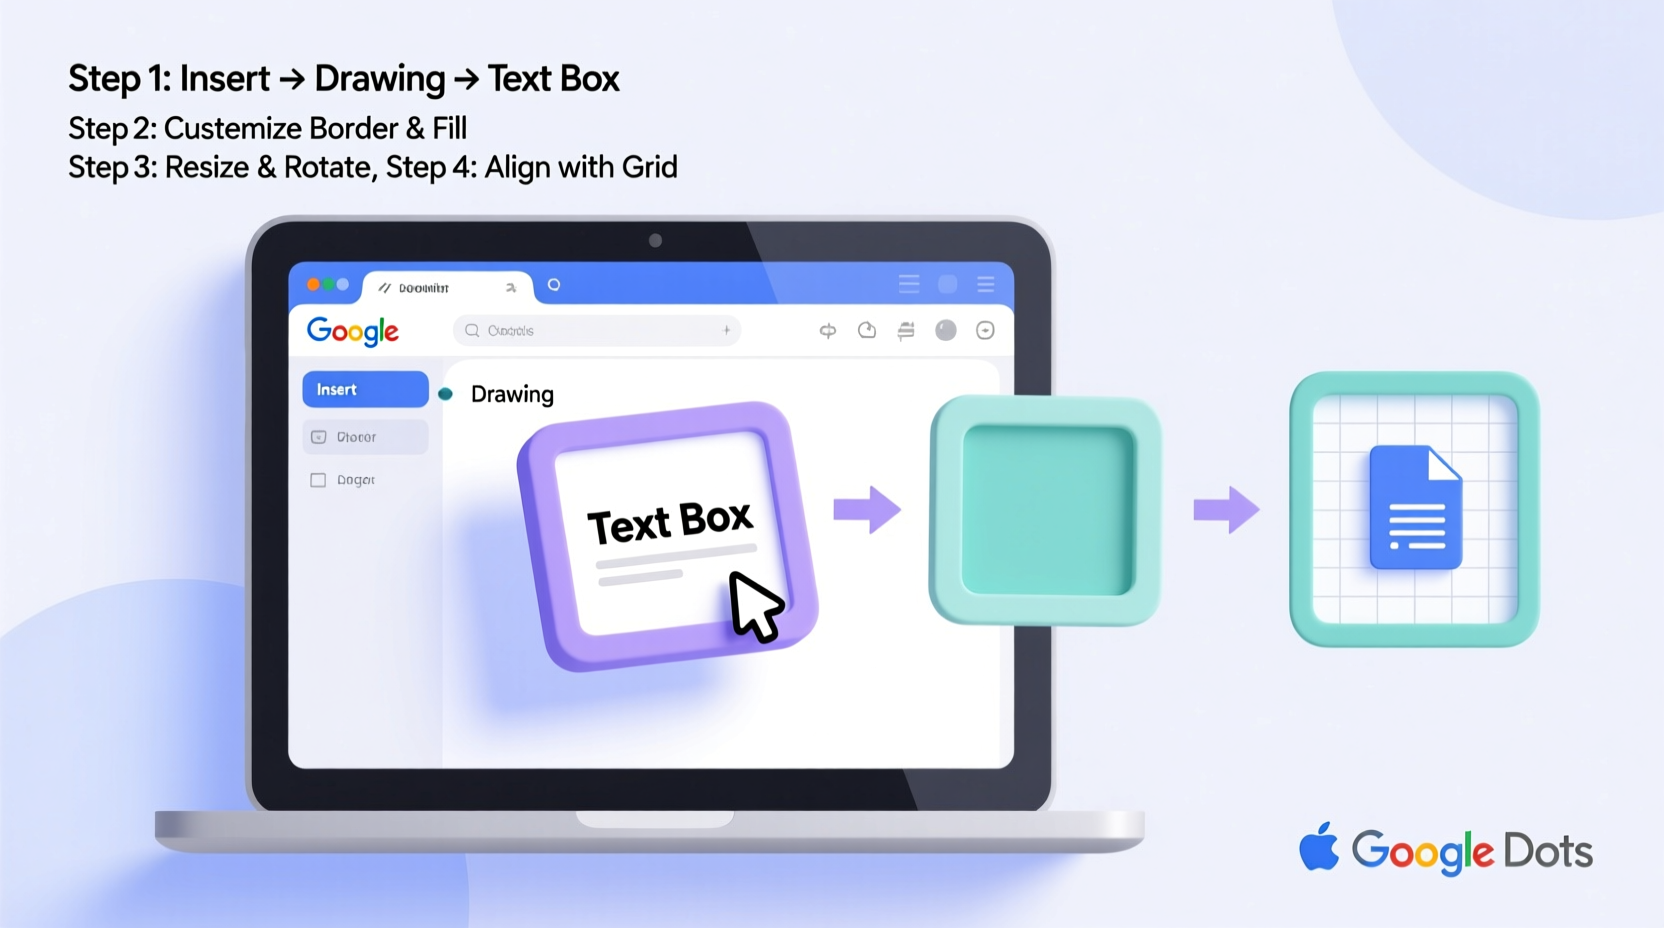
- Navigate to the top menu and click Insert.
- Select Drawing > + New.
- In the Drawing dialog box, click the Text box icon (it looks like a small square with an \"A\").
- Click and drag on the canvas to draw your text box.
- Type your content inside the box.
- Click Save and Close to insert it into your document.
The text box appears inline with your text by default, but you can reposition it freely after insertion. It’s important to note that all editing—text changes, resizing, styling—must be done by double-clicking the box to reopen the Drawing interface.
Customizing Text Box Appearance and Layout
Once inserted, a text box can be customized extensively. While limited compared to full graphic design software, Google Docs offers enough options to make your boxes functional and attractive.
Text Formatting Inside the Box
You can apply standard formatting—bold, italic, font size, color, alignment—directly within the Drawing editor. Highlight text and use the toolbar just as you would in the main document.
Changing Background and Border
To modify the box itself:
- Select the text box in the Drawing editor.
- Use the fill color tool (paint bucket) to change the background.
- Use the line color tool (pencil) to adjust the border color.
- Adjust border thickness using the line weight selector.
For a minimalist look, set the fill and border colors to transparent. This keeps the text readable while removing visual clutter.
Resizing and Positioning
After saving the drawing, click the image in your document to reveal resize handles. Drag corners to scale proportionally. To move the box, click and drag it to a new location.
“Text boxes give educators and students a way to break monotony in reports and presentations. A well-placed callout box can emphasize critical concepts without disrupting document flow.” — Dr. Linda Park, Educational Technology Consultant
Text Wrapping and Layout Options
One of the most useful features of text boxes is controlling how surrounding text flows around them. After inserting the box, click it and select the wrapping option icon (a square with lines around it).
| Wrap Type | Description | Best Use Case |
|---|---|---|
| Inline | Treated like an image in line with text | When exact placement isn’t needed |
| Break Text | Text wraps around the box | Sidebar notes, pull quotes |
| Wrap Text | Text flows tightly around shape | Integrated side comments |
| Behind Text | Box sits behind text (use cautiously) | Watermarks or background highlights |
| In Front Of Text | Box overlays text | Annotations or floating labels |
For best readability, use “Break text” or “Wrap text” when placing boxes beside paragraphs. Avoid “Behind text” unless the background is light and non-distracting.
Advanced Tips for Professional Results
Using text boxes effectively goes beyond basic insertion. These strategies help you maintain consistency and clarity across longer or collaborative documents.
Create Reusable Text Box Templates
If you frequently use styled boxes—such as for definitions, warnings, or tips—save a version in a separate document. Copy and paste it whenever needed, then edit the content. This ensures uniformity in color, font, and size across projects.
Align Multiple Boxes Precisely
To align several text boxes (e.g., for a comparison chart), insert them one at a time and use the Drawing editor’s grid or rulers if enabled. Alternatively, arrange them in a table with invisible borders, placing each box in a separate cell for perfect alignment.
Avoid Overcrowding
Too many floating elements disrupt reading flow. Limit text boxes to 1–2 per page unless designing flyers or newsletters. Always ask: does this box improve clarity or distract?
Use for Visual Hierarchy
Place key takeaways or quotes in colored boxes with contrasting borders to draw attention. For example, a yellow background with a dark border makes information stand out without being aggressive.
Real-World Example: Designing a Classroom Handout
Ms. Thompson, a high school biology teacher, wanted to make her photosynthesis handout more engaging. Instead of listing facts in plain paragraphs, she used three text boxes:
- A blue box titled “Key Equation” displayed the chemical formula prominently on the right margin.
- A green box labeled “Fun Fact” floated near the introduction, sharing a trivia about plant efficiency.
- A red-bordered warning box highlighted common student misconceptions at the end.
By applying “Break text” wrapping and consistent fonts, the document remained clean and scannable. Her students reported better retention, and colleagues began adopting similar techniques.
Checklist: Optimizing Your Text Box Workflow
- ✅ Use the Drawing tool to insert a text box
- ✅ Format text and background before saving
- ✅ Choose the appropriate text wrap setting
- ✅ Resize proportionally using Shift
- ✅ Double-click to edit content later
- ✅ Align with other elements using margins or tables
- ✅ Limit usage to maintain readability
Frequently Asked Questions
Can I link text boxes so text flows from one to another?
No, Google Docs does not support linked text boxes. Text remains confined to the box it was created in. For flowing content, consider using columns or section breaks instead.
Why can’t I edit the text in my box after inserting it?
You must double-click the text box to reopen the Drawing editor. Direct typing on the document page won’t work. Ensure you’re clicking the box itself, not the space around it.
Can I add images inside a text box?
Yes. In the Drawing editor, insert an image first, then place a text box over it or beside it within the same canvas. You can layer elements, but remember they’ll act as a single object once saved.
Mastery Starts with Practice
Text boxes in Google Docs may seem minor, but their impact on document clarity and design is significant. From academic handouts to business summaries, they offer a simple way to elevate your content. The key is intentionality—using them to enhance, not decorate.
Start with one box in your next document. Experiment with positioning, color, and wrapping. Save templates for reuse. Share your creations with collaborators and refine based on feedback. With practice, text boxes become second nature, turning ordinary documents into polished, purposeful communications.


 浙公网安备
33010002000092号
浙公网安备
33010002000092号 浙B2-20120091-4
Comments
No comments yet. Why don't you start the discussion?