
Crafting personalized dog tags at home offers a meaningful way to ensure your pet’s identification is both functional and unique. Unlike mass-produced options, handmade stamped tags carry character, precision, and personal significance. Whether you're making them for your own dog, as gifts, or to start a small craft business, mastering the art of metal stamping allows you to produce durable, professional-looking tags with minimal investment. This guide walks through every stage—from material selection to finishing touches—so you can confidently create high-quality custom dog tags in your workshop or kitchen table.
Choosing the Right Materials and Tools
The foundation of a well-made stamped dog tag lies in selecting appropriate materials and tools. Most homemade tags use aluminum, brass, or stainless steel blanks, each offering different benefits in terms of weight, durability, and ease of stamping.
| Metal Type | Pros | Cons | Best For |
|---|---|---|---|
| Aluminum | Lightweight, easy to stamp, rust-resistant | Less durable than steel | Pets who dislike heavy tags |
| Brass | Attractive gold-like finish, corrosion-resistant | Softer metal may dent more easily | Decorative or commemorative tags |
| Stainless Steel | Highly durable, scratch-resistant, long-lasting | Harder to stamp; requires more force | Dogs with active outdoor lifestyles |
In addition to the blank tag, essential tools include:
- Steel letter and number stamps (available in various font sizes)
- Ball-peen hammer (preferably 8–16 oz)
- Bench vise or clamp to secure the tag
- Fine-grit sandpaper (200–600 grit)
- Center punch and nail set (for precise alignment)
- Ruler and permanent marker (for layout planning)
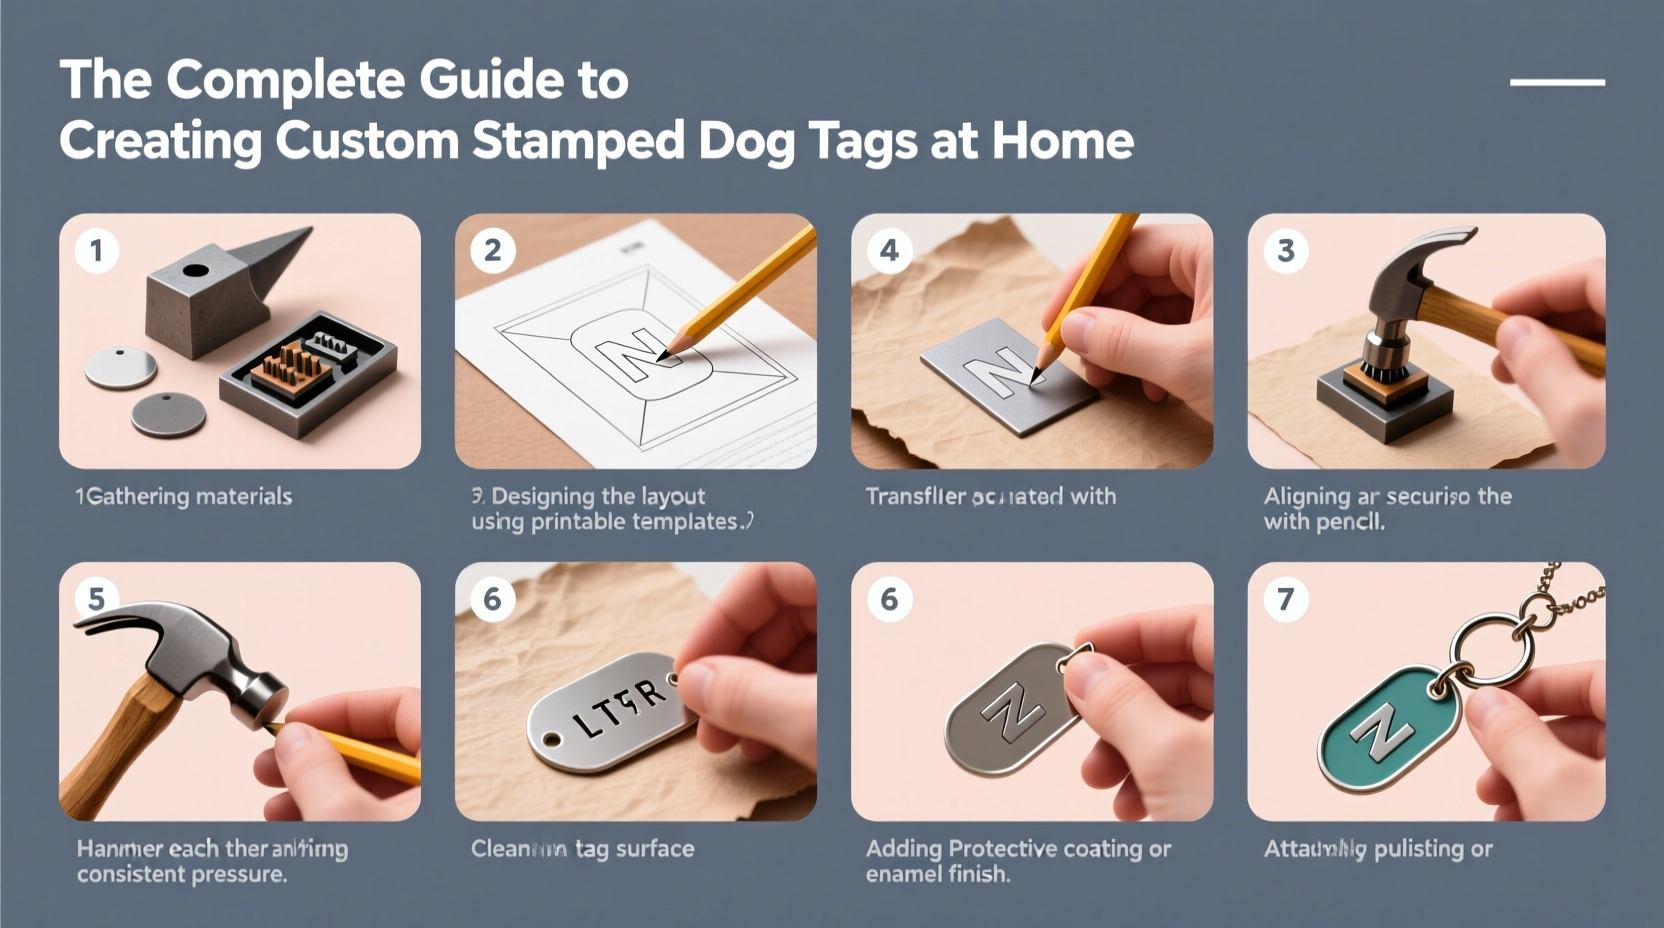
Step-by-Step Guide to Stamping Your Dog Tag
Creating legible, evenly spaced text on a small metal surface requires patience and precision. Follow this detailed sequence to achieve clean, professional results.
- Prepare the workspace: Use a solid, non-slip surface. Secure a bench vise or clamp to hold the tag firmly in place without movement.
- Plan the layout: Sketch the desired text on paper first. Measure the tag and mark placement lines lightly with a fine-tip marker. Common info includes pet name, owner phone number, and “ID Tag.”
- Align the first character: Use a center punch to create a light indentation where the first letter will go. This prevents the stamp from sliding upon impact.
- Position the stamp: Place the chosen letter stamp vertically on the marked spot. Ensure it’s straight and fully flat against the surface.
- Strike firmly and once: Using the ball-peen hammer, deliver one strong, controlled blow. Do not tap repeatedly—this distorts the impression.
- Repeat for each character: Move sequentially across the line, leaving consistent spacing. Use a spacer tool or small ruler between letters if needed.
- Add second line if necessary: Repeat the process below the first line, ensuring vertical alignment.
- Inspect and correct: Check for crooked stamps or double-hits. Minor misalignments are normal; avoid re-stamping unless absolutely necessary.
“Consistency in hammer force and stamp angle is more important than strength. A steady hand produces cleaner results than brute force.” — Daniel Reyes, Metal Craft Instructor at Artisan Forge School
Finishing and Polishing Techniques
After stamping, the tag will have sharp edges and visible tool marks. Proper finishing enhances both safety and appearance.
Begin by smoothing the perimeter with coarse sandpaper, then progress to finer grits for a polished edge. For the face of the tag, lightly sand around the stamped letters to reduce glare and highlight the impressions. Some artisans prefer a brushed finish using a fine steel wool pad, while others opt for a mirror polish with metal buffing compound.
To protect the metal and deepen the contrast of the stamped text, consider applying a patina solution:
- For brass or copper: Use liver of sulfur to darken recessed areas.
- For steel or aluminum: A blackening agent or even a diluted Sharpie marker can enhance readability.
Wipe excess off with a soft cloth, leaving pigment only in the stamped depressions. Finish with a clear acrylic sealant spray to prevent tarnishing, especially for outdoor-use tags.
Real Example: Crafting Tags for a Rescue Organization
Sarah Thompson, a volunteer for Paws & Pathways Rescue in Oregon, began making custom stamped tags after noticing that donated collars often came with flimsy, generic ID plates. She invested $80 in basic stamping tools and aluminum blanks and started producing tags with each dog’s name and a toll-free adoption hotline.
Using a stencil template, she standardized spacing and improved consistency across batches. Within three months, her handcrafted tags became a signature feature of the organization’s adoptable pets. “Families told us the personal touch made them feel more connected,” Sarah said. “One couple even kept the tag as a keepsake after their dog passed.” Her process now includes engraving a small heart symbol at the bottom of each tag—a subtle but heartfelt detail achievable only through handmade craftsmanship.
Common Mistakes and How to Avoid Them
Even experienced crafters encounter challenges when stamping metal. Awareness of common pitfalls leads to better outcomes.
- Double-striking letters: Causes blurred or ghosted impressions. Always aim for a single, confident hit.
- Uneven spacing: Use a spacer gauge or thin shim stock between stamps to maintain uniform gaps.
- Slipping stamps: Ensure the stamp is perpendicular to the surface. A center punch dot helps anchor it.
- Over-tightening in the vise: Can warp thin aluminum. Clamp just enough to prevent movement.
- Skipping layout planning: Rushing into stamping often results in crooked lines or overflow. Always sketch first.
Checklist: Creating Your First Custom Dog Tag
Follow this concise checklist to stay organized and efficient:
- ☐ Select metal blank (aluminum recommended for beginners)
- ☐ Clean the blank with rubbing alcohol to remove oils
- ☐ Measure and mark text placement with a fine marker
- ☐ Secure tag in vise with soft jaws or padding
- ☐ Use center punch to mark starting point
- ☐ Align first stamp and strike once with firm hammer blow
- ☐ Continue with consistent spacing and alignment
- ☐ Sand edges and face for smooth finish
- ☐ Apply contrast enhancer (optional)
- ☐ Seal with protective coating
- ☐ Attach split ring and test on collar
Frequently Asked Questions
Can I stamp curved or shaped dog tags?
Yes, but flat surfaces yield the best results. If using a contoured tag, ensure it sits flush in the vise. Curved backs are acceptable as long as the front face is flat where stamping occurs.
What if I make a mistake while stamping?
Metal doesn’t forgive errors easily. Minor misalignments can be left as character. For major errors, consider repurposing the tag as a practice piece or filing it down for reuse. Some crafters embrace \"imperfect\" tags as part of the handmade charm.
Are stamped tags durable enough for daily wear?
Absolutely. When made with quality metal and sealed properly, stamped tags withstand years of outdoor exposure. Stainless steel and brass offer the longest lifespan, especially for dogs that swim or hike frequently.
Final Thoughts and Next Steps
Creating custom stamped dog tags at home blends practicality with personal expression. It’s a skill that grows richer with practice—each tag becomes a small testament to care, attention, and intention. Beyond serving as vital identification, these handmade pieces often become cherished keepsakes, passed down or saved long after a pet is gone.
Start simple: choose aluminum, practice on scrap blanks, and focus on clean, even impressions. As your confidence builds, experiment with fonts, layouts, and finishes. Share your creations with local shelters, turn them into thoughtful gifts, or build a side business rooted in craftsmanship.


 浙公网安备
33010002000092号
浙公网安备
33010002000092号 浙B2-20120091-4
Comments
No comments yet. Why don't you start the discussion?