
Managing a Facebook Page comes with responsibilities, but there are times when maintaining one no longer makes sense. Whether you're rebranding, closing a business, or simply stepping away from an online presence, knowing how to properly delete a Facebook Page is essential. Unlike deactivating or abandoning a page, deletion removes it permanently—along with all posts, photos, likes, and comments. This guide walks through the entire process, offers practical advice, and highlights what you need to know before taking the final step.
Understanding Facebook Page Deletion vs. Disabling
Before initiating any action, it's crucial to understand the difference between deleting and disabling (or unpublishing) a Facebook Page. A disabled page is hidden from public view but can be restored at any time. In contrast, deletion is irreversible. Once confirmed, the page and all its content are gone forever, usually within 14 to 30 days after initiation.
Facebook also allows admins to transfer ownership before deletion, which is ideal if someone else will take over management. However, once deleted, no data can be recovered—even by Facebook support teams.
Step-by-Step Guide to Deleting a Facebook Page
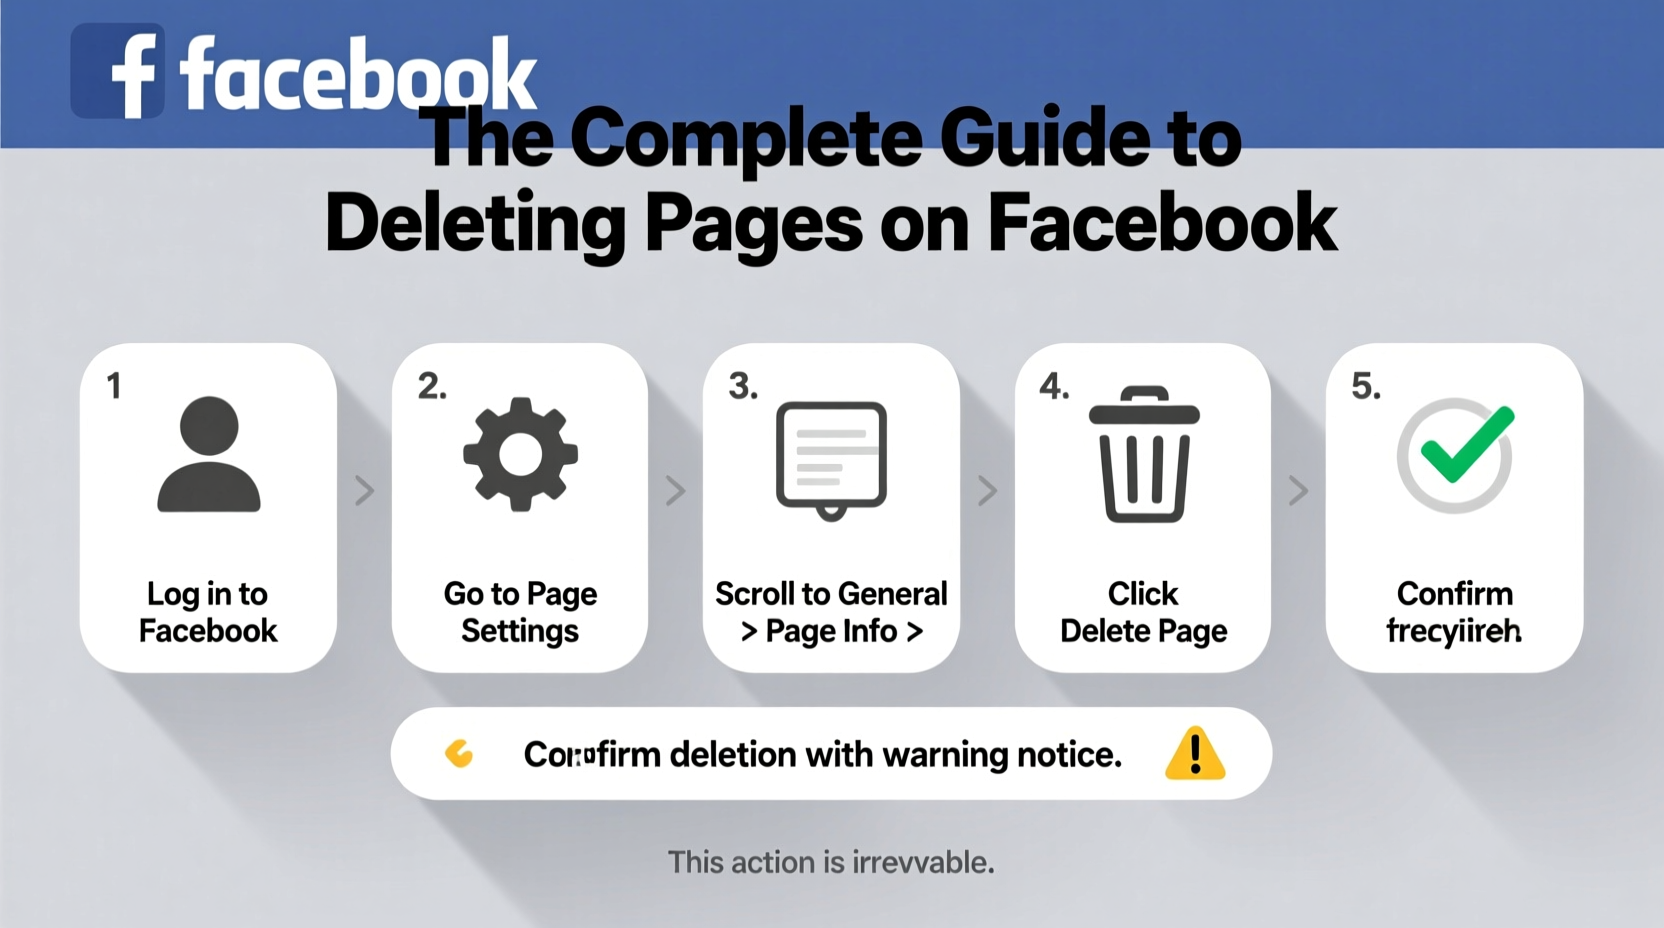
Deleting a Facebook Page requires admin privileges and access to the account settings. Follow these steps carefully to ensure a smooth and complete removal.
- Log in to Facebook using the account that has admin rights to the page.
- Go to your Facebook Page by clicking on the profile icon and selecting the page from the dropdown menu.
- Navigate to Settings & Privacy > Settings in the top right corner of your news feed.
- In the left sidebar, click on Pages.
- Select the page you want to delete from the list of managed pages.
- Scroll down and locate the Remove Page option under the General section.
- Click Delete Page, then confirm your choice by entering your password.
- Wait for Facebook’s confirmation email and follow any additional verification steps.
Note: After initiating deletion, the page enters a grace period during which it can still be canceled. This window typically lasts 14 days, though Facebook may extend it based on activity or region.
What Happens During the Grace Period?
During the deletion waiting period, the page remains visible to the public but is marked as “Pending Deletion.” Admins can reverse the process by visiting the Settings panel and selecting “Cancel Deletion.” After the grace period ends, Facebook permanently erases all associated data, including messages, reviews, and insights.
Pre-Deletion Checklist: What to Do Before Removing Your Page
Deleting a page without preparation can lead to lost content, broken links, or frustrated followers. Use this checklist to ensure you’ve covered every critical step before proceeding.
- ✅ Back up important photos, videos, and posts
- ✅ Download your Page Insights and analytics data
- ✅ Notify your audience about the upcoming closure
- ✅ Respond to pending messages or customer inquiries
- ✅ Update external websites or marketing materials linking to the page
- ✅ Transfer admin roles if handing over control instead of deleting
- ✅ Remove any active ads or promotions tied to the page
Common Challenges and How to Avoid Them
Many users encounter obstacles when trying to delete a page. Some common issues include lack of admin access, unresolved monetization settings, or confusion between personal profiles and business pages.
| Issue | Solution |
|---|---|
| You’re not an admin | Contact current admins to assign you admin rights or remove the page themselves |
| “Delete Page” option missing | Ensure the page isn’t linked to an active ad account or Instagram profile |
| Page won’t delete after confirmation | Check for pending verifications; wait 24 hours and retry |
| Team members still have access | Remove all other admins before initiating deletion |
“We’ve seen businesses lose years of engagement because they deleted their page without backing up testimonials or customer interactions. Always preserve your digital legacy before pulling the trigger.” — Lena Patel, Digital Strategy Consultant
Real Example: Closing a Local Bakery’s Facebook Page
Sarah ran a small bakery called “Sweet Rise” for three years. When she decided to retire, she wanted to close her Facebook Page respectfully. She started by posting a farewell message thanking customers and sharing memories. Over the next week, she downloaded all photos and customer reviews, saving them to a private album. She canceled her ongoing promotion campaign and removed her Instagram link. Only after completing these steps did she initiate the deletion process. Two weeks later, the page was gone—but her community appreciated the thoughtful closure.
This example shows that responsible deletion isn’t just technical—it’s also about communication and respect for your audience.
Frequently Asked Questions
Can I recover a deleted Facebook Page?
No. Once the deletion process completes (after the 14–30 day grace period), the page and all its content are permanently erased. No recovery options exist, even through Facebook support.
Do I need to delete my personal account to remove a Page?
No. Personal accounts and Pages are separate entities. You can delete a Page while keeping your personal profile active. However, if your personal account is deleted, any Pages where you were the sole admin may also be removed automatically.
Why can’t I see the ‘Delete Page’ option?
The option may be unavailable if: (1) You aren’t a confirmed admin, (2) The page is linked to an active ad account, (3) It’s connected to an Instagram profile, or (4) It has outstanding monetization settings like fan subscriptions. Resolve these first before attempting deletion.
Final Tips for a Smooth Transition
Deleting a Facebook Page should be a deliberate decision, not a rushed reaction. Take time to assess whether archiving or transferring ownership might better suit your needs. If deletion is the right path, do it methodically. Preserve valuable content, inform your audience, and double-check all connections.
Remember: Social media footprints can last longer than expected. Even after deletion, cached versions or screenshots may exist elsewhere online. For maximum privacy, consider notifying key contacts directly and updating any directories listing your page URL.
Conclusion
Removing a Facebook Page doesn’t have to be stressful. With the right preparation and understanding of the process, you can close this chapter cleanly and confidently. Whether you're moving on from a project, retiring a brand, or simplifying your digital life, taking control of your online presence starts with informed decisions. Follow the steps outlined here, use the checklist, and make sure every loose end is tied before hitting delete.


 浙公网安备
33010002000092号
浙公网安备
33010002000092号 浙B2-20120091-4
Comments
No comments yet. Why don't you start the discussion?