
Baling hay is a critical step in livestock farming, ensuring animals have access to quality feed throughout the year. For beginners, the process can seem overwhelming—balancing weather conditions, equipment use, and proper technique requires knowledge and planning. Done correctly, hay baling preserves nutritional value, reduces waste, and supports long-term farm sustainability. This guide walks through every essential aspect of efficient hay baling, from mowing to storage, so new farmers can produce high-quality bales with confidence.
Understanding Hay Types and Their Ideal Baling Conditions
The first step toward successful baling is understanding the type of hay you're working with. Common varieties include alfalfa, timothy, orchardgrass, and mixed legume-grass blends. Each has unique moisture requirements, drying times, and nutrient profiles that influence when and how they should be baled.
Moisture content is one of the most crucial factors. Baling hay too wet leads to mold growth and spontaneous combustion due to microbial activity. Baling too dry results in leaf shatter, reducing protein content and palatability. The ideal moisture range varies by bale type:
| Hay Type | Optimal Moisture for Small Square Bales (%) | Optimal Moisture for Large Round Bales (%) |
|---|---|---|
| Alfalfa | 18–20 | 14–16 |
| Grass Hay (Timothy, Orchardgrass) | 18–22 | 15–17 |
| Legume-Grass Mix | 18–20 | 15–16 |
Use a calibrated moisture tester to verify levels before baling. Guessing based on appearance alone is unreliable and risky.
Essential Equipment and Pre-Baling Preparation
Efficiency starts long before the baler hits the field. Proper preparation ensures smooth operations and minimizes mechanical downtime. Key equipment includes a mower-conditioner, rake, baler (square or round), and a reliable tractor with sufficient PTO horsepower.
Before the season begins, conduct a full inspection of all machinery:
- Lubricate chains, belts, and bearings according to manufacturer guidelines.
- Check tire pressure on tractors and implements.
- Inspect knives and guards on the mower-conditioner for wear.
- Verify that the baler’s tension settings are appropriate for your bale size and type.
- Ensure safety shields and PTO guards are intact.
Calibrate the baler to produce consistent bale weight and density. Overly dense bales are harder to handle and may retain internal moisture, while loose bales fall apart during transport.
“Pre-season maintenance cuts breakdowns by over 60%. A few hours of prep saves days of delays.” — Dr. Mark Reynolds, Agricultural Extension Specialist, University of Nebraska-Lincoln
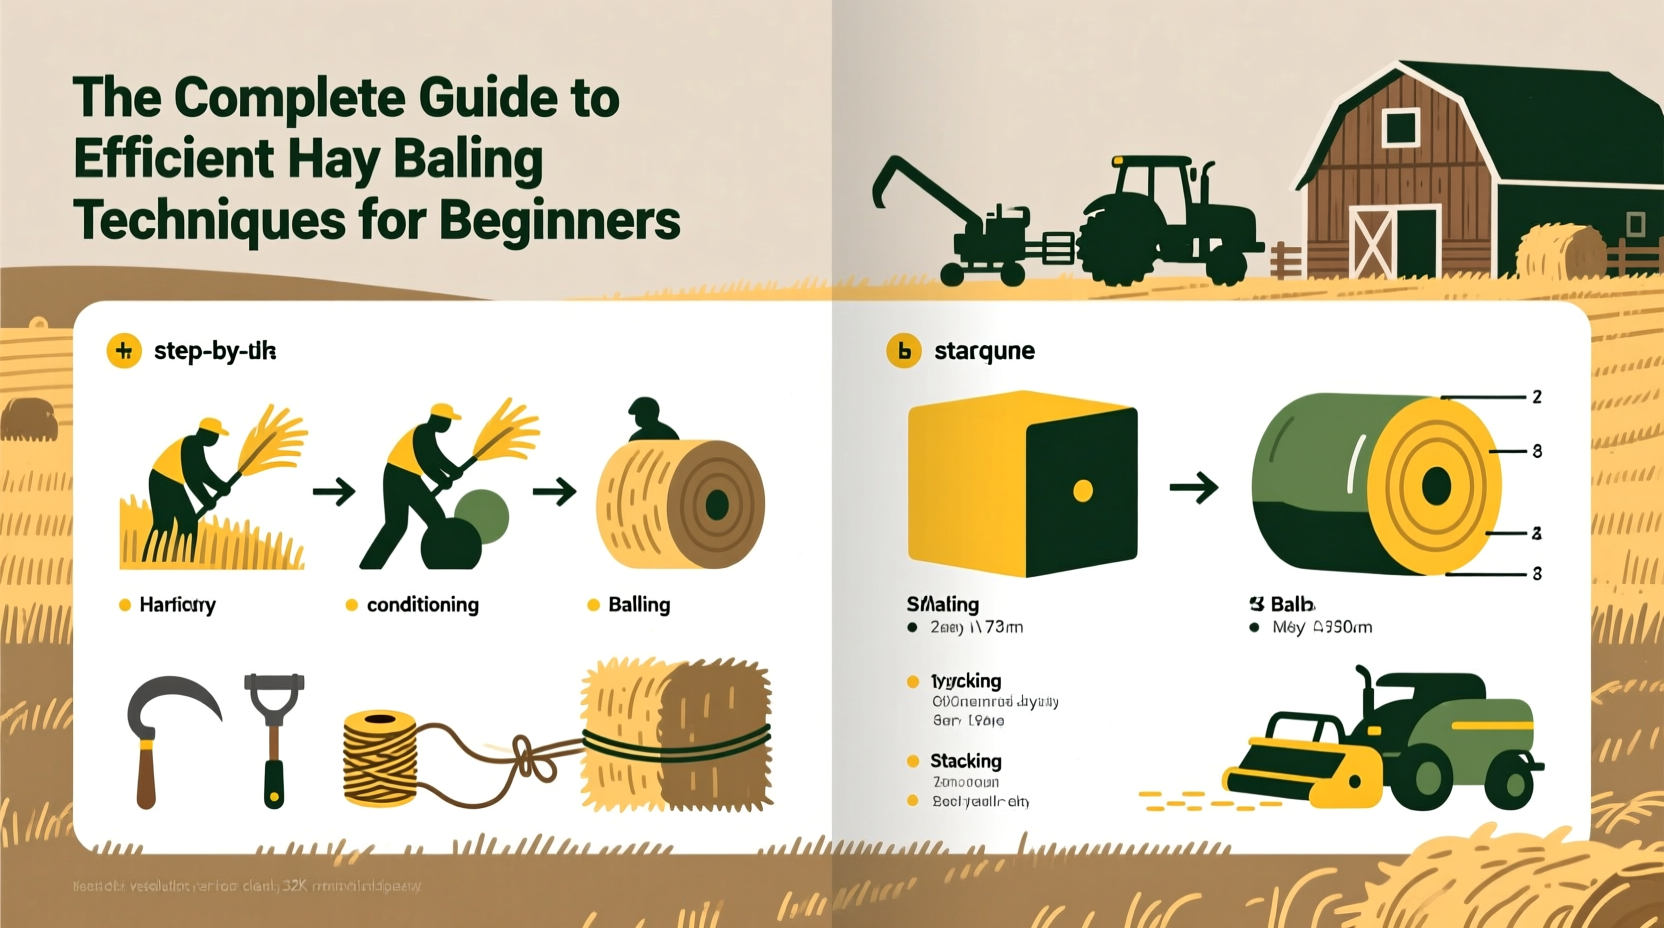
Step-by-Step Guide to Efficient Field Operations
Success in hay baling comes from a logical sequence of field operations. Follow this timeline for optimal results:
- Mow at the right stage: Cut hay when plants reach peak nutritional value—typically early bloom for legumes, boot to early heading for grasses.
- Condition immediately: Use a conditioner to crimp or crush stems, accelerating drying time by up to 50%.
- Allow proper drying: Turn hay with a tedder if needed, especially in humid climates. Aim for uniform curing across the swath.
- Rake at the right time: Rake in the late afternoon or early morning when dew adds slight moisture, reducing leaf loss. Avoid raking when hay is bone dry.
- Bale promptly after raking: Delay increases exposure to rain and overnight dew. Work in sync with weather forecasts.
- Stack and move quickly: Use a bale spear or grapple to move large bales off the field to prevent ground moisture absorption.
Avoiding Common Mistakes: Do’s and Don’ts
Even experienced farmers make errors under time pressure. Beginners can avoid costly mistakes by following these guidelines:
| Do’s | Don’ts |
|---|---|
| Test moisture before baling | Never bale damp hay to “save a cutting” |
| Keep equipment clean and sharp | Ignore worn belts or slipping PTO shafts |
| Bale during cooler parts of the day | Bale in midday heat when leaves are brittle |
| Store bales on elevated, well-drained surfaces | Leave bales sitting directly on bare soil |
| Rotate bale stacking to allow air circulation | Pile bales tightly without ventilation |
Real Example: How a Beginner Farmer Improved Baling Efficiency
Jason Miller, a first-year hay producer in central Iowa, initially struggled with moldy round bales. His first batch, baled after a light evening dew, developed hot spots within two weeks. After consulting his local extension office, he learned he had baled at nearly 24% moisture—well above the safe threshold.
The following season, Jason invested in a portable moisture tester and adjusted his schedule. He began mowing at 8 a.m., tedding once, then raking late in the afternoon. By baling the next morning, he consistently achieved 15–16% moisture. His bales remained mold-free, and feed tests showed higher crude protein retention. More importantly, he reduced losses from 30% to under 8%, significantly improving profitability.
Storage Best Practices for Long-Term Quality Preservation
Baling isn’t the final step—how you store hay determines its shelf life and usability. Exposure to rain, humidity, and direct ground contact can ruin even perfectly baled hay.
Follow this checklist for effective storage:
- Elevate bales using tires, pallets, or gravel pads to prevent wicking of ground moisture.
- Store under a roof whenever possible. Three-sided sheds work well for large round bales.
- If storing outdoors, orient bales north-south to maximize sun exposure and minimize shading.
- Cover round bales with breathable tarps or wrap them in plastic netting to shed water while allowing vapor escape.
- Leave space between rows (at least 3 feet) for airflow and inspection.
- Use older bales first—practice FIFO (First In, First Out) inventory rotation.
Frequently Asked Questions
How long does it take to dry hay before baling?
Drying time depends on weather, crop type, and conditioning. Under ideal conditions (sunny, low humidity, good airflow), most hay takes 2–4 days to cure. Grasses generally dry faster than legumes like alfalfa. Tedding can reduce drying time by one full day.
Can I bale hay after it gets wet?
Yes, but only after it has fully dried again. Re-wetted hay must be re-raked and tested for moisture before baling. Mold risk increases significantly, so inspect closely. If the hay smells musty or shows discoloration, it’s better to leave it in the field as mulch than risk animal health.
What’s the difference between small square and large round bales?
Small square bales (typically 40–60 lbs) are easier to handle manually and ideal for small farms or horse owners. Large round bales (800–1,200 lbs) are more efficient for large-scale operations but require heavy equipment for moving. Round bales have a higher surface-to-volume ratio, making them more prone to spoilage if not stored properly.
Conclusion: Start Smart, Bale Better
Efficient hay baling is not just about machinery—it’s a blend of timing, technique, and attention to detail. Beginners who invest time in learning proper methods from the start will save money, reduce waste, and produce higher-quality feed. From monitoring moisture and maintaining equipment to mastering field operations and storage, each step contributes to overall success.


 浙公网安备
33010002000092号
浙公网安备
33010002000092号 浙B2-20120091-4
Comments
No comments yet. Why don't you start the discussion?