
Whether you're creating tutorials, capturing gameplay, recording voiceovers, or documenting online meetings, your MacBook Air is more than capable of handling high-quality audio and screen recordings. With the right techniques and tools, you can produce professional-grade content without investing in expensive hardware or software. This guide walks you through everything you need to know—from using native macOS features to optimizing settings and avoiding common pitfalls.
Why Your MacBook Air Is Perfect for Recording
The MacBook Air, especially models from 2020 onward, comes equipped with powerful processors, high-fidelity microphones, and crisp Retina displays—making it ideal for both audio and visual capture. Apple’s ecosystem also integrates seamlessly with its built-in recording tools, ensuring smooth performance even during extended sessions.
Unlike external setups that require configuration and compatibility checks, the MacBook Air offers plug-and-play simplicity. Whether you're a student, educator, podcaster, or content creator, leveraging your device's full potential starts with understanding how to use its capabilities effectively.
Using Built-In Tools: QuickTime Player and Screenshot Utility
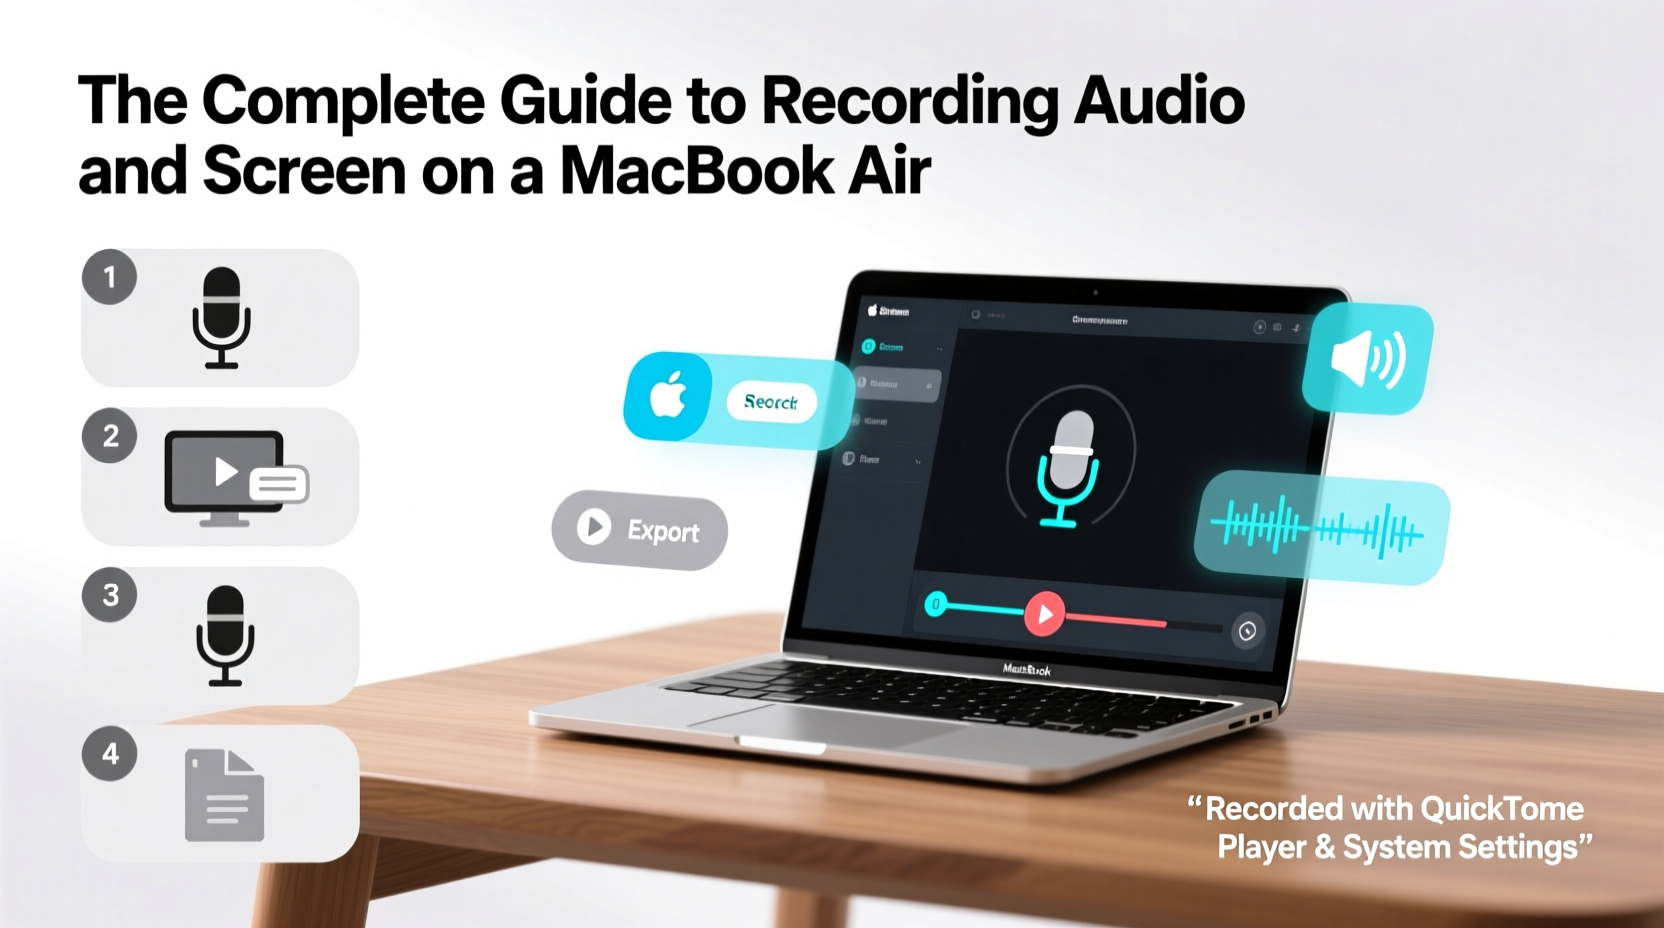
macOS includes two powerful tools for recording: QuickTime Player and the Screenshot utility (activated via Command + Shift + 5). Both are reliable, easy to use, and require no downloads.
Recording Your Screen with QuickTime Player
- Open QuickTime Player from your Applications folder.
- Go to File > New Screen Recording.
- In the popup window, click the arrow next to the record button to choose your microphone and enable/disable audio narration.
- Select whether to record the entire screen or a portion by dragging.
- Click the red record button, then start your session.
- To stop, click the stop icon in the menu bar or press Command + Control + Esc.
The recording saves as an .mov file, which supports high-quality video and audio. You can later trim or export it using QuickTime’s editing tools.
Capturing with the Screenshot Tool (Command + Shift + 5)
This modern utility allows screen and audio recording with greater flexibility:
- Press Command + Shift + 5 to open the control panel.
- Choose “Record Entire Screen” or “Record Selected Portion.”
- Click “Options” to select microphone input (internal or external), set save location, and toggle cursor visibility.
- Click “Record” and begin your capture.
This method is ideal for quick captures and integrates well with macOS organizational features like desktop folders and iCloud Drive.
Best Third-Party Apps for Advanced Recording
While built-in tools suffice for basic needs, third-party applications offer enhanced features such as multi-track audio, webcam overlays, editing suites, and cloud sharing.
| App | Key Features | Best For | Pricing |
|---|---|---|---|
| ScreenFlow | Multi-track editing, animations, callouts, audio enhancement | Tutorials, marketing videos | $149 (one-time) |
| Camtasia | Editing timeline, transitions, quizzes | Educational content | $299/year |
| OBS Studio | Free, open-source, live streaming, scene switching | Streaming, podcasting | Free |
| Audio Hijack | Advanced audio routing, per-app recording | Podcasters, musicians | $64 (one-time) |
OBS Studio, in particular, has gained popularity among creators due to its robust customization options and support for real-time previews. It allows you to layer webcams, background images, and multiple audio sources—ideal for YouTube videos or virtual presentations.
“OBS gives you studio-level control over your recordings without taxing your MacBook Air’s performance when configured properly.” — Jordan Lee, Digital Media Producer
Optimizing Audio Quality: Tips and Settings
Even the best screen recording falls flat with poor audio. The MacBook Air’s internal microphones are surprisingly good, but they pick up ambient noise easily. To improve clarity:
- Use an external microphone like the Shure MV7 or Rode NT-USB for voiceovers or interviews.
- Reduce background noise by closing windows, turning off fans, and choosing quiet rooms.
- Adjust input levels in System Settings > Sound > Input to avoid clipping.
- Test before recording: Record a 10-second clip and play it back to check volume and clarity.
If using third-party apps like Audio Hijack or OBS, route audio through filters such as noise suppression and compression to enhance professionalism. These adjustments make a noticeable difference in final output quality.
Step-by-Step: Creating a Polished Tutorial Video
Follow this workflow to create a clean, engaging tutorial using only your MacBook Air:
- Plan your script – Outline key points and timing.
- Prepare your environment – Close unrelated apps, tidy desktop icons, and silence notifications.
- Set up audio – Choose microphone in QuickTime or OBS; test levels.
- Start recording – Use Command + Shift + 5 for partial screen capture with audio.
- Narrate clearly – Speak at a steady pace, emphasizing steps.
- Stop and review – Play back the clip to ensure sync and clarity.
- Edit if needed – Trim silence, add captions, or split clips using iMovie or ScreenFlow.
- Export and share – Save in MP4 format for broad compatibility.
Mini Case Study: Remote Educator Records Lecture Series
A college instructor used her M1 MacBook Air to record weekly lectures for hybrid learning. She combined the Screenshot tool with a Blue Yeti microphone and a ring light. By setting up a consistent recording space and using Command + Shift + 5 with audio enabled, she produced clear, stable videos. After three months, student feedback noted improved comprehension, attributing it to better audio clarity and visual consistency. Her total investment: under $150 (microphone and accessories).
Common Mistakes and How to Avoid Them
Even experienced users fall into traps that degrade recording quality. Here’s what to watch out for:
| Mistake | Consequence | Solution |
|---|---|---|
| Forgetting to select audio source | No sound or system-only audio | Always verify microphone selection in recording app settings |
| Overloading storage during long sessions | Crashes or incomplete files | Ensure at least 5GB free space per hour of HD recording |
| Recording with dim lighting or cluttered screen | Hard-to-follow visuals | Use dark mode, increase font size, and declutter workspace |
| Not charging before long recordings | Unexpected shutdowns | Plug in your MacBook Air before starting |
FAQ
Can I record system audio only on MacBook Air?
macOS does not natively allow direct system audio recording due to privacy restrictions. However, you can use third-party tools like BlackHole (free) or Audio Hijack to route and capture internal audio.
How long can I record continuously?
There’s no time limit imposed by macOS. Duration depends on available storage and battery life. A 256GB model can store roughly 20 hours of HD screen recordings. For longer sessions, connect to power and monitor disk usage.
Is it legal to record Zoom or Teams meetings?
Legality depends on consent. In many regions, all parties must be informed and agree to being recorded. Always notify participants and comply with institutional or company policies.
Final Checklist Before You Record
- ✅ Test microphone and speakers
- Do a short sample to check levels and background noise.
- ✅ Choose correct recording area
- Decide between full screen or selected portion.
- ✅ Enable audio input
- Ensure your preferred mic is selected in the recording tool.
- ✅ Close distracting apps
- Turn off email alerts, Messages, and calendar pop-ups.
- ✅ Save to appropriate location
- Set default save folder to avoid losing files.
- ✅ Plug in power
- Prevent sleep mode or shutdown during long sessions.
Conclusion
Your MacBook Air is a versatile tool capable of producing broadcast-quality audio and screen recordings with minimal setup. From QuickTime to advanced platforms like OBS and ScreenFlow, the options cater to every skill level and purpose. By focusing on audio clarity, proper preparation, and smart workflows, you can consistently deliver polished content that informs, engages, and impresses.


 浙公网安备
33010002000092号
浙公网安备
33010002000092号 浙B2-20120091-4
Comments
No comments yet. Why don't you start the discussion?