
Capturing your computer screen with synchronized audio and video has become essential for creating tutorials, presentations, gameplay footage, online courses, and remote collaboration. Whether you're a teacher explaining a concept, a developer documenting a bug, or a content creator producing walkthroughs, high-quality screen recordings elevate your message. Yet many struggle with poor audio, choppy playback, or confusing software choices. This guide breaks down everything you need to know—from selecting tools to optimizing settings—so your recordings are professional, clear, and effective.
Choosing the Right Screen Recording Software
The first step in successful screen recording is selecting software that fits your operating system, skill level, and output needs. Options range from built-in utilities to advanced third-party applications.
| Software | Platform | Best For | Audio Support |
|---|---|---|---|
| Windows Game Bar | Windows 10/11 | Quick captures, gaming | System + mic |
| QuickTime Player | macOS | Basic screencasts | Mic only (system requires third-party tool) |
| OBS Studio | Windows, macOS, Linux | Advanced users, live streaming | Full control over sources |
| Loom | All (web & desktop) | Remote teams, quick sharing | System + mic (Pro plan) |
| Camtasia | Windows, macOS | Professional editing, tutorials | System + mic + webcam |
For beginners, Loom or QuickTime offer simplicity. Intermediate users may prefer OBS Studio for its flexibility. Professionals who edit heavily benefit from Camtasia or Adobe Premiere Pro in combination with screen capture tools.
Configuring Audio Sources Correctly
Poor audio is the most common reason screen recordings fail to engage viewers. Even with flawless video, muffled, distorted, or missing audio undermines credibility.
To record both system audio (what plays through your speakers) and microphone input (your voice), ensure your software supports multi-source audio capture. Many default tools like QuickTime do not capture internal system sound without additional drivers like BlackHole (macOS) or VoiceMeeter (Windows).
In OBS Studio, for example, go to Settings > Audio and add both “Desktop Audio” and “Mic/Auxiliary Audio.” Test levels under the mixer panel so neither overpowers the other. Aim for your voice to sit slightly above background sounds—around -6dB on peaks—to maintain clarity.
“Over 70% of viewer drop-off in tutorial videos happens within the first 30 seconds due to poor audio quality.” — Dr. Alan Reed, Media Usability Researcher, Stanford University
Common Audio Pitfalls to Avoid
- Recording in noisy environments (e.g., fans, traffic, roommates)
- Using low-quality built-in laptop microphones
- Allowing audio clipping by speaking too loudly or setting input gain too high
- Failing to monitor audio with headphones during recording
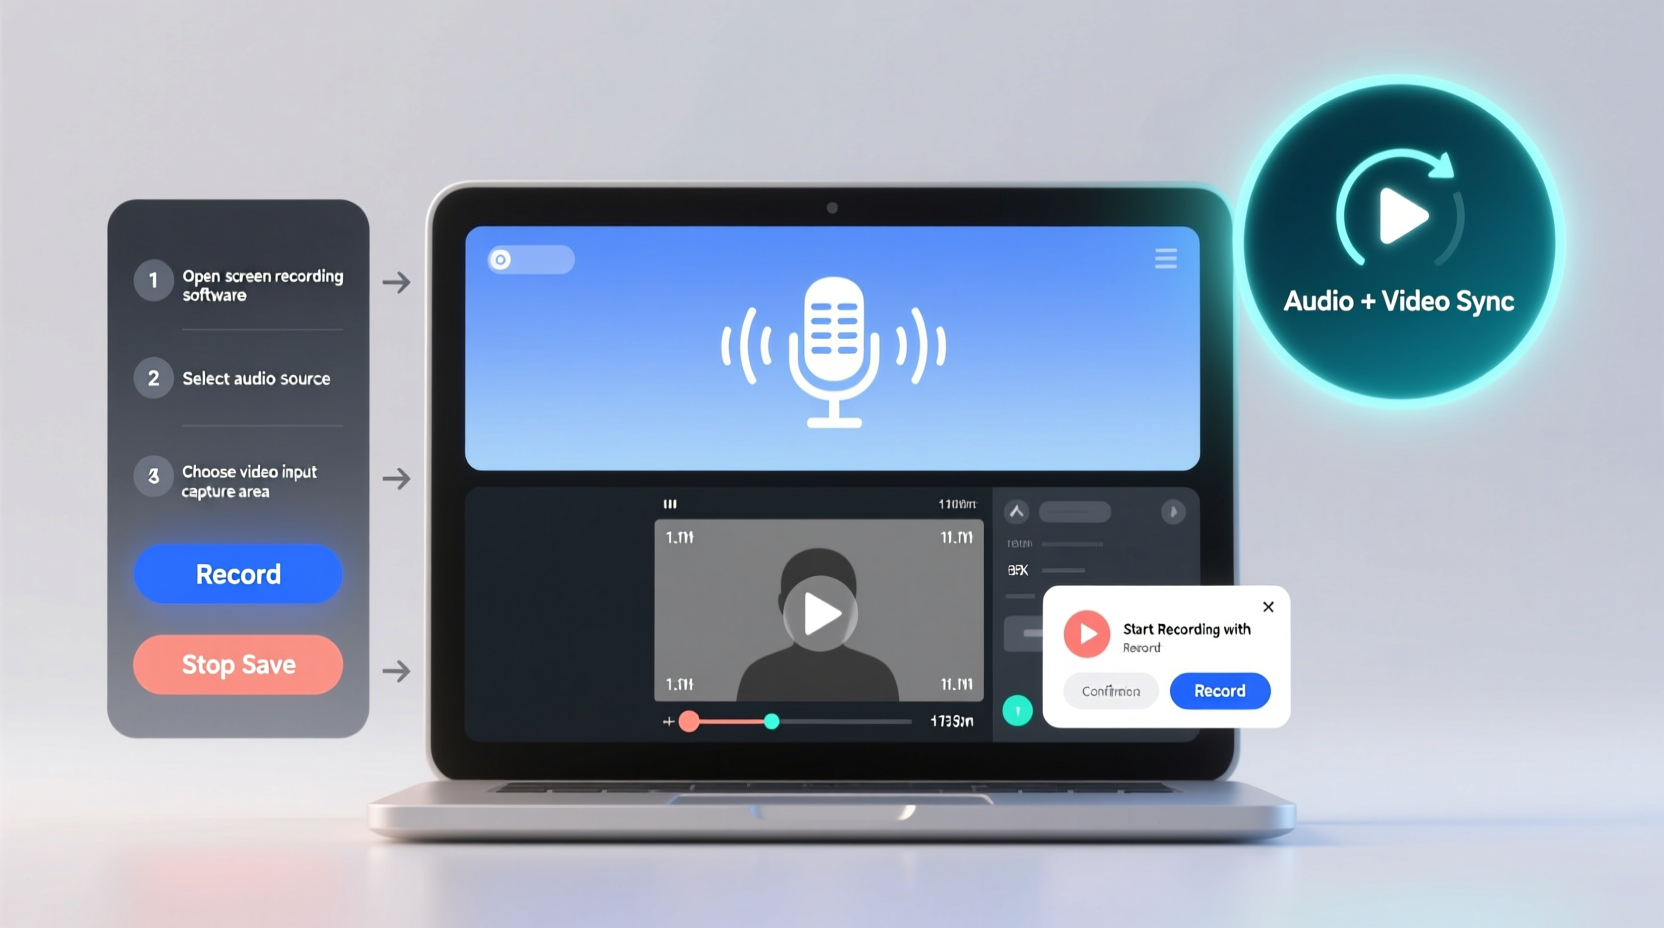
Step-by-Step Guide to Recording Your Screen with Audio
Follow this sequence to produce clean, professional-grade screen recordings every time.
- Prepare your environment: Close unnecessary applications, silence notifications, and tidy your desktop.
- Choose your recording area: Select full screen, a single window, or a custom region depending on your focus.
- Set up audio inputs: In your software, enable both microphone and system audio if needed.
- Test audio levels: Speak naturally into the mic and adjust input volume so the meter reaches but does not exceed the yellow zone.
- Position your webcam (if used): Frame yourself in the corner with good front lighting—avoid backlighting from windows.
- Start recording: Give yourself a three-second countdown before beginning your script.
- Narrate clearly: Speak at a moderate pace, enunciate, and pause between points.
- Stop and review: Play back the first minute to check sync, clarity, and visual framing.
- Edit if necessary: Trim silences, enhance audio, and add captions using editing tools.
- Export in the right format: Use MP4 (H.264) for broad compatibility and small file size.
Optimizing Video Quality and Performance
High-resolution screen recordings demand processing power. Balancing quality with performance ensures smooth capture without lag or dropped frames.
Set your recording resolution to match your screen (e.g., 1920x1080). For web delivery, 1080p is ideal; for archival or zoom-heavy content, consider 4K if your hardware supports it. Frame rate should typically be 30fps unless capturing fast motion (like gaming), where 60fps improves fluidity.
In OBS or Camtasia, use the x264 encoder with a bitrate between 10,000–20,000 kbps for 1080p. Higher bitrates preserve detail but increase file size. Lower values may cause compression artifacts, especially in text-heavy scenes.
If your system struggles during recording, reduce the resolution temporarily or close background apps. You can upscale later during editing if needed.
Hardware Recommendations
- Microphone: USB condenser mics like the Blue Yeti or Audio-Technica AT2020USB+ deliver studio-quality voice clarity.
- Headphones: Closed-back models (e.g., Sony MDR-7506) prevent audio bleed into the mic.
- Computer: At least 8GB RAM, SSD storage, and a modern CPU (Intel i5/Ryzen 5 or better) for smooth encoding.
Real-World Example: Creating an Online Course Module
Sarah, a data analyst, needed to create a 12-minute tutorial on filtering datasets in Excel for her company’s training portal. She used OBS Studio on her Windows laptop, connected a Samson Q2U microphone, and wore headphones to monitor audio.
Before recording, she closed Slack and email, disabled notifications, and arranged her Excel window cleanly. She set OBS to capture only the Excel window, added her mic and desktop audio, and tested levels. During recording, she followed a script, pausing briefly after each step to allow viewers to absorb the action.
After capturing three takes, she imported the best version into Camtasia, trimmed the start and end, boosted vocal clarity with noise reduction, and added callouts highlighting key buttons. The final export was a 1080p MP4 file under 150MB, ready for upload. Feedback from colleagues praised the audio clarity and pacing—proof that preparation pays off.
Checklist: Ready to Record?
Use this checklist before hitting \"Record\" to avoid common mistakes:
- ✅ Notifications turned off
- ✅ Microphone and audio sources selected
- ✅ Audio levels tested and balanced
- ✅ Webcam positioned (if used)
- ✅ Desktop cleaned of sensitive or irrelevant files
- ✅ Script or outline prepared
- ✅ Recording area defined (full screen, window, region)
- ✅ Headphones plugged in for monitoring
- ✅ Sufficient disk space available (at least 2GB per 10 minutes of 1080p)
- ✅ Backup power connected (for laptops)
Frequently Asked Questions
Can I record system audio on Mac without third-party tools?
No, macOS does not allow direct system audio capture in most apps. You’ll need a virtual audio driver like BlackHole to route internal sound to your recording software.
Why is my audio out of sync with the video?
Desynchronization often occurs due to encoding delays or incorrect sample rates. Ensure your audio device runs at 44.1kHz or 48kHz consistently across all apps. In editing software, you can manually align tracks if needed.
How can I reduce file size without losing quality?
Use efficient codecs like H.264 with variable bitrate (VBR) encoding. Also, crop unused screen areas and lower frame rate to 30fps if motion is minimal. Tools like HandBrake can compress exports effectively.
Final Thoughts and Next Steps
Recording your computer screen with crisp audio and smooth video isn’t magic—it’s methodical. The difference between amateur and professional results lies in preparation, tool selection, and attention to detail. Once you’ve mastered the basics, experiment with overlays, annotations, and multi-track editing to make your content even more engaging.


 浙公网安备
33010002000092号
浙公网安备
33010002000092号 浙B2-20120091-4
Comments
No comments yet. Why don't you start the discussion?