
Door knobs wear out, styles change, or you may need to replace a malfunctioning latch. Whatever the reason, removing a door knob is one of the most straightforward DIY tasks in home maintenance—if you know how. Most people assume it requires special skills or tools, but with the right approach, you can remove any interior or exterior door knob in under ten minutes. This guide walks you through every step, from identifying your knob type to troubleshooting stubborn hardware.
Understanding Door Knob Types
Not all door knobs are created equal. The removal method depends on the design and mounting style. The three most common types are:
- Passage Knobs: Used on closets or rooms that don’t require locking.
- Privacy Knobs: Found on bathrooms and bedrooms, featuring a lock button or turn mechanism.
- Entry Knobs: Typically used on front doors, paired with a keyed lock cylinder.
While their functions differ, the core removal process remains similar. The key variation lies in how the internal mechanism is accessed—especially the location of the release pin or screw.
“Knowing your knob type prevents unnecessary force. A little inspection saves time and protects your door.” — Marcus Reed, Residential Carpenter with 18 years of experience
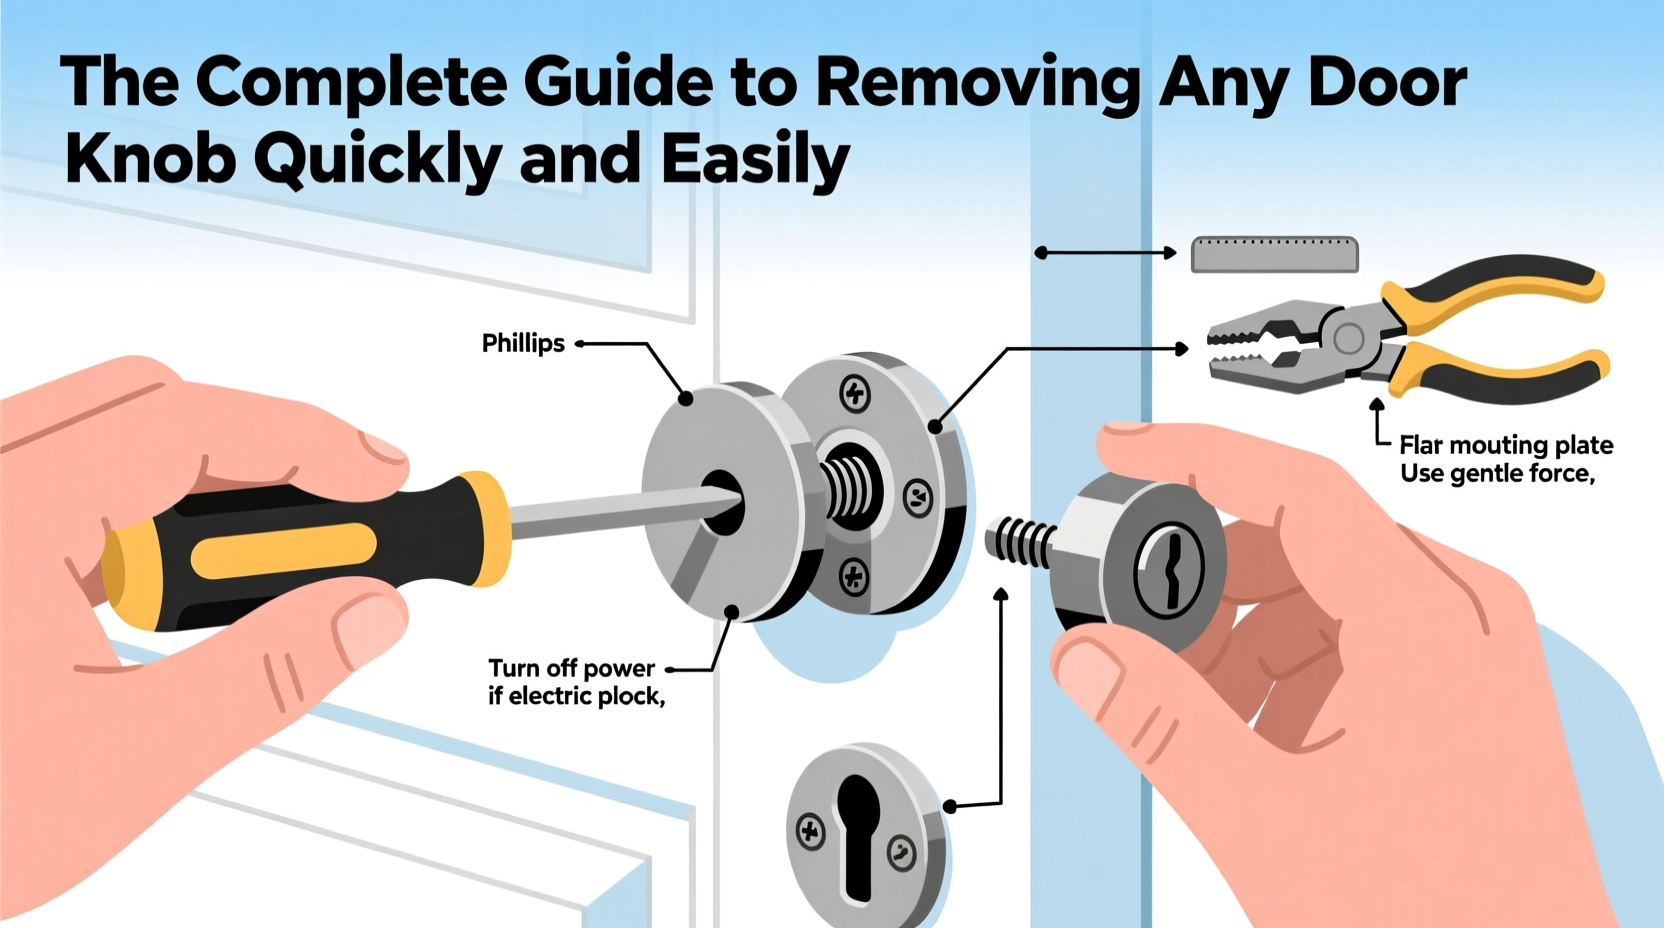
Tools You’ll Need
You likely already have everything required. Here’s what to gather before starting:
- Flathead or Phillips screwdriver (depending on visible screws)
- Allen wrench (if your knob has recessed set screws)
- Needle-nose pliers (optional, for small parts)
- Small flashlight (helpful for locating hidden slots)
- Soft cloth (to protect finishes during handling)
Step-by-Step Removal Process
Follow this universal sequence to safely remove any standard door knob without damaging the door or hardware.
- Inspect the Knob for Release Mechanisms
Look closely at the sides of the knob shaft between the knob and the door face. Many modern knobs have a small pinhole or slot indicating a spring-loaded release tab. - Activate the Release Pin (If Present)
Insert a narrow flathead screwdriver or paperclip into the hole and press inward. While holding it down, pull the knob straight off the spindle. Repeat on the other side. - Remove Visible Screws (Alternative Method)
If no pinhole exists, check for screws on the edge of the faceplate (where the latch is) or along the shaft of the knob. Use the appropriate screwdriver to remove them completely. - Detach Both Knob Halves
Once screws are removed or the release pin is triggered, gently pull each knob half away from the door. They should slide off easily. - Unscrew the Faceplate and Latch Assembly
After removing the knobs, use a screwdriver to take out the two screws securing the latch plate on the edge of the door. Slide the entire latch mechanism out from the bored hole. - Label and Store Parts
Place screws and small components in a labeled bag if reinstalling later. This avoids misplacing critical pieces.
Troubleshooting Stubborn Knobs
Sometimes, age, paint buildup, or corrosion makes removal difficult. Try these solutions:
- If the knob won’t budge after pressing the pin, tap the spindle lightly with a rubber mallet to loosen internal components.
- Use penetrating oil like WD-40 around the base if rust is suspected.
- For painted-over seams, carefully score around the faceplate with a utility knife to break the seal.
Do’s and Don’ts When Removing Door Knobs
| Do’s | Don’ts |
|---|---|
| Inspect for hidden pins or screws first | Don’t force the knob off without checking the release mechanism |
| Use proper-sized tools to avoid stripping screws | Don’t use excessive leverage that could chip the door edge |
| Clean the latch bore hole before installing a new knob | Don’t leave screws loose in drawers—use a magnetic tray |
| Take photos before disassembly for reference | Don’t discard old mechanisms immediately—verify fit before disposal |
Real-World Example: Replacing a Bathroom Privacy Knob
Julie, a homeowner in Portland, noticed her bathroom door wouldn’t lock properly. The knob turned loosely, and the latch barely engaged. She decided to replace it herself. After turning off power (since the bathroom light switch was near the door), she examined the knob and spotted a tiny hole on the shank. Using a bent paperclip, she pressed the pin and pulled the knob free. On the other side, a single screw held the interior handle. Once removed, the latch came out easily. She cleaned debris from the hole, inserted the new latch, and aligned the new knob. The entire job took 12 minutes. “I saved $75 on a handyman visit,” she said. “And now the door locks smoothly.”
Checklist: Remove Any Door Knob Like a Pro
✅ Quick Removal Checklist:
- Identify knob type (passage, privacy, entry)
- Look for a release pin or access screw
- Gather correct tools (screwdriver, Allen key, etc.)
- Press pin or remove screws securing the knob
- Remove both knob halves from the spindle
- Unscrew and extract the latch assembly
- Clean bore holes and store hardware safely
Frequently Asked Questions
Can I remove a door knob without tools?
In rare cases, yes—some older models have manual clips that can be depressed by fingernails. However, most require at least a small tool to access pins or screws. Attempting removal bare-handed risks skin injury or damage to the finish.
Why won’t my knob come off after removing the screw?
The screw you removed might only secure the interior plate, not the knob itself. Check for a secondary release pin on the shaft. Also, ensure the latch is fully disengaged—sometimes tension prevents smooth removal.
Do all door knobs come off the same way?
Most follow the same principles, but manufacturers vary in where they place release mechanisms. Vintage or imported knobs may have unique designs. When in doubt, search the brand and model online for specific instructions.
Final Tips for Success
Always work slowly and deliberately. Rushing increases the risk of scratching woodwork or breaking plastic components. If replacing the knob, test-fit the new model before final tightening. Ensure the spindle length matches the door thickness—most interior doors are 1-3/8” thick, while exterior ones are typically 1-3/4”.
Conclusion: Take Control of Your Home Maintenance
Removing a door knob isn’t just about replacement—it’s about reclaiming control over your living space. Whether you’re upgrading security, refreshing decor, or fixing a broken latch, this simple skill pays dividends. With basic tools and clear guidance, anyone can do it safely and efficiently. No longer do you need to wait for a professional or struggle with confusing mechanisms. Now that you know the steps, try it yourself on your next project. Share your experience, help others learn, and keep your home functioning flawlessly—one knob at a time.


 浙公网安备
33010002000092号
浙公网安备
33010002000092号 浙B2-20120091-4
Comments
No comments yet. Why don't you start the discussion?