
Losing your dog’s identification tag—or discovering it’s cracked, faded, or illegible—can be stressful. These small metal discs carry vital information that could mean the difference between a swift reunion and weeks of uncertainty if your pet wanders off. Fortunately, replacing dog tags doesn’t have to be complicated or time-consuming. With the right approach, you can have a new, durable tag in your dog’s collar within days, often without leaving home. This guide walks you through every step—from assessing damage to choosing materials, ordering replacements, and preventing future loss.
Why Dog Tags Matter More Than You Think
Dog tags are more than just accessories; they’re essential safety tools. Unlike microchips, which require scanning at a shelter or vet clinic, dog tags provide immediate access to contact details. A passerby who finds your dog can call you directly, bypassing bureaucracy and delays.
Veterinarians and animal control experts agree: visible ID increases recovery speed. According to Dr. Lena Patel, DVM, and urban animal welfare advocate:
“Over 60% of lost dogs are returned within 24 hours when wearing legible tags. That number drops sharply when tags are missing or unreadable.” — Dr. Lena Patel, DVM
This makes timely replacement not just convenient—it’s a critical part of responsible pet ownership.
Step-by-Step: How to Replace a Lost or Damaged Dog Tag
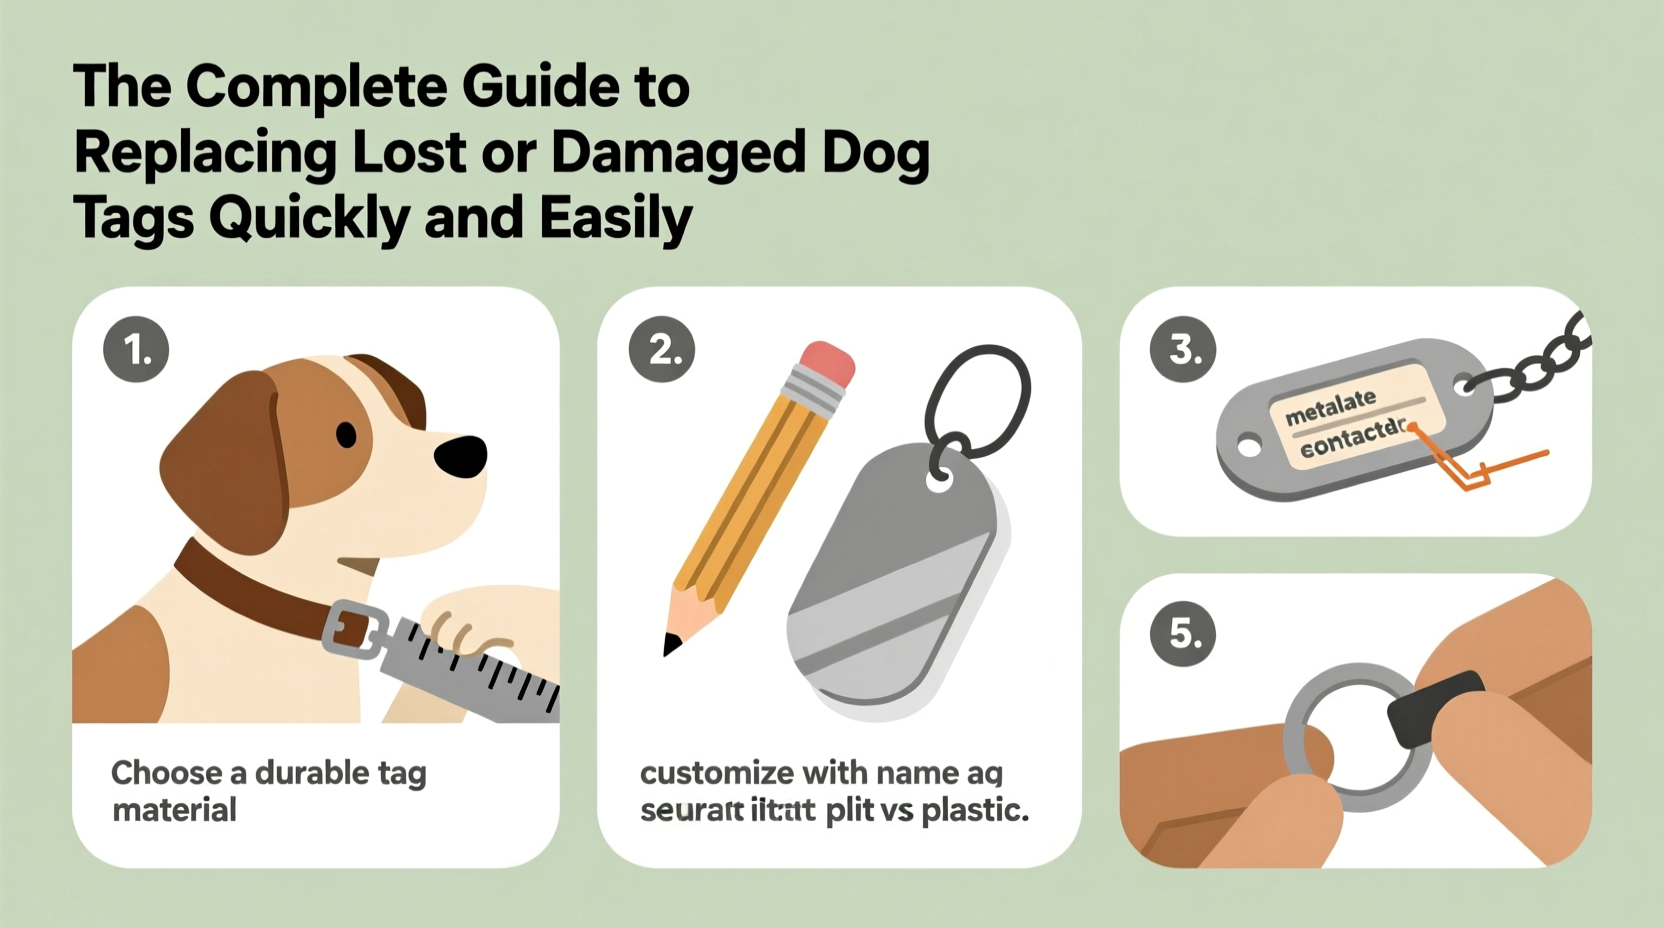
Replacing a dog tag is a straightforward process when broken into clear stages. Follow this timeline for fast results.
- Assess the Situation (Day 0): Determine whether the tag is truly lost or just buried in fur. Check bedding, favorite toys, and walking routes. If damaged, note what’s still readable.
- Gather Information (Day 0–1): Collect your current contact details, your dog’s name, and any medical alerts (e.g., “Allergic to penicillin”). If you had a custom engraving, retrieve a photo or written copy.
- Choose a Replacement Method (Day 1): Decide between online retailers, local pet stores, or DIY options based on urgency and budget.
- Order or Create the New Tag (Day 1–2): Submit your design and shipping preferences. Many services offer same-day engraving.
- Attach & Verify (Day 3–5): Once received, attach the tag securely and test legibility from 3 feet away.
Choosing the Right Material and Design
Not all dog tags are created equal. The material affects durability, noise level, and resistance to weather and chewing. Below is a comparison of common tag types.
| Material | Pros | Cons | Best For |
|---|---|---|---|
| Stainless Steel | Rust-resistant, durable, quiet | Higher cost, harder to engrave at home | Dogs with active outdoor lifestyles |
| Aluminum | Lightweight, affordable, easy to engrave | Can scratch or bend over time | Indoor dogs or budget-conscious owners |
| Brass | Classic look, naturally antimicrobial | Tarnishes without polishing, heavier | Owners prioritizing aesthetics |
| Silicone/Plastic | Quiet, chew-safe, customizable colors | Less durable, may fade in sun | Puppies or noise-sensitive households |
When designing your tag, include at minimum:
- Your dog’s name
- Your primary phone number
- A secondary contact or address (optional but recommended)
- Medical notes if applicable (e.g., “Diabetic,” “Wears hearing aid”)
Avoid overcrowding. Prioritize readability over decoration. Larger fonts and contrast between text and background improve legibility.
Where to Get Replacement Tags: Options Compared
You have several reliable paths to replacement. Each varies by speed, cost, and customization.
- Online Retailers (e.g., Etsy, Chewy, Amazon): Offer vast customization, fast turnaround (2–5 business days), and competitive pricing. Ideal for detailed designs or specialty needs.
- Pet Stores (Petco, PetSmart): Provide in-store engraving in under 10 minutes. Slightly higher per-unit cost but unbeatable for urgent needs.
- Veterinary Clinics: Some clinics keep tag engraving machines and may offer the service while you wait, especially if your pet is already there for a visit.
- DIY Engraving Kits: Affordable long-term solution if you plan to make multiple tags. Requires practice for clean results.
Real Example: Replacing Tags After a Weekend Hike
Sarah Thompson took her Labrador, Max, on a weekend camping trip. On the hike back, she noticed his stainless steel tag was bent and half the engraving had worn off. She snapped a photo of the remnants and uploaded it that evening to an online pet gear store.
Using the partial info and her saved backup in her phone’s notes app, she recreated the full message: “Max – Call Sarah: 555-0182 – Allergic to chicken.” She selected a thicker aluminum tag with a rubber silencer to prevent noise during future hikes. The tag shipped the next day and arrived two days later—well before their next outing.
“Having a backup plan made all the difference,” Sarah said. “I didn’t panic. I just followed the steps I’d read months ago.”
Checklist: Replace Your Dog’s Tag in Under 48 Hours
Use this checklist to ensure a smooth, fast replacement process:
- Confirm the tag is lost or unreadable
- Retrieve stored contact info or old photos of the tag
- Select material and shape (round, bone-shaped, etc.)
- Write out engraving text clearly (test for clarity)
- Choose vendor: online, in-store, or DIY
- Place order with rush option if needed
- Verify proof (if emailed) before approval
- Attach new tag securely to collar upon arrival
- Update microchip records to match new info (if changed)
Common Mistakes to Avoid
Even simple tasks can go wrong if overlooked. Here are frequent errors and how to avoid them:
- Waiting too long: Delaying replacement increases risk. Act within 24 hours of loss.
- Using outdated contact info: Double-check phone numbers and addresses before engraving.
- Choosing noisy tags: Metal-on-metal jingling can stress some dogs. Use rubber bumpers or silent materials.
- Skipping redundancy: Relying only on a tag or only on a microchip is risky. Use both.
Frequently Asked Questions
Can I reuse the old tag as a template?
If parts are still legible, yes. Take a high-resolution photo and zoom in to extract information. Even a fragment can help reconstruct the full message.
Should I include my dog’s name on the tag?
Yes. While some worry predators might use the name to lure the dog, the benefits of quick identification far outweigh this rare risk. Most found dogs are returned because someone recognized the name and called out.
What if my dog loses tags repeatedly?
Consider upgrading to a breakaway collar with secure tag loops, using two tags (front and back), or switching to a harness with built-in ID pockets. Also, inspect collars monthly for wear.
Final Thoughts: Stay Prepared, Stay Proactive
Replacing a lost or damaged dog tag should be quick, painless, and efficient—because your dog’s safety depends on it. By understanding your options, preparing information in advance, and acting promptly, you minimize the window of vulnerability. The best time to replace a tag isn’t after it’s gone—it’s before it fails. Review your dog’s ID annually, photograph it regularly, and keep a spare order link bookmarked.


 浙公网安备
33010002000092号
浙公网安备
33010002000092号 浙B2-20120091-4
Comments
No comments yet. Why don't you start the discussion?