
Phone cases are essential for protecting devices, but removing them can sometimes feel like a gamble. A poorly executed attempt can result in cracked backs, scratched screens, or broken clips. Whether you're upgrading your case, cleaning your phone, or troubleshooting an issue, knowing how to open any phone case—without causing harm—is a skill every smartphone owner should master. This guide walks you through universal techniques, tools, and best practices to ensure safe removal across all case types.
Understanding Phone Case Types and Their Mechanisms
Not all phone cases are created equal. The method for opening one depends largely on its design, material, and attachment mechanism. Recognizing the type of case you're dealing with is the first step toward safe removal.
- Bumper Cases: These wrap around the edges of the phone with open back and front. They typically snap on and require gentle prying at the corners.
- Fitted Hard Cases: Rigid plastic or polycarbonate shells that fully enclose the phone. These often have interlocking side panels or snap-on backs.
- Silicone/TPE Cases: Soft, flexible materials that stretch over the phone. These rely on elasticity and tight fit rather than mechanical fasteners.
- Wallet and Flip Cases: Include a cover that folds over the screen. The back may be rigid or soft, and some use magnets or clasps.
- Magnetic Cases (e.g., MagSafe): Use built-in magnets to attach. These detach easily but still require proper alignment during removal to prevent misalignment damage.
Step-by-Step Guide to Safely Opening Any Phone Case
No matter the case type, a consistent, careful approach minimizes risk. Follow this universal sequence to remove your phone case safely.
- Inspect the Case Design: Look for seams, access points, or release indicators. Check if buttons or ports are integrated tightly.
- Start at the Bottom Edge: Most cases are designed to be removed from the bottom, where charging port and speaker grilles offer natural leverage points.
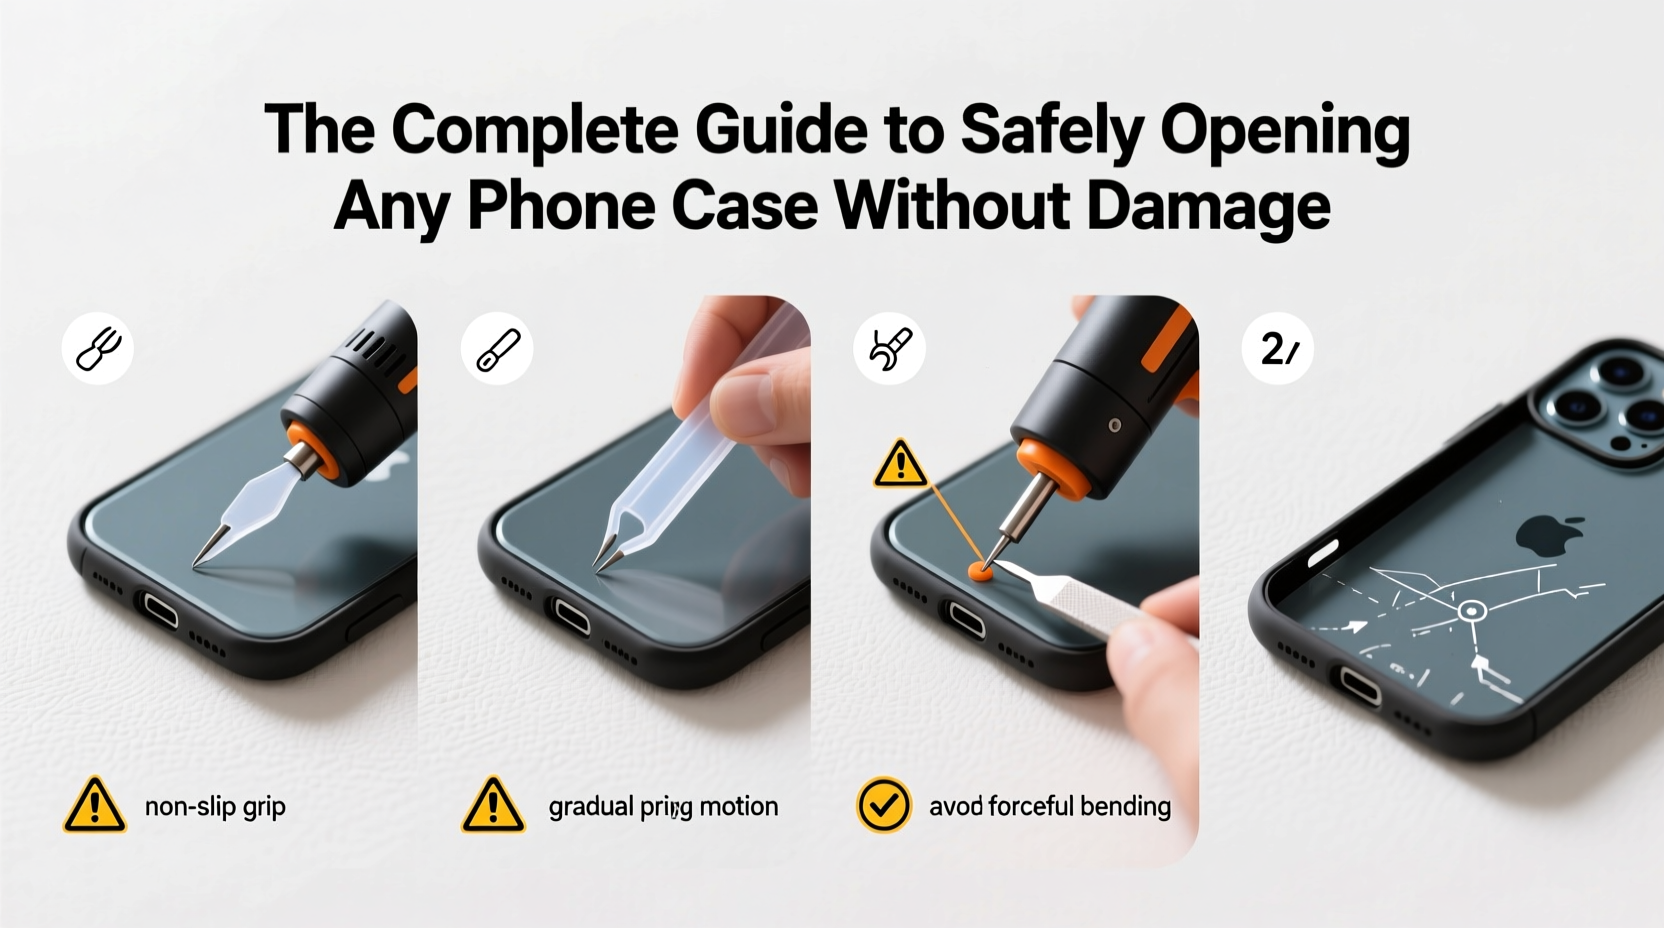
- Use Your Fingernail or Plastic Tool: Gently insert a fingernail or non-metallic pry tool into the seam. Avoid metal objects like keys or screwdrivers—they can scratch or crack the phone.
- Work One Corner at a Time: Apply slow, even pressure to lift one corner. Once a corner is free, move to adjacent sides.
- Peel Away Gradually: For soft cases, gently stretch the material away from the phone’s edges. For hard cases, continue releasing snap connectors around the perimeter.
- Remove the Top Last: The top edge often houses the earpiece and sensors. Removing it last prevents strain on delicate areas.
- Set the Phone Down Carefully: Once freed, place the phone on a soft, clean surface to avoid scratches.
“Most damage during case removal happens at the corners, where users apply too much force too quickly.” — Jordan Lee, Mobile Device Technician with 12 years of repair experience
Essential Tools and What to Avoid
Using the right tools makes all the difference. Here's what to keep in your toolkit—and what to leave behind.
| Recommended Tools | Purpose | Why It’s Safe |
|---|---|---|
| Plastic spudger or opening tool | Prying open tight seams | Non-conductive and won’t scratch surfaces |
| Fingernails (clean and trimmed) | Initial leverage on soft cases | Natural, controlled pressure |
| Microfiber cloth | Handling phone after removal | Prevents fingerprints and micro-scratches |
| Toothpick (plastic or wood) | Releasing small clips | Low risk of damage if used gently |
| Avoid These Items | ||
| Metal screwdrivers | High risk of scratching or puncturing | Conductive and sharp—can damage internal components |
| Keys | Improvised prying tool | Uncontrolled force and metal contact |
| Scissors or box cutters | Extreme hazard | Can slice through casing and phone alike |
Common Mistakes That Lead to Damage
Even experienced users make errors when removing phone cases. Awareness of these pitfalls can prevent costly accidents.
- Using excessive force: If a case isn’t budging, don’t push harder. Reassess the starting point or check for hidden latches.
- Starting at the wrong edge: Some phones have reinforced top edges. Always begin at the bottom near the charging port.
- Ignoring temperature effects: Cold environments make plastics brittle. Warm the phone slightly in your hands before removal if it’s been in a cold car or outdoors.
- Forgetting about adhesives: Some rugged cases use adhesive strips for extra security. Sudden pulling can damage the phone’s finish.
- Rushing the process: Impatience leads to slips and uneven pressure. Take 60 seconds to do it right.
Real Example: How Sarah Damaged Her iPhone (And How She Could Have Avoided It)
Sarah had a third-party hard-shell case on her iPhone 14. After dropping her phone in sand, she wanted to clean it immediately. In a hurry, she used a butter knife to pry the case off from the top edge. The knife slipped, cracking the glass near the front camera. A technician later explained that starting at the bottom with a plastic tool would have prevented the incident. Additionally, rinsing the phone under water while still in the case could have dislodged debris safely without removal.
This example highlights two key lessons: never use metal tools, and consider whether case removal is truly necessary for the task at hand.
Checklist: Safe Phone Case Removal in 7 Steps
Keep this checklist handy for future reference:
- ✅ Power off the phone (optional but recommended)
- ✅ Identify case type and attachment method
- ✅ Choose a non-metallic tool or use clean fingernails
- ✅ Begin prying at the bottom edge near the charging port
- ✅ Work slowly around the sides, releasing one section at a time
- ✅ Avoid pulling on buttons, cameras, or ports
- ✅ Inspect both phone and case for wear after removal
FAQ
Can I open a waterproof phone case the same way?
No. Waterproof cases often have sealed gaskets and locking mechanisms. Refer to the manufacturer’s instructions. Typically, they require gradual loosening of latches or twisting motions rather than prying.
My case is stuck—what should I do?
Stop forcing it. Check for debris in the seam or swelling due to heat. Try warming the case slightly with your hands to increase flexibility. If still stuck, consult the manufacturer or visit a repair shop.
Will regularly removing my case wear it out?
Yes, especially with rigid or tightly fitting models. High-quality cases are designed for repeated use, but expect soft silicone cases to lose grip over time. Rotate between multiple cases to extend lifespan.
Conclusion: Handle with Care, Every Time
Opening a phone case shouldn’t be a high-stakes maneuver. With the right knowledge, tools, and patience, it becomes a simple, routine task. Whether you’re switching styles, cleaning your device, or checking for dust under the camera, prioritizing safety protects both your investment and your peace of mind. Remember: slow and steady wins the race. Treat your phone and its accessories with care, and they’ll serve you reliably for years.


 浙公网安备
33010002000092号
浙公网安备
33010002000092号 浙B2-20120091-4
Comments
No comments yet. Why don't you start the discussion?