
When you're preparing to sell, donate, recycle, or simply retire an old computer, one critical step often gets overlooked: securely erasing your personal data. Simply deleting files or formatting the drive doesn’t remove information permanently. With the right tools, deleted data can be recovered—sometimes by strangers who end up with your hardware. This guide walks you through proven methods to ensure every trace of your digital life is irreversibly wiped, protecting your privacy and identity.
Why Standard Deletion Isn’t Enough
Most users assume that moving a file to the trash and emptying it removes the data. In reality, the operating system only marks the space as available for new data. The original information remains on the storage drive until overwritten. Forensic software can recover these \"deleted\" files with ease, including photos, documents, emails, and even saved passwords.
This risk increases if your device uses a traditional hard disk drive (HDD), where data remnants linger longer than on solid-state drives (SSDs). Even reinstalling the operating system isn't sufficient unless the installation process includes a full drive overwrite.
Understanding Data Wiping vs. Factory Reset
A factory reset restores the operating system to its default state but typically leaves user data intact at the binary level. It’s convenient for troubleshooting, but not secure for data removal. True data wiping involves overwriting every sector of the drive with random patterns, making recovery impossible.
Different standards exist for secure erasure. The U.S. Department of Defense's DoD 5220.22-M method, for example, overwrites data three times with specific patterns. Other standards like Gutmann (35 passes) are more thorough but often excessive for modern drives. For most users, a single full overwrite is sufficient, especially on SSDs where wear-leveling complicates multi-pass methods.
“Physical destruction or cryptographic erasure are the only ways to guarantee 100% data removal on SSDs.” — Dr. Lena Patel, Data Security Researcher, MIT Computer Science Lab
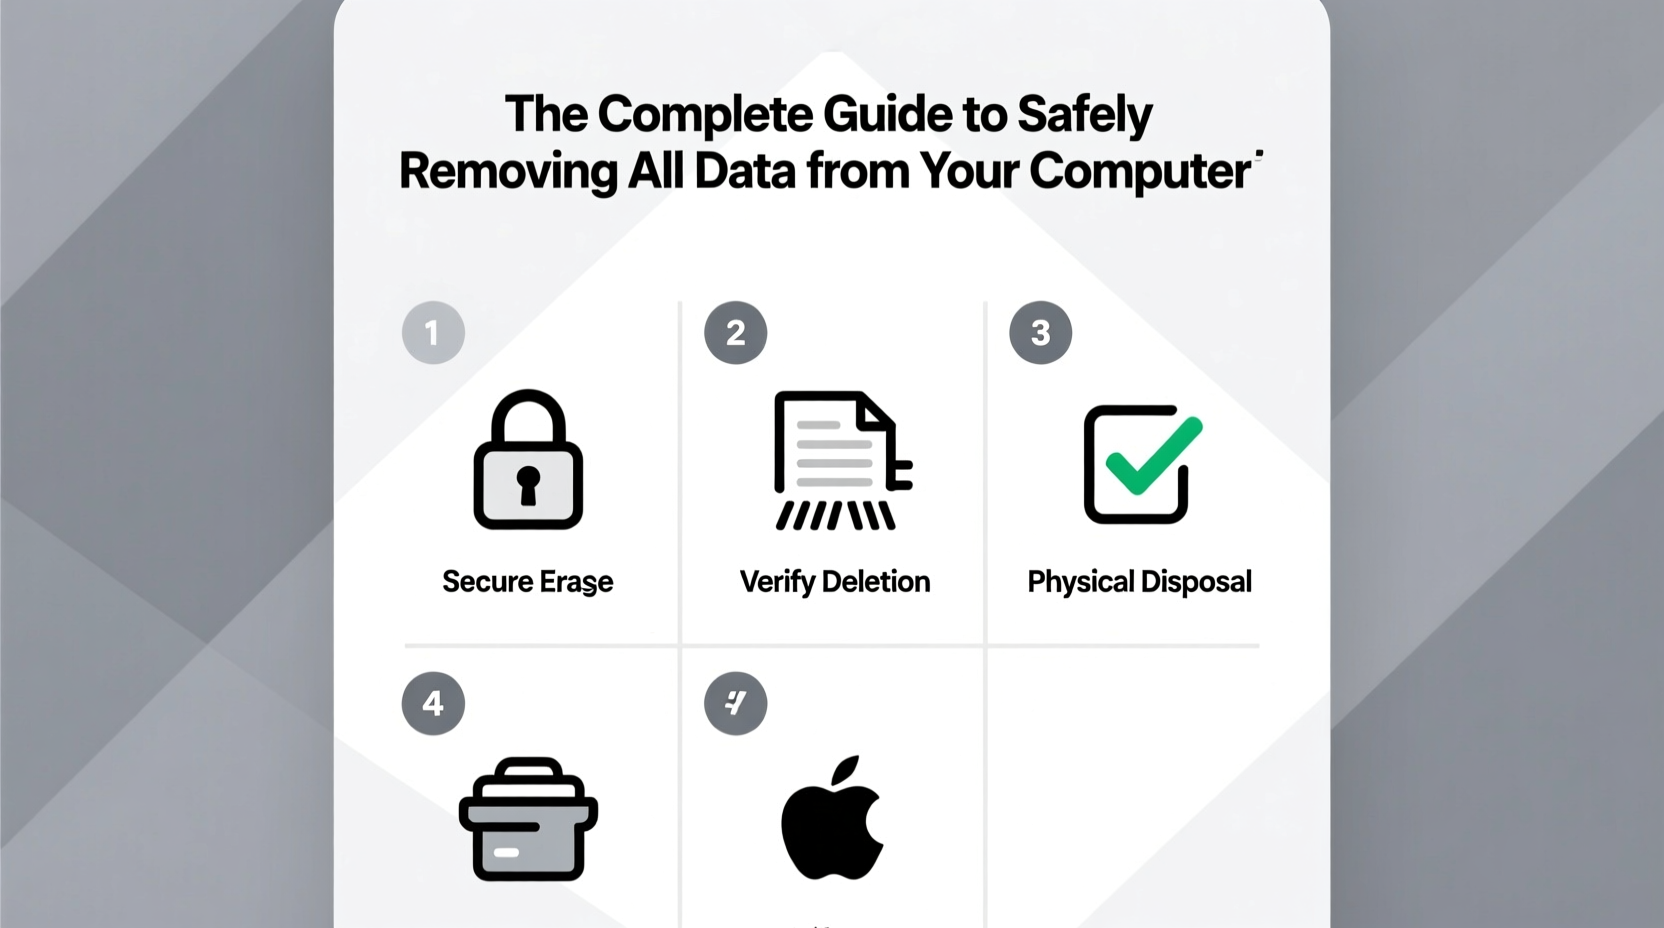
Step-by-Step Guide to Securely Erase Your Computer
Follow this sequence to ensure no data survives on your machine:
- Back up essential files to an external drive or cloud service. Once erased, recovery is impossible.
- Deauthorize software such as iTunes, Adobe Creative Cloud, or Microsoft Office to avoid activation issues on future devices.
- Sign out of all accounts, including email, social media, and cloud storage. Disable Find My Device features (e.g., Find My Mac, Find My Device on Windows).
- Encrypt the drive first (if not already encrypted). Full-disk encryption ensures that even partial data recovery yields unreadable content.
- Use a certified wiping tool appropriate for your drive type and operating system.
- Verify completion and physically inspect results if possible.
- Reinstall the OS (optional) if passing the device to someone else.
Best Tools for Data Removal by Operating System
The right tool depends on your system and hardware. Below is a comparison of reliable, free, and widely trusted options:
| Operating System | Recommended Tool | Method Used | Notes |
|---|---|---|---|
| Windows 10/11 | Microsoft’s built-in “Reset this PC” + “Remove everything” + “Clean data” | Single overwrite | Enable “Clean data” for secure wipe; otherwise, only deletes pointers. |
| Windows (Advanced) | DBAN (Darik’s Boot and Nuke) | DoD 5220.22-M, Gutmann, custom | Effective for HDDs; not recommended for SSDs due to TRIM behavior. |
| macOS | Apple Disk Utility (with security options) | 1-, 7-, or 35-pass erase | For HDDs only. On SSDs, enable FileVault then erase for cryptographic wipe. |
| All Systems (Live USB) | Parted Magic (Paid, but comprehensive) | Multiple standards, including DoD and Gutmann | Supports both HDDs and SSDs with proper detection and handling. |
| Linux | shred or dd command |
Custom overwrites | Example: shred -v -n 1 -z /dev/sdX performs one overwrite and zeros the drive. |
Special Considerations for Solid-State Drives (SSDs)
SSDs handle data differently than HDDs. Due to wear leveling and over-provisioning, some blocks may never be overwritten during a standard wipe. This makes traditional overwriting less effective.
Instead, use the Secure Erase command built into the drive’s firmware. Tools like Parted Magic or manufacturer-specific utilities (e.g., Samsung Magician, Crucial Storage Executive) can trigger this function, which resets all memory cells to factory state.
If Secure Erase isn’t supported, enabling full-disk encryption (e.g., BitLocker on Windows, FileVault on macOS) before disposal is the next best option. Once the encryption key is destroyed, the data becomes inaccessible.
Real-World Example: A Cautionary Tale
In 2022, a university IT department auctioned off decommissioned laptops without properly wiping them. A buyer discovered hundreds of student records, including Social Security numbers and medical forms, still accessible on one machine. The breach led to a $120,000 fine and mandatory staff retraining.
The mistake? Using quick format instead of secure wiping. The incident underscores that institutional oversight doesn’t replace technical diligence. Whether you’re an individual or part of an organization, assuming data is gone when it’s not can have serious consequences.
Data Removal Checklist
- ✅ Back up important files to external media or cloud storage
- ✅ Sign out of iCloud, Google, Microsoft, and other online accounts
- ✅ Disable Find My Device / Activation Lock
- ✅ Deauthorize software licenses (iTunes, Adobe, etc.)
- ✅ Encrypt the drive (if not already encrypted)
- ✅ Boot from a live USB or use built-in secure erase tool
- ✅ Perform full data wipe using DoD or manufacturer-recommended method
- ✅ Verify wipe completion (check logs or scan with recovery tool)
- ✅ Reinstall OS (optional, for resale)
- ✅ Physically destroy the drive (if ultimate security is required)
Frequently Asked Questions
Can data be recovered after a secure wipe?
With a verified single overwrite on an HDD, recovery is nearly impossible using consumer tools. On SSDs, cryptographic erasure or physical destruction is more reliable due to hidden memory blocks.
Is it safe to donate a computer after wiping it?
Yes, as long as you’ve used a certified wiping method and confirmed success. For added safety, consider physically destroying the drive and replacing it with a blank one before donation.
What if my computer won’t boot? How do I wipe the drive?
Remove the drive and connect it to another computer via a USB enclosure or SATA adapter. Then use wiping software from the working system. If the drive is damaged beyond access, physical destruction is the only secure option.
Final Thoughts: Take Control of Your Digital Legacy
Your computer holds years of personal history—bank details, private messages, family photos, work projects. Handing it over without proper sanitization is like giving someone the keys to your home and hoping they don’t look in the drawers. By taking the time to securely erase your data, you protect not just yourself, but everyone whose information ever passed through your device.
Whether you’re upgrading, decluttering, or retiring old tech, make secure data removal a non-negotiable step. Use trusted tools, follow best practices, and verify every action. Your future self—and possibly your identity—will thank you.


 浙公网安备
33010002000092号
浙公网安备
33010002000092号 浙B2-20120091-4
Comments
No comments yet. Why don't you start the discussion?