
Apple Pay has redefined digital payments by offering a secure, fast, and contactless way to make purchases in stores, online, and within apps. But before you can tap your phone or watch at checkout, one critical step stands between you and seamless transactions: verifying your card. While the process is designed to be user-friendly, many users encounter unexpected hurdles—failed verifications, delayed approvals, or confusion about which banks support Apple Pay. This guide walks you through every aspect of card verification, ensuring you can set up and use Apple Pay without frustration.
Why Card Verification Matters
Verifying your card isn’t just a formality—it’s a security measure that protects both you and your financial institution. When you add a credit or debit card to Apple Wallet, Apple doesn’t store your full card number. Instead, it assigns a unique Device Account Number (DAN), which is encrypted and securely stored in the Secure Element of your device. However, your bank must confirm that you are the legitimate cardholder before authorizing this tokenization process.
This verification prevents unauthorized individuals from adding someone else’s card to their device. It also ensures compliance with banking regulations like PSD2 in Europe and KYC (Know Your Customer) standards globally.
“Card verification is the cornerstone of trust in mobile wallets. Without it, the entire security model of Apple Pay would be compromised.” — James Lin, Senior Security Analyst at FinTech Watch
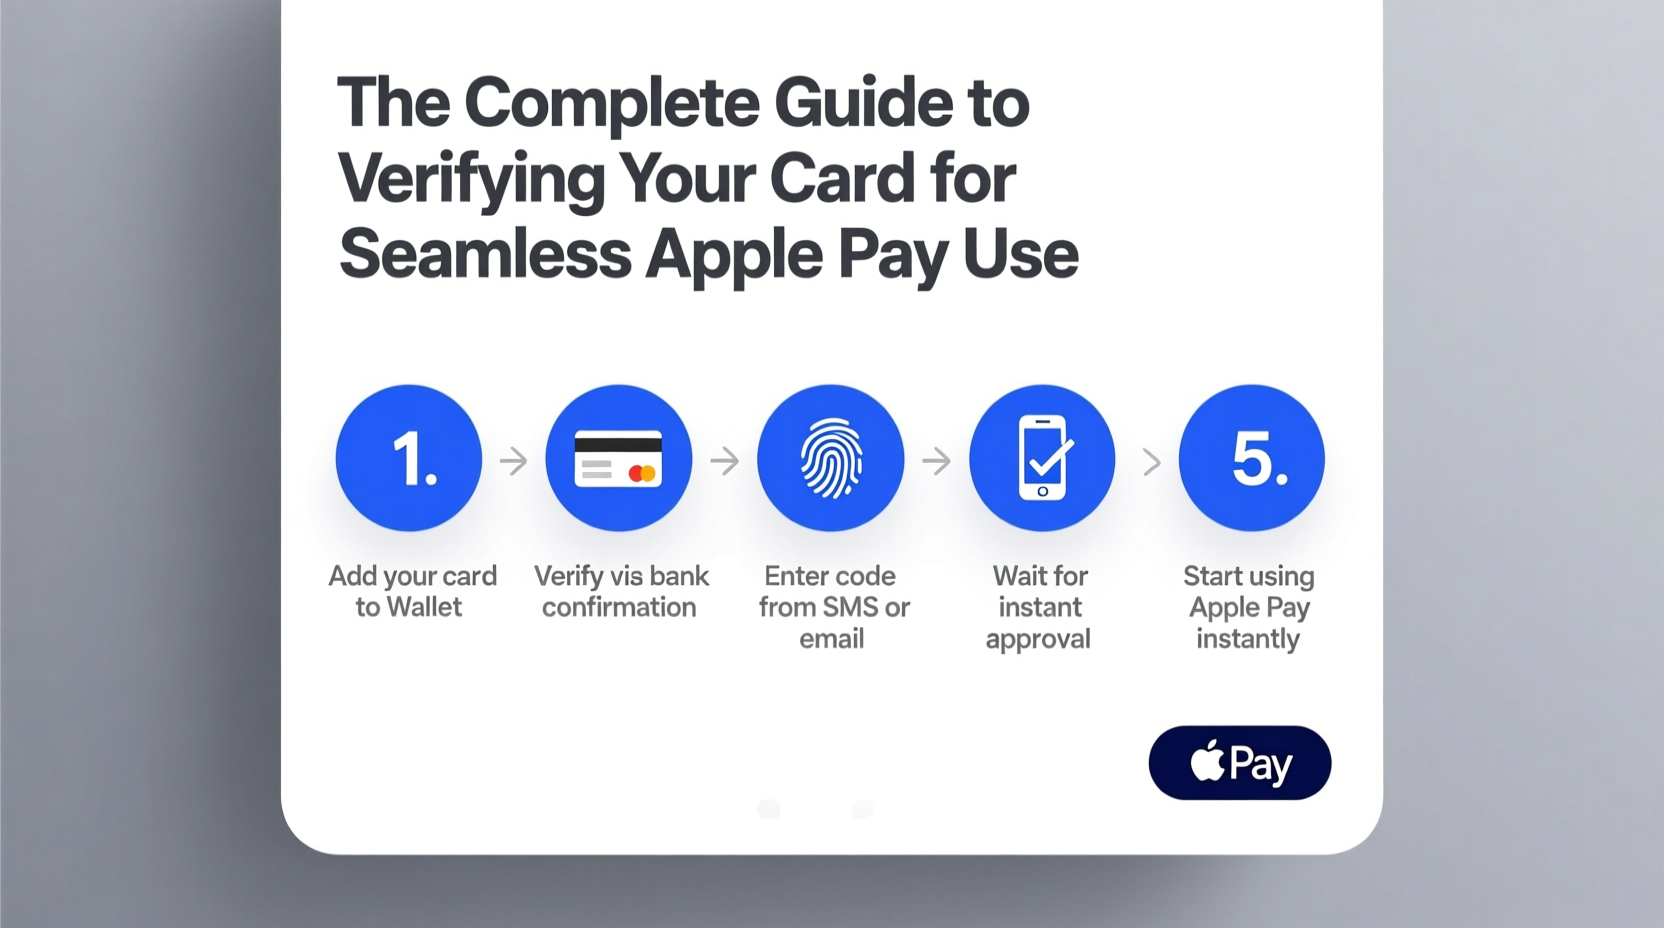
Step-by-Step Guide to Verifying Your Card
The process of verifying your card varies slightly depending on your bank, device, and region. However, the following steps represent the standard flow across most supported institutions.
- Open the Wallet app on your iPhone or iPad. Tap the plus (+) icon to begin adding a new card.
- Select your card type—credit, debit, prepaid, or transit—and follow the prompts to scan or manually enter your card details.
- Review and agree to the terms and conditions provided by Apple and your card issuer.
- Wait for verification. At this stage, your bank will initiate the verification process. This may happen instantly or require additional action from you.
- Complete verification using one of the methods outlined below.
- Set as default (optional) and start using Apple Pay immediately once confirmed.
Common Verification Methods Used by Banks
Banks employ several techniques to confirm your identity. Knowing which method your issuer uses can save time and reduce anxiety during setup.
| Verification Method | How It Works | Time Required |
|---|---|---|
| Instant Verification | Automatic approval via secure bank APIs; no user action needed. | Under 1 minute |
| SMS Code | A one-time code sent to your registered mobile number. | 1–5 minutes |
| Email Confirmation | Click a link sent to your email on file with the bank. | 2–10 minutes |
| In-App Approval | Approval required within your bank’s mobile app. | Immediate (if app is open) |
| Customer Service Call | You call the number provided or wait for a callback from the bank. | 5–20 minutes |
Troubleshooting Common Verification Issues
Even with careful setup, some users face obstacles when verifying their cards. Here are the most frequent problems and how to resolve them.
- “Verification Failed” Error: Double-check that the card information matches exactly what’s on file with your bank. Even a typo in the expiration date can trigger rejection.
- No SMS or Email Received: Confirm your contact details are up to date with your bank. Also, check spam folders or request a resend.
- Bank Not Supported: Not all financial institutions participate in Apple Pay. Visit Apple’s official list of supported banks to confirm compatibility.
- Multiple Devices, One Card: If you’re trying to add the same card to multiple devices, each requires separate verification—even if previously approved elsewhere.
- Outdated iOS Version: Apple Pay requires iOS 8.1 or later. Update your device via Settings > General > Software Update.
Mini Case Study: Sarah’s Smooth Setup Experience
Sarah, a freelance designer in Austin, recently upgraded to an iPhone 15 and wanted to get Apple Pay working before her morning coffee run. She added her Chase Freedom card using the Wallet app. Within seconds, she received a push notification in the Chase Mobile app asking for confirmation. She tapped “Approve,” entered her biometric authentication, and was done in under two minutes. By the time she reached the café, she paid with a simple tap of her phone—no wallet, no fumbling for cards.
Sarah’s experience reflects the ideal scenario: a modern bank with real-time integration, a user who kept her apps updated, and a clear understanding of the verification workflow.
Checklist: Preparing for Successful Card Verification
Before you begin, ensure everything is in place. Use this checklist to avoid common pitfalls.
- ✅ Your iPhone or Apple Watch is updated to the latest iOS or watchOS version.
- ✅ You have a stable internet connection (Wi-Fi or cellular).
- ✅ Your card is issued by a bank that supports Apple Pay.
- ✅ Your phone number and email on file with your bank are current.
- ✅ Your bank’s mobile app is installed and logged in (if required for approval).
- ✅ You know your card’s CVV, expiration date, and billing address.
- ✅ Face ID, Touch ID, or passcode is set up on your device.
What Happens After Verification?
Once your card is verified, Apple generates a Device Account Number (DAN) that replaces your actual card number during transactions. This DAN is stored in the Secure Element—a dedicated chip isolated from the main operating system—making it nearly impossible for malware to access.
Every transaction uses dynamic security codes, so even if intercepted, the data is useless for future purchases. Your real card number is never shared with merchants or transmitted with payment.
You’ll receive notifications for every transaction, and you can manage your cards directly in the Wallet app—removing, replacing, or setting a default payment method with ease.
Frequently Asked Questions
Can I verify a card without calling my bank?
Yes, many major banks now offer instant verification through their mobile apps or automated systems. Institutions like Chase, Bank of America, and American Express typically approve cards within minutes without requiring a phone call.
How long does card verification take?
It depends on your bank. Some verifications complete in seconds, while others may take up to 48 hours if manual review is needed. Most users gain access within 5–10 minutes.
Why did my card get declined during verification?
This usually happens due to mismatched information, expired cards, or temporary holds. Contact your bank to confirm your card status and ensure your billing details match exactly what’s on file.
Final Thoughts and Action Steps
Verifying your card for Apple Pay is more than a technical step—it’s your gateway to a faster, safer, and more convenient way to pay. With the right preparation and knowledge of how the process works, you can complete verification smoothly and confidently. Whether you're commuting, shopping online, or traveling abroad, Apple Pay reduces friction while enhancing security.
If you’ve been holding off on setting up Apple Pay due to uncertainty about verification, now is the time to act. Pull out your phone, open the Wallet app, and follow the steps outlined here. In less than five minutes, you could be tapping your way through checkout lines with ease.


 浙公网安备
33010002000092号
浙公网安备
33010002000092号 浙B2-20120091-4
Comments
No comments yet. Why don't you start the discussion?