
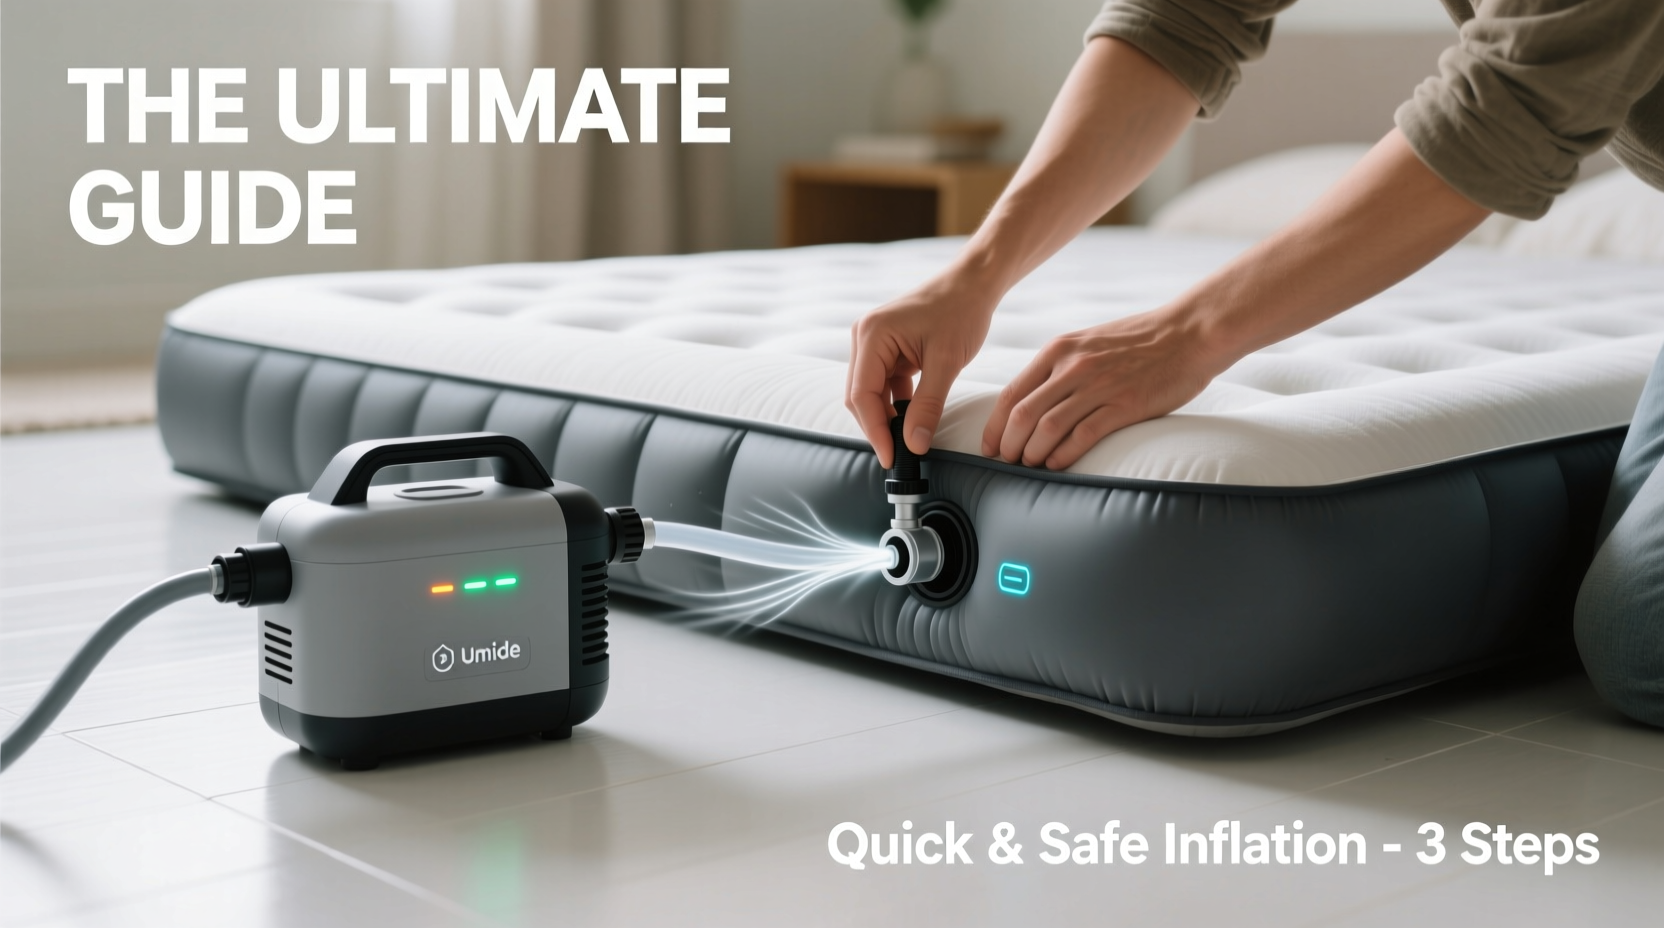
Inflating an air mattress should be quick, effortless, and safe—yet many people struggle with underinflation, overinflation, or even damage due to improper techniques. Whether you're preparing for guests, camping, or need a temporary bed solution, knowing how to correctly use a pump can make all the difference. This comprehensive guide walks through every aspect of efficiently and safely inflating your air mattress, from selecting the right pump to avoiding common pitfalls that shorten its lifespan.
Understanding Air Mattress Pumps: Types and Uses
Air mattress pumps come in several varieties, each suited to different needs and environments. Choosing the right one impacts both speed and safety during inflation.
- Electric (AC) Pumps: Plug into wall outlets and offer fast inflation, ideal for home use.
- DC (Car) Pumps: Powered by a car’s cigarette lighter socket; useful for outdoor trips where electricity isn’t available.
- Battery-Operated Pumps: Portable and convenient but may lack power and drain batteries quickly.
- Manual Pumps (Hand or Foot): Require physical effort but are reliable when no power source is accessible.
- Integrated (Built-in) Pumps: Some premium air mattresses come with built-in electric pumps, eliminating the need for external devices.
Step-by-Step Guide to Inflating Your Air Mattress Safely
Following a systematic approach ensures optimal inflation without risking leaks or ruptures. Use this timeline-based method for consistent results every time.
- Prepare the Surface: Lay the air mattress on a clean, flat, debris-free surface. Avoid sharp objects, gravel, or rough flooring.
- Unroll Completely: Fully unfold the mattress to allow even air distribution. Let it rest for 2–3 minutes to relax the material.
- Locate the Valve: Identify the inflation valve—usually a twist or click mechanism near the head end.
- Open the Valve: Turn counterclockwise or pull up, depending on design. Ensure it's fully open before attaching the pump.
- Attach the Pump Nozzle Securely: Match the nozzle size to the valve. Push firmly until snug. For universal adapters, ensure a tight seal to prevent air loss.
- Power On and Inflate: Activate the pump. Most standard twin-sized mattresses take 2–4 minutes with an electric pump.
- Monitor Firmness: Stop inflation when the mattress feels firm but still slightly yielding—like a traditional bed. Overinflation stresses seams.
- Close the Valve Tightly: Twist or press down to seal immediately after disconnecting the pump.
- Inspect for Leaks: Listen for hissing sounds and feel around valves and seams. Address issues before use.
Do’s and Don’ts: Best Practices for Safe Inflation
Mistakes during inflation are a leading cause of premature air mattress failure. Refer to this table to stay within safe operating limits.
| Do’s | Don’ts |
|---|---|
| Use manufacturer-recommended pumps only | Never use compressors meant for tires or sports balls |
| Inflate at room temperature (65–75°F / 18–24°C) | Don’t inflate in extreme heat or cold—material expands/contracts unpredictably |
| Check valve alignment before connecting | Avoid forcing mismatched nozzles, which can crack valves |
| Stop pumping once firmness matches a real mattress | Never overinflate until taut or drum-tight |
| Store deflated and dry in a cool place | Don’t leave inflated for weeks—even “self-inflating” models degrade if overstretched |
“Overinflation is the number one reason we see failed air mattresses within months. The material can only handle so much stress before seams split.” — Daniel Reeves, Product Engineer at SleepWell Outdoors
Real-World Example: A Weekend Gone Wrong (And How It Could’ve Been Avoided)
Mark planned a surprise weekend getaway and brought an air mattress for comfort. Excited, he used a high-pressure shop compressor to inflate it in under a minute. Within hours, the mattress developed a large bulge and began deflating rapidly. Guests had to sleep on the floor.
The issue? Shop compressors deliver far more pressure than PVC or vinyl air chambers can handle. A simple $20 electric pump would have taken less than three minutes and prevented the disaster. This scenario underscores why matching equipment to purpose matters—even when speed seems urgent.
Maximizing Speed Without Sacrificing Safety
When time is short, efficiency becomes critical. However, rushing shouldn’t compromise safety. Follow these strategies to balance both.
- Prep Ahead: Unpack and unroll the mattress while setting up the room—this reduces total inflation time.
- Use Dual-Valve Models: Some air mattresses feature two valves for simultaneous pumping, cutting inflation time nearly in half.
- Choose High-CFM Pumps: Cubic Feet per Minute (CFM) measures airflow. Higher CFM = faster inflation. Look for pumps rated above 150 CFM for best results.
- Keep Equipment Ready: Store your pump with the air mattress or in a labeled bin. Lost pumps lead to improvisation—and riskier choices.
Quick-Reference Checklist: Safe & Fast Inflation
- ☐ Clear and prepare a smooth, flat surface
- ☐ Fully unroll and let the mattress relax
- ☐ Confirm pump compatibility with mattress valve type
- ☐ Open valve completely before attaching pump
- ☐ Connect nozzle securely—no wobbling or air leaks
- ☐ Inflate until firm but not rigid (test with hand pressure)
- ☐ Close valve immediately after disconnecting
- ☐ Inspect for leaks and adjust as needed
- ☐ Deflate properly and store dry when not in use
Frequently Asked Questions
How long should it take to inflate an air mattress?
With a quality electric pump, most queen-sized air mattresses inflate in 2 to 4 minutes. Manual pumps may take 10–15 minutes depending on effort and design. Built-in pumps often complete inflation in under 3 minutes with automatic shutoff.
Can I use a vacuum cleaner to inflate an air mattress?
Some vacuums with a reverse (\"blow\") function can work in emergencies, but proceed with caution. The airflow may be too forceful, and not all hoses fit standard valves. If attempted, use low power mode and monitor closely for swelling or stress on seams.
Why does my air mattress keep losing air after inflation?
Minor air loss overnight is normal due to material settling and temperature changes. However, significant deflation usually indicates a leak, improperly sealed valve, or overstretching from overinflation. Check valve tightness first, then perform a soap-and-water leak test on seams and welds.
Final Thoughts: Confidence Starts With Preparation
An air mattress doesn’t have to mean discomfort or hassle. When inflated correctly—with the right tools and attention to detail—it offers reliable support and convenience. Speed matters, especially when hosting last-minute guests or setting up camp as daylight fades. But safety and longevity matter just as much. By choosing the appropriate pump, following proper procedures, and respecting material limits, you ensure a comfortable night’s sleep without compromising durability.


 浙公网安备
33010002000092号
浙公网安备
33010002000092号 浙B2-20120091-4
Comments
No comments yet. Why don't you start the discussion?