
Getting the right ring size is essential for comfort, security, and long-term wearability. Whether you're shopping online for an engagement ring, a gift, or simply replacing a favorite band, guessing your size can lead to returns, resizing fees, or discomfort. Fortunately, you don’t need professional tools or a visit to the jeweler to determine your correct ring size. With common household items and careful technique, you can achieve accurate results from the comfort of your home.
Why Accurate Ring Sizing Matters
A ring that’s too tight can restrict circulation and cause swelling or pain, especially in warmer weather. One that’s too loose risks slipping off during daily activities—potentially losing a valuable piece forever. The ideal fit should slide over your knuckle with slight resistance and sit snugly on your finger without pinching.
Finger size can vary throughout the day and across seasons. Blood flow increases in heat, causing fingers to swell slightly. Cold temperatures can make them shrink. Even hydration levels and salt intake affect finger diameter. This variability is why timing and method are critical when measuring at home.
“Even a half-size difference can impact comfort and safety. A properly sized ring should stay put during normal activity but still be removable with gentle pressure.” — Daniel Ruiz, Master Jeweler with 25 years of experience
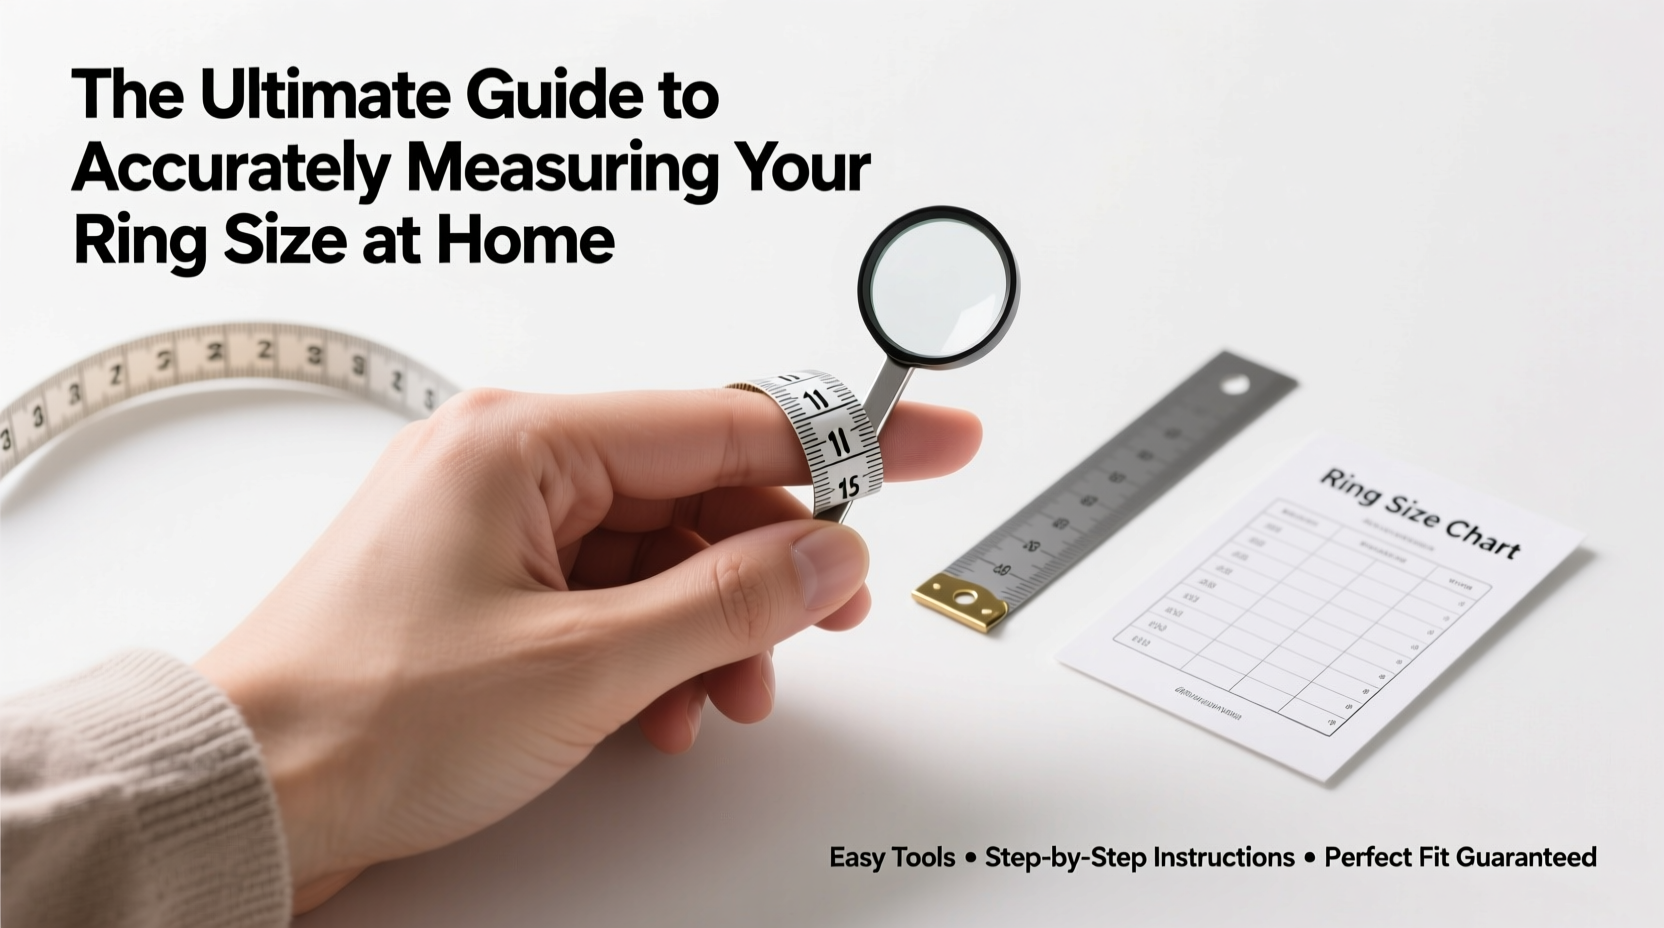
Step-by-Step Guide: Measuring Your Ring Size at Home
The following method uses only a strip of paper, a pen, and a ruler. It’s reliable, accessible, and widely recommended by jewelers for initial sizing.
- Choose the Right Finger: Measure the finger where you plan to wear the ring. Most people have slightly different sizes on each hand and even between fingers.
- Gather Supplies: You’ll need a thin strip of paper (about 1/4 inch wide and 4–6 inches long), a pen, a ruler with millimeter markings, and a pair of scissors.
- Wrap the Paper: Wrap the strip around the base of your finger, just behind the knuckle. Ensure it’s flat against the skin and not twisted.
- Mark the Overlap: Where the paper overlaps, make a precise mark on both ends with the pen.
- Measure the Length: Lay the paper flat and use the ruler to measure the distance between the two marks in millimeters. This is your finger’s circumference.
- Convert to Ring Size: Use a standard ring size conversion chart (see table below) to match your measurement to the correct US or international size.
Alternative Method: Using a Known Ring
If you already own a ring that fits well, you can use it to determine your size without wrapping anything around your finger.
- Place the ring on a millimeter ruler so the inner edge aligns with the zero mark.
- Measure the inside diameter—the distance from one inner edge to the opposite inner edge—across the center.
- Match the diameter (in millimeters) to a ring size chart to find your size.
This method is often more accurate than the paper wrap, as it eliminates human error in marking and positioning.
Ring Size Conversion Table
| US Size | Inside Diameter (mm) | Circumference (mm) | UK/AU Size |
|---|---|---|---|
| 4 | 14.9 | 46.8 | H |
| 5 | 15.7 | 49.3 | J |
| 6 | 16.5 | 51.9 | M |
| 7 | 17.3 | 54.5 | N |
| 8 | 18.1 | 57.0 | P |
| 9 | 18.9 | 59.5 | R |
| 10 | 19.8 | 62.1 | T |
Common Mistakes to Avoid
Even with the right tools, errors can happen. These pitfalls are frequent but preventable:
- Measuring when fingers are cold or swollen: Do it midday when body temperature is stable.
- Using thick tape or ribbon: These add bulk and inflate the measurement.
- Ignoring knuckle size: If your knuckle is larger than the base of your finger, consider the ring’s ability to slide on and off comfortably.
- Forgetting width considerations: Wider rings (over 6mm) may feel tighter and often require a half-size larger than narrower bands.
Mini Case Study: Sarah’s Online Engagement Ring Purchase
Sarah wanted to surprise her fiancé with a custom wedding band while he was traveling. She didn’t want to risk asking him directly and ruining the surprise. Using the paper method described above, she measured his left ring finger three times over two days. Her measurements were 54.3mm, 54.6mm, and 54.4mm—averaging to 54.4mm, which corresponds to a US size 7.
She double-checked using an old silver band he wore regularly, measuring its internal diameter at 17.3mm—confirming a size 7. Confident in her results, she placed the order. When he returned, the ring fit perfectly on the first try, with just enough resistance over the knuckle to ensure security.
This example shows how combining multiple methods increases reliability—even under high-stakes circumstances.
Checklist: How to Ensure Accuracy
- ✅ Measure at room temperature, preferably in the afternoon.
- ✅ Use a thin, non-stretch material like paper or thread.
- ✅ Take at least three measurements and average them.
- ✅ Confirm with a known-fitting ring if possible.
- ✅ Account for ring width—wider bands may need a larger size.
- ✅ Consult the seller’s return or resize policy before finalizing.
Frequently Asked Questions
Can I use a string instead of paper?
Yes, but ensure the string is thin and non-elastic. After wrapping, lay it flat and measure the length between marks. Avoid materials like yarn or shoelaces, which stretch or compress easily.
What if my knuckle is bigger than the base of my finger?
This is common. Measure both the knuckle and the base. The ring must fit over the knuckle comfortably but not be loose at the base. Some opt for spring-loaded rings or sizing beads in such cases. Always mention this when ordering custom jewelry.
Do ring sizes differ between countries?
Yes. The US, UK, Australia, Europe, and Japan all use different numbering systems. Always verify which standard a retailer uses. Our conversion table covers the most common ones, but double-check with the vendor’s guide.
Final Thoughts and Action Steps
Accurately measuring your ring size at home is entirely possible with patience and precision. While professional sizing remains the gold standard, these at-home techniques offer a reliable alternative—especially for online purchases or surprise gifts.
Remember: small variations matter. Take your time, repeat the process, and whenever possible, validate your result with a second method. When in doubt, consult the jeweler. Many reputable sellers offer free resizing within a certain period, but prevention is better than correction.


 浙公网安备
33010002000092号
浙公网安备
33010002000092号 浙B2-20120091-4
Comments
No comments yet. Why don't you start the discussion?